About Rachel
View all posts by Rachel
Two Amarna Princesses – the results of thought
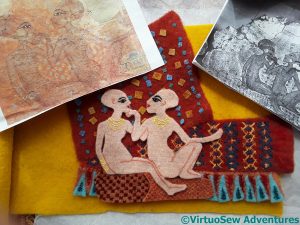
The felted cushion fragments worked rather well, surviving the cutting out procedure so that I could start to play with the layout. Prints of the images I’d used to hand, I fiddled happily for quite a while.
This isn’t quite what I ended up with, but you can see how vividly the colours play off against one another. Very promising!
The first stage was to attach the drapery assembly to the background. This is where the experimental nature of my needlefelting may come back to bite me, because there is a risk that I have taken it too far, and that I will finish with a completely destroyed background.
However, the goldeny-mustardy-yellow wall shows through a bit, which is what I want, as that helps to make the connection with the frescoes at Amarna as they are found by archaeologists – fragile and fragmentary, only a hint of their former glory. I may have to hand-needlefelt some of those little squares, as they’re not as well attached as I would like. I don’t want them falling off at some time in the future!
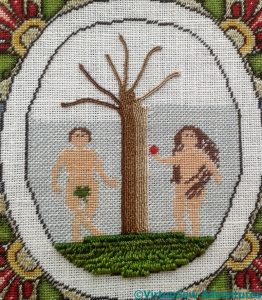
Foliage for Eve In the Garden of Eden
I really should pay more attention to myself. I have said before that trying to work around edges is work for fools, and that often it is worth doing more stitching than is going to show. In the end I decided to listen to myself and do the whole sky.
If I’d done that before putting the trees in, however, the stitching would have been less fiddly and the experience, less frustrating!
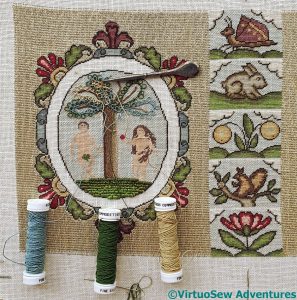
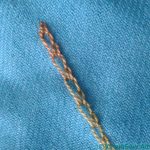
The next stage is to add the foliage, more silk gimp couched with Soie Ovale, but this time couched in little curls.
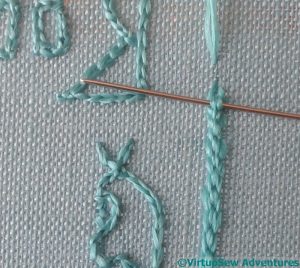
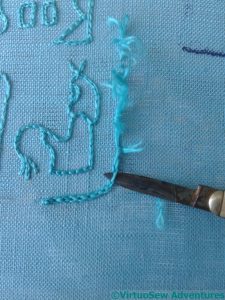
I had been looking forward to this, as it looked rather entertaining in the photos, but thus far I haven’t enjoyed it at all. I’ve got myself tied in some terrible knots, and I’ve ended up cutting the gimp more often than I like.
I need to rethink how I tackle this, look again at the photos and instructions, and try to work out why I’ve ended up with something that looks congested and floppy, both at the same time. I also need to work out, if possible, how to hop from section to section, rather than cutting the gimp.
Current Travelling Project – Transfer Tablecloth
You may recall that I started on a tablecloth using a Briggs Transfer, as my “travelling project“. I’ve not travelled much, so progress has been somewhat spotty, but when the weather turned very warm while I was playing with my embellisher, I set the wool aside to pick up the tablecloth.
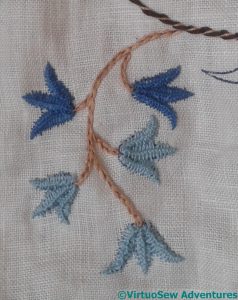
I suppose these might be harebells or bluebells or something similar?
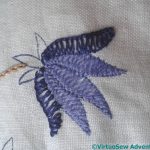
I’ve worked them in Vandyke Stitch, which creates a strong central rib on each petal. It can be a tricky stitch to get just right, because tension makes a huge difference, and I may have worked them a little too tightly.
I’ve also changed each of the four appearances of this figure – there are two colours, and the disposition of those two colours isn’t quite the same in any two. It made it more interesting to stitch!
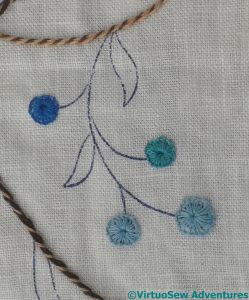
The next set of sprigs was this design element, and for this I went very old school and traditional – buttonhole wheels!
Furthermore, I used the same idea as with the harebells (if that’s what they are). This time, three colours. The one nearest the stem always dark, the furthest from the stem always light, the other two different on each of the sides of the tablecloth.
These two sprigs went swiftly. One heatwave, and they were done.
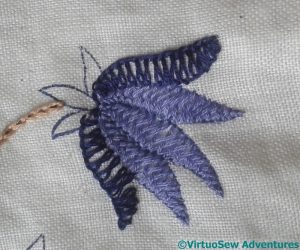
This blueish-purple flower won’t be so quick. The inner petals are in closed herringbone stitch. I’m getting better at that, but it is a time consuming stitch and I sometimes tie myself in knots still.
The outer petals are in Basque Stitch, another one that I sometimes tangle. It’s pretty, and creates an intriguing effect. I’ve worked both petals from the base to the time, which produced a few odd contortions. But when it works, I think it’s lovely!
It’s also one of my 17 UFos for 2017 – see Meredithe’s post for more!
Two Amarna Princesses – having to think again
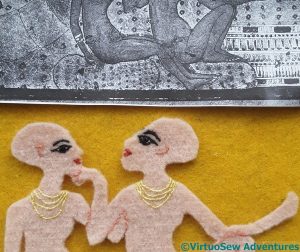
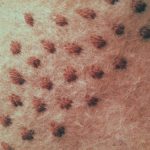
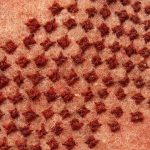
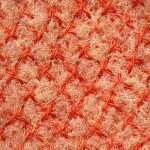
A little while ago, the Ashmolean Museum tweeted another reproduction of that fresco of the two little princesses, this one in black and white, and it brought to the fore something that had been less clear in the colour reproductions I had seen – the girls are actually sitting on cushions. Originally, I had interpreted the lowest border design as fabric covering a divan of some sort, but now I found myself developing some possible cushion fabrics..
- Satin Stitch Spots
- Sorbello Stitch Spots
- Cross Stitch Spots
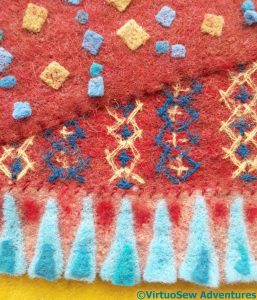
Once again, as with the drapery, I stitched patterns with additional needlefelting in mind. I decided in the end that the satin stitch spots weren’t working very well. Sorbello stitch is the stitch I used for the villages on the Map of Amarna. It’s another stitch I rather like, as it produces a neat, square stitch, with an interesting texture – more obvious with some fabrics and threads than others, of course. The cross stitch spots are in a colour closer to that of the felt, and should produce a more subtle effect.
What I have done is to stitch the patterns on a section of felt, and then pass it under my embellisher. I hope that this will create enough fibre entanglement that when I cut out the cushion shapes, the stitches will not unstitch themselves.
I wonder whether it will work…!
Finishing the Head of Nefertiti
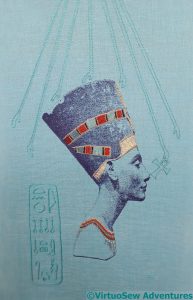
Unless I decide otherwise, the head of Nefertiti is now finished.
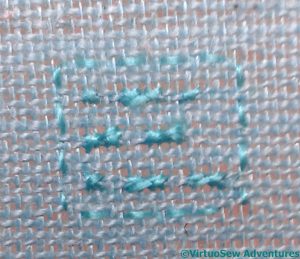
I’ve worked my Morse Code cartouche slightly differently this time, using cross stitch for the dots, long armed cross stitch for the dashes, and counted running stitch for the frame. This works rather well, so it’s a possibility for any eventual canvaswork projects in the future.
However, in this instance it is almost completely invisible, so I may yet unpick it and rework it twice the size, with four threads in each direction instead of two.
In the end, if you recall, I decided to work Nefertiti’s cartouche, both the hieroglyphs and the frame, in reverse chain stitch using untwisted silk.
The rays of the Aten are worked in reverse chain stitch, but using hand twisted silk.
I am a little concerned about balance and the strength of the design, but when I was playing with my photos of of the finished panel, I noticed that when I cropped the picture closely, rather than including all of the length I have stitched of the rays of the Aten, it was much improved.
That happened with the Camberwell Panel, and with Loading the Felucca, as well, so I shouldn’t be surprised.
And I really should remember to play with that sort of detail when I am mounting and finishing my embroideries!
Two Amarna Princesses – Assembling the Drapery
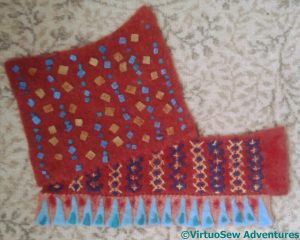
Having chosen my bits of drapery, I’ve stitched them together at the edges.
This means that they won’t move when I’m felting them to the background, and that I could actually cut off some of the second drapery, rather than overlapping it on the first. This will reduce the number of layers I will be felting through, which turns out to be a good idea. I don’t want any more broken needles, thank you very much!
The assembled drapery now makes a rather peculiar shape, but it gives me part of the background for my princesses, and a basis for any further embellishment I may feel is necessary.
However, as I was contemplating that eventual embellishment, I found another source picture and now I have to do a little more thinking.
The Cartouche for the Head of Nefertiti
There were many false starts when I came to work on the cartouche. The fabric is under such tension, in order to work the metal and silk stitches, that it’s hard not to create something that looks very fragile and wispy.
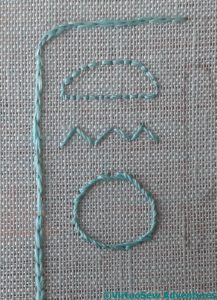
Here you see stem stitches, back stitches, straight stitches, chain stitches of different lengths, some worked using the same twisted thread I used for the rays of the Aten, and some in untwisted thread of the same thickness.
And I didn’t like any of them.
In fact, I ended up doubling the thickness of the thread, but not actually twisting it. This creates a more definite line, and using reverse chain stitch throughout maintains the sense of continuity with the rays of the Aten.
Once I had finished the hieroglyphs, I had to work the frame of the cartouche, and guess what – false starts here as well.
I was rather saddened that among the stitches tried was one of my favourites, Hungarian Braided Chain Stitch, and that, like several others, ended up being sliced out with a penknife. A rather nice penknife with a mother of pearl handle, from a vintage sewing set, but it’s frustrating to dismiss a favourite stitch, even when it’s because you don’t think it works in the context.
After much to-ing and fro-ing, and a good few “ouches” from my recalcitrant sub-scapularis muscle, I finally got the cartouche finished.
I’m not entirely sure I like the finished result, so it is sitting in the living room, being stared at.
17 UFOs in 2017 – August
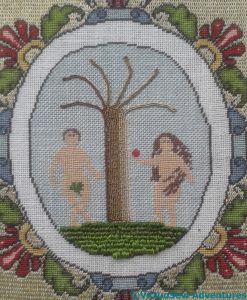
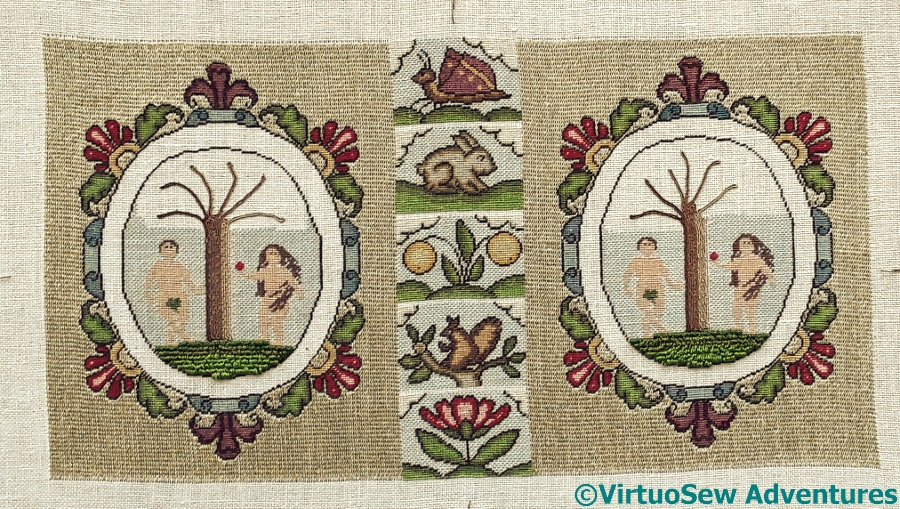
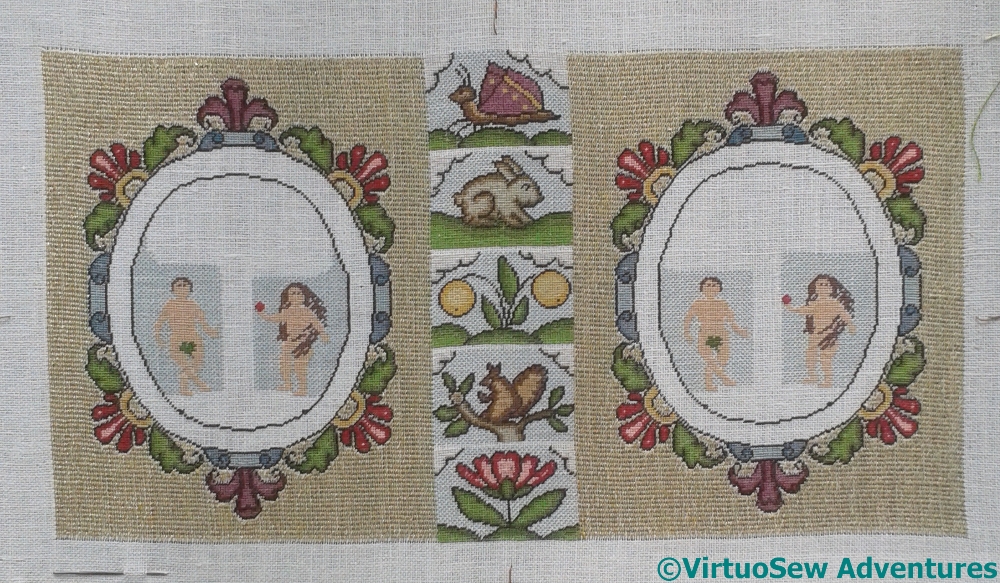
Now I’ve got Eve out again, it’s fairly romping away, which means I genuinely have progress to show for Meredithe’s “17 UFOs in 2017“. At least, it is romping away when you consider that everything has to be done twice…! The second hillock took a couple of afternoons (I try not to work at the frame for too long at a time, in case it makes the shoulder worse again!), and then I got started on the trees and their branches.
The trunk and branches are of couched silk gimp. The kit included four different colours of gimp, with the accompanying Soie Ovale, for couching, and each colour is couched as a single length. It’s expensive stuff, and you end up using three or four inches at each end for plunging and finishing off. Most of the branches will be covered by the foliage, also in couched gimp, but I’m pausing for a moment to consider whether I want to fill in more of the sky.
And as if that weren’t enough, I’ve also finished the gold border on the Nefertiti Shawl, and made a start on the four lilac flowers for the travelling project!
More Progress – at long last
Those of you who follow me on Twitter or Instagram will have seen some rejoicings over the weekend. I have been working on the gold stitched background for the polychrome tent stitch for what seems like forever, but in fact it is less than a year – I began the Elizabethan Ground Stitch in October of last year. A serious shoulder problem interfered with my work at my floor frame at one stage, and then I was all taken with with my ideas for the Head of Nefertiti, so it was only recently that I got back to it. And now I have finished that laborious stage, and I can move on to the more complex and intriguing techniques which were the whole reason for taking the course.
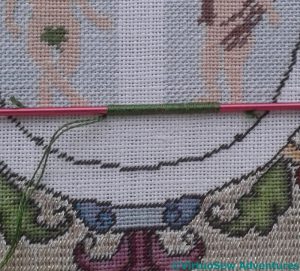
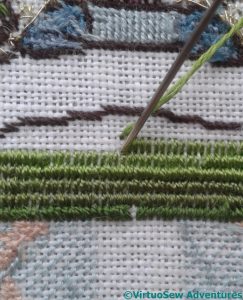
For instance, this one. Tricia describes this as a variation on Velvet Stitch, worked in silk thread over what I presume is a fine double ended knitting needle. It makes a perfect spacer for the pile of the stitch, anyway, and arrived with all the other bits and pieces.
Tricia tells us to come up through the already occupied hole, to avoid pulling the thread through to the back and reducing the pile. I went a step further and worked it from the back, ensuring that I kept the stitch neat and the stitching going up through the right holes!
I must admit I enjoyed this, simple, and straightforward, but with just enough challenge to keep me awake and alert.
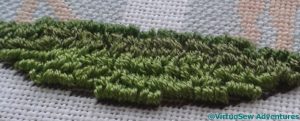
And here is the first hillock, finished and fluffy. It looks as though it would be beautifully soft underfoot, doesn’t it!
The Two Amarna Princesses – Drapery, stage 3
For my next drapery experiment, I began by using the embellisher to add some of that divided felt onto another piece – do you see that the red is in patches, a dark pink (the background) and a rather brighter scarlet? That worked well, I think, as it has warmed up the colour, and made it more interesting.
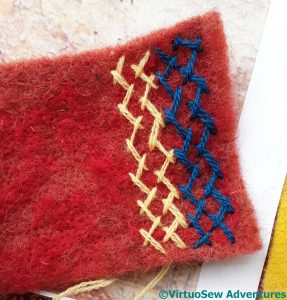
I had decided that I would stitch a pattern and then use the embellisher to make it blend in a little more, but once I’d worked this pattern of herringbone stitch stripes, I sat back, stared at it, and said “No”.
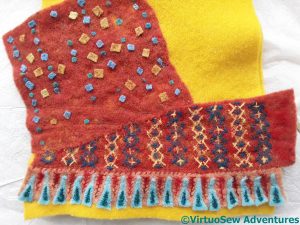
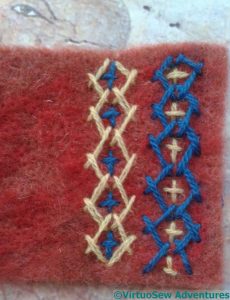
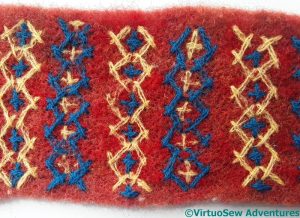
So the second pattern I tried was a little more complex. It’s still worked largely in herringbone stitch, and the colours are the same, but this time I’ve reversed the second row to create a series of lozenge shapes, which could then be filled in, after a fashion, with little upright cross stitches.
I liked this much more, so I decided to go with this pattern.
Although, of course, I was referring to the picture that was my original spacing, that red is very reminiscent of Persian carpets, and the combination with blue and yellow is one which we still find in widespread use.
The next stage was to use the embellisher again. To begin with, I covered the stitching with a layer of net, and worked an initial pass of small circling movements, up and down each stripe. Then I removed the net and kept going.
As you can see, the stitching is almost melting into the background. Certainly it’s a more convincing representation of a piece of fabric than my first piece of drapery, although I will be using both.

