About Rachel
View all posts by Rachel
Another Mathematical Patch
We discovered another thin patch on The Australian’s trousers..
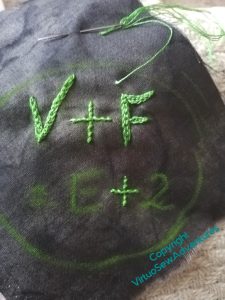
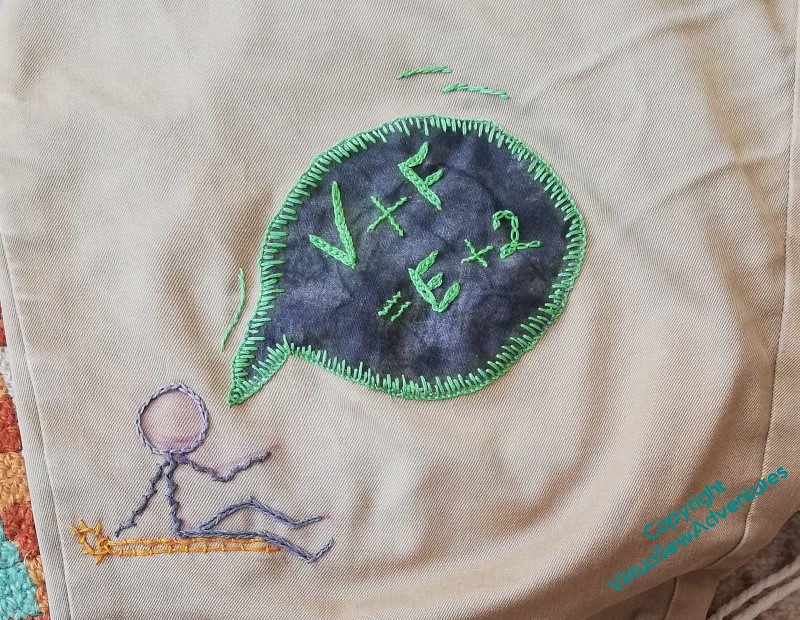
This time I found a slightly darker grey marbled fabric, and got The Australian to write one of the equations I remember from maths lessons at school in chalk.
I’ve done the letters in Hungarian Braided Chain, the plus and equals signs in Coral Stitch, and the “2” in Cable Chain – so that’s several of my favourites all at once! – and then had a thought..
I’ve done the patch as a speech bubble, attached using varied length blanket stitches, and put a few little lines of stem stitch in the same green thread to suggest the speech bubble is moving.
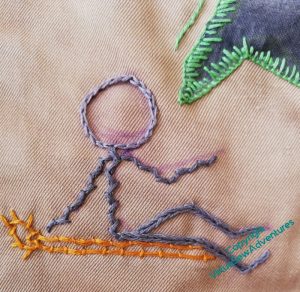
Then I did a little stick figure, sitting on a yellow lounger, declaiming. I found three shades of grey, so make the figure a bit more broken up but still looking “drawn”, and did the head in ordinary chain stitches, the body and arms in Alternating Twisted Chain Stitch (so it looks like a woolly jumper) and the legs in Heavy Chain (a nice pair of jeans). The feet are ordinary chain again.
I hope The Australian’s trousers will survive without further patching for a while!
Borders in the Knot Garden
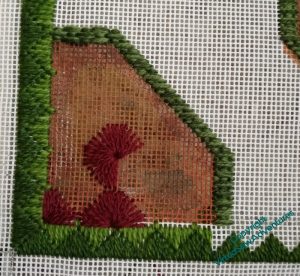
There’s still a great deal of to-ing and fro-ing on the Knot Garden/ Parterre. There’s a lot of border elements to do, and I’m quite certain that I’m going to have to find a way of making sense of a middle section on the short sides: the “Princess Stitch” border I’ve chosen for the outside border is symmetrical around a stitch, and the circular border in the centre is centred around a thread, so something may well look a bit too “off” to be fudged, if I’m not careful!
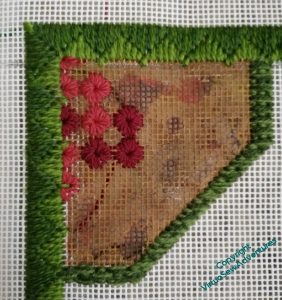
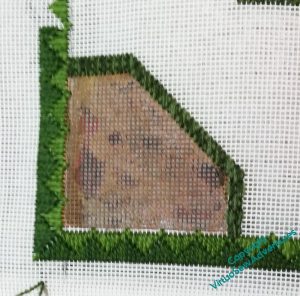
This pattern is called “Squared Daisies” in my copy of Jo Ippolito Christensen’s book on needlepoint. It looked like a very big pattern in the book, full of interest and personality, but while it has personality , it looks a bit small here, and I’m having Doubts about it.
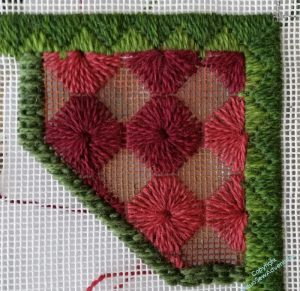
So, in the spirit of exploration and investigation that I usually apply to needlecrafts, I found another corner and tried again, twice the size.
Yikes, that’s big. And Yikes, again, for the number of threads going through the central hole.
But I think I might rather like it.
In fact, I’ve carried on, and decided I do rather like it. I’m varying the colours to maintain the variation shown in the original inspiration, and now I’m thinking that – again in the spirit of variation – I will also finish the smaller stitch size version.
The other two corners can be the same stitches but in the other order, so that the similar corners are set diagonally to one another. And the only trouble with that is that these stitches are remarkably trying to do, and after a day wrestling with goldwork or Amarna, all I want to do is curl up with a good book!
Final Mathstodon Details
Well, now, it turns out there was more to the Mathstodon than I had first intended!
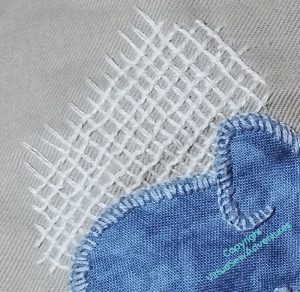
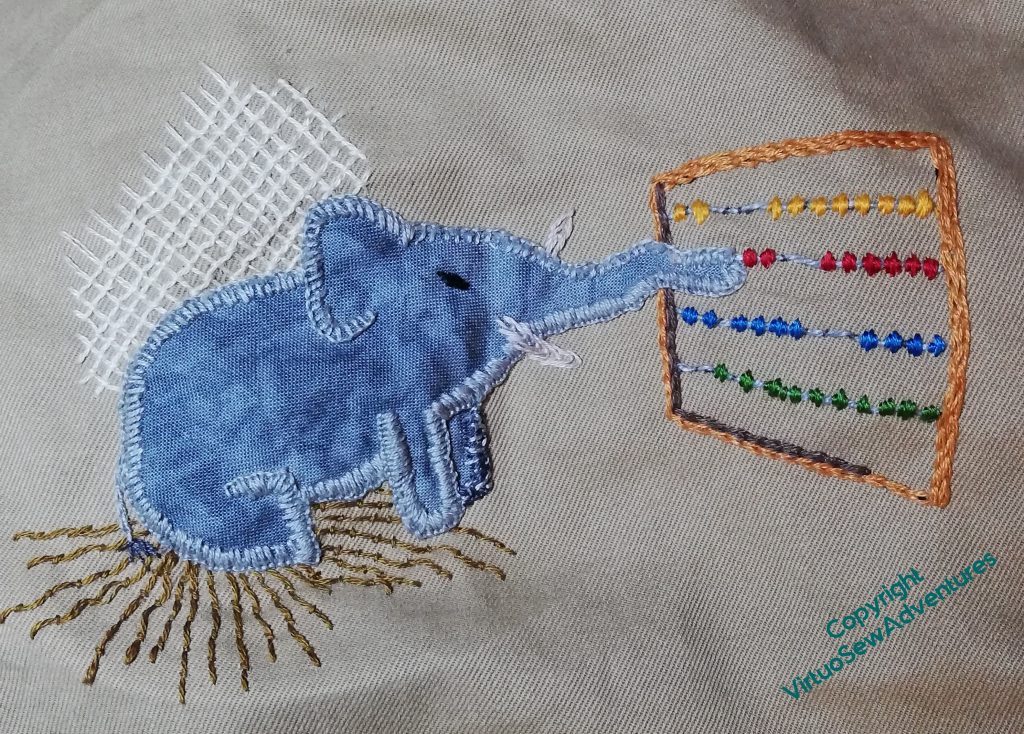
The mathstodon didn’t quite cover all the weakened fabric, so I added some trellis couching behind him to support the parts he hadn’t reached.
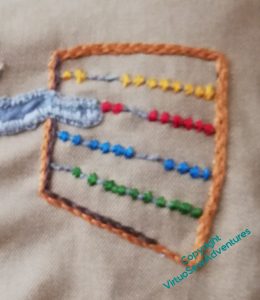
Then I felt he looked a bit odd with a wall but no floor, and added a floor in Bokhara Couching. Now I look at it, I feel it rather suggests the poor Mathstodon is heavier than the floor can take, which is a little unfair, as what I want to suggest is a Mathstodon happily using his counting frame for some mysterious purpose of his own!
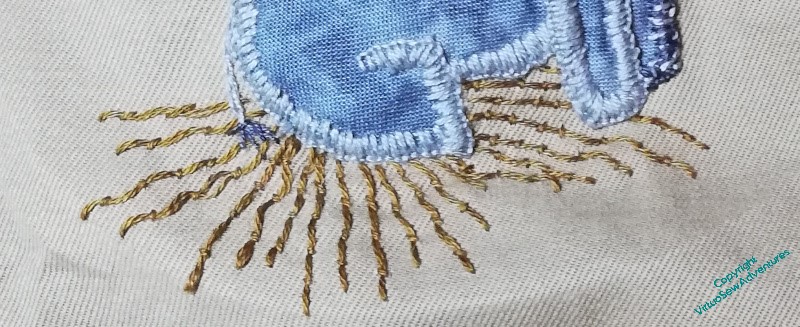
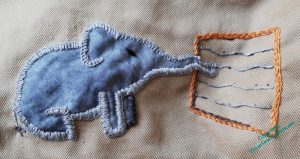
The counting frame is two lines of chain stitch all around, with “wires” make of long stitches in the linen thread I bought for “Leaving The Tyne”. The beads are made with satin stitches. I did think of making them indicate a significant number, but there were two things in my way – first, which number to choose, and second, I was using thread from my Odds and Ends box, and wasn’t sure I’d have enough if I tried anything too exciting!
But he is now finished and has gone toddling off with The Australian for his next speaking engagement!
More work on the assembly
Once the backing boards had been drilled and painted, the pieces could be properly assembled.
And oh, what a world of pain those words conceal!
Never mind, moving on…
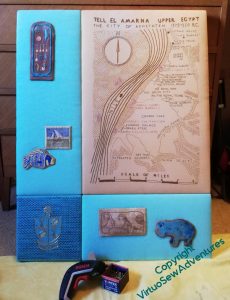
I like the look of this – it is the first time I got to look at the panels upright, and it’s astonishing what a difference it makes. I’ve been through the entire process a prey to Doubts, and they are beginning to dissipate at last.
So the next thing was to make it possible to hang the overlays in front. I don’t want to have the gauze touching the embroidery, permanently in place, in fact ideally I would like to be able to remove them more or less at will when the pieces are exhibited, so I’m still working out how to achieve that. In the meantime, I decided to put channels top and bottom of the gauzes, so I have an interim solution. That will mean that, for example, I can start to think about booking the second photography session.
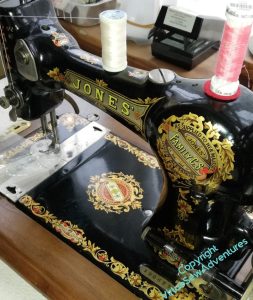
Deciding on that interim solution, however, meant fishing out my old friend Jones. Jones was given to me when I was eight, and I did a fair bit of dressmaking with him, until I was deemed old enough not to do myself a mischief using my mother’s Bernina. He weighs rather a lot so with years of a bad back, I’ve not used him for years and years, so I was rather pleased that, first, he worked, second, that when it came to it, I also remembered how to wind the bobbin, and third, getting him out didn’t make my back go “spoing!”…! As you see, the bobbin is not quite the same as modern ones, not least in that it is long and thin, and the bobbin carrier (not on display) looks more like an asymmetric torpedo, with a very sharp point.
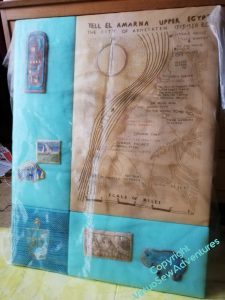
Now I’ve draped the gauze over the top of the panel it is clear that I need to be absolutely on top of the ironing, since crumples in the fabric interfere with the face showing. It has also shown, however, that the effect that I was reaching for can be achieved.
Next steps – decide whether I need to cover the places where the panels butt together, and (definitely!) iron the gauzes.
But for now, I’m pleased with progress!
The Knitting And Stitching Show 2023
Last week I went to Harrogate again for the Knitting and Stitching Show – last year I didn’t, because I was recovering from Covid and in spite of the fact that it would plainly have been silly to go, I missed it dreadfully. So my day, as is now traditional for me, began and ended at Bettys, and in between I padded around the show, seeing old friends and meeting new.
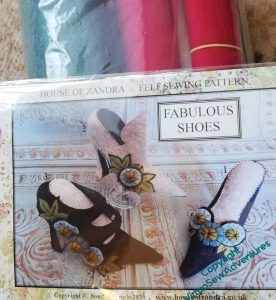
One of my other traditions now is that I work from a kit, or work something absolutely away from my usual style and subject, in the period between Christmas and Twelfth Night. My version of the Fabulous Shoes is going to consist of Louboutins with red soles, but other than that, I’m not clear how they’re going to go!
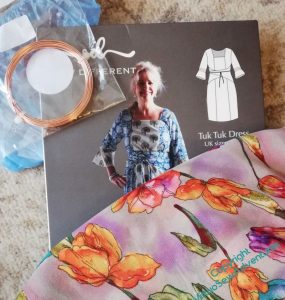
I also bought some materials which must remain a mystery as they are destined for people who I know read my blog, a dress pattern which may unlock a headache I’ve been having with some silk, and a rather gorgeous print for a blouse. The fabric is polyester, but it’s a recycled polyester, from Fine Fabrics of Harrogate, who have made something of a speciality for some years already of sourcing from Europe at the furthest, Britain as far as possible. Were I not already well supplied with coats and jackets, the Boiled Wool, sourced from dyers in Bradford (if I recall correctly – I didn’t make notes!) would have come home with me too!
But the real triumph and excitement was the solution of what was, to me, a forty year old mystery.
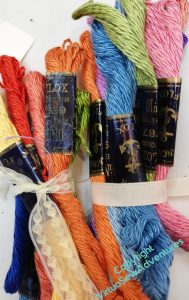
When I first started to embroider, I used to use patterns from my Grandmama’s copies of 1930s “The Needlewoman” magazine, and one of the threads they often demanded was Anchor “Flox”. When I decided I wanted to work the dragon Kai Lung, as I called him, I wanted to use the threads demanded in the instructions.
My local needlework shop had never heard of it.
So I wrote to Coats, who owned Anchor threads, asking, did it still exist, and could I have some?
No, they said apologetically, there was a fire in our Archive twenty years ago, no-one who’s left remembers it , and we’ve no idea what it looked like.
But last week, the Embroiderers Guild stand was selling off various donated stashes, and among the threads, there was some Anchor Flox!
So a couple of bundles have come home with me, and in a few weeks, when I’ve finished Anthea Darracot, I shall leaf through those “Needlewoman” magazines for something gently frivolous to use them in.
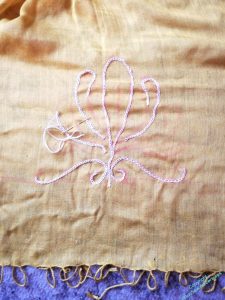
A scarf called Anthea
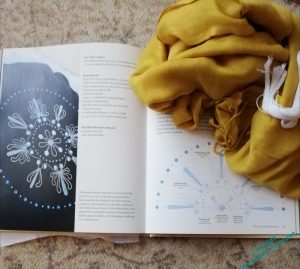
Just recently, I have been feeling rather bereft of the sort of simple embroidery that passes the time pleasantly. I’ve been assembling the Amarna pieces, and while they certainly engender a sense of achievement, it has not been relaxing. I had a couple of periods in the offing when a bit of stitching in public was in order, so I was looking for something that could be worked in the hand, with a minimum of materials.
In one of my favourite Georgette Heyer novels, “The Unknown Ajax”, the heroine (Anthea) is seen, in one tiny incident, following instructions from “The Mirror of Fashion” to make a reticule (handbag) in the shape of an Etruscan vase, so when I was leafing through “Jane Austen Embroidery” in search of inspiration for a quick, easy to carry project, and my eye lit on a circular design inspired by an Etruscan design from The Lady’s Magazine of around 1808, it leapt out at me.
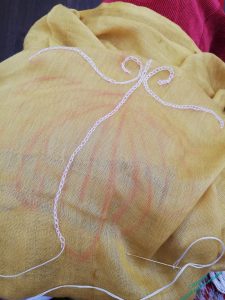
But I have a scarf, not a cushion, so the adapted pattern is going to readapted, and what’s more, this is just a little something to remind me that I really do love embroidery. I’ve been spending so much time on finishing the Dreams of Amarna pieces, that I’ve done almost no real embroidery for months, and I miss it. So this is simple, sketched on by eye, not seeking perfection, just, if anything, charm. I’m going back to what I learnt from the Great Lady’s Magazine Stitch Off, drafting by hand and trusting myself to make something that is as close to accurate as I need it to be.
And indeed, with just a needle and my thread (white cotton floche), I was able to travel very light, and sit quietly stitching in the places where I needed to be present but not unoccupied, stewarding an exhibition and waiting in waiting rooms. It attracted attention, of course, but that merely offers the opportunity to evangelise on the pleasures of embroidery.
Since I didn’t even take scissors, I wasn’t able to finish lines of stitching which would take less than a length of the floche, but I can come back to that. I’ve also decided that I’m going to stitch the same pattern (approximately) on the other end of the scarf. I’m fond of this sort of goldeny mustardy colour, and it will be very cheering to wear when I’ve finished it!
My apologies, Anthea – when I’ve finished her, of course!
More Mending with a Mathstodon
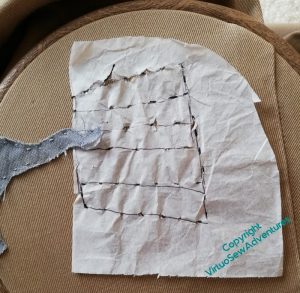
Since I’m not doing the entire design on a single patch, I decided to do the counting frame, not as a separate piece of fabric, but directly onto the fabric of the trousers. So, just to make everything slightly easier, I’ve tacked the outlines of the frame and wires onto the fabric through a bit of tissue paper, now torn away. This is one of the design transfer techniques I’ve come to use the most for this sort of design idea, where absolute precision isn’t at issue (when is it ever, with what I do?)
So, progress – the Mathstodon buttonhole stitched into place, and the bare bones of the counting frame in place, chain stitch for the outside, single long stitches held in place with small stitches for the wires. Don’t worry about the long floats, the satin stitch beads will keep them in place!
I do feel that I may have made the buttonhole stitch a bit chunky, at the speed The Australian moves when in full flow, the outlines need to be definite, or noone will make sense of what I’ve done at all!
I was still a bit worried about the fabric immediately above the hole, so I’ve given it a bit of reinforcement with some Trellis Couching in cream. The choice of stitch doesn’t relate to school maths exercise books – it was a matter of finding a stitch pattern that I thought would support the fabric of the garment!
Assembling the Panels, first stage
There’s always more involved than you think, isn’t there…
I had all sorts of thoughts about keeping the four panels together, but in the end the simplest solution seemed to be a large panel on the back, with screws through to the wooden frames. So my first visit was to our wonderful local framer, because I thought the sort of hardboard she uses to back her frames would be enough.
No, she said, it’s not strong enough, you need something a bit beefier. So I went to a local(ish) building supplies store that is willing to cut material to size, and they duly did so. But not quite right (fortunately, too big) so I had to go back and get them to do it again.
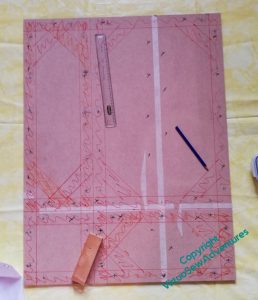
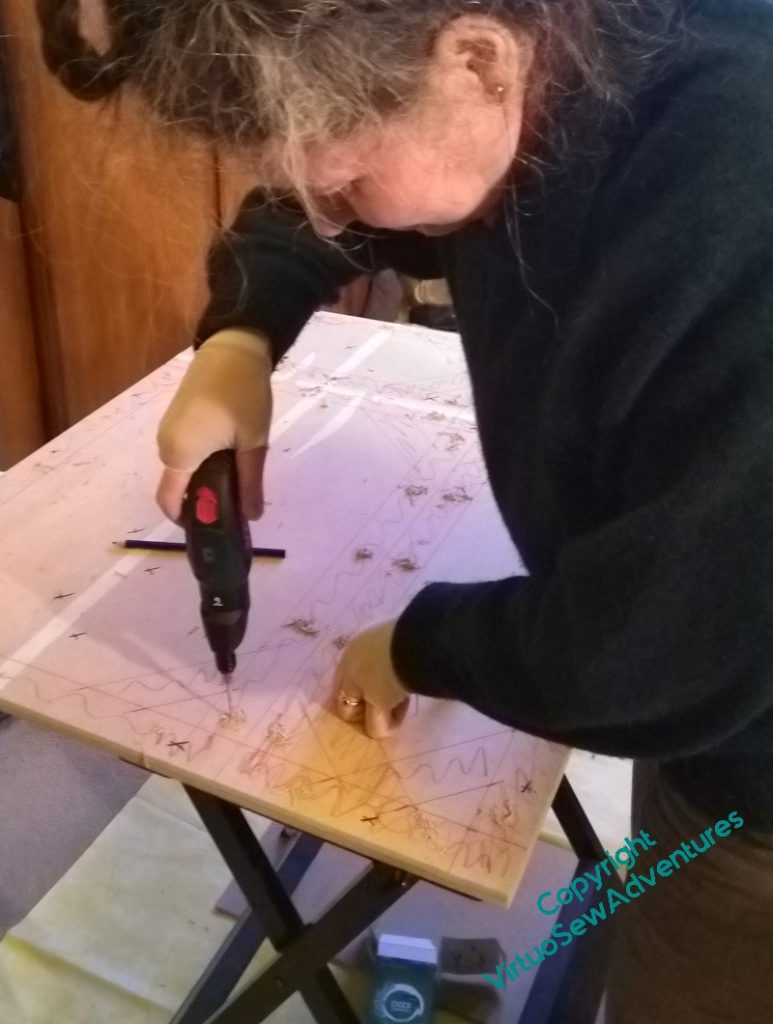
Once the boards were the right size, I set out to map the frames onto the board, so as to work out where to put the holes for the screws. I got thoroughly confused and lines and more lines and planned holes and replanned holes and very nearly howled with despair on more than one occasion, but in the end, I had a Plan of where to place my screws.
Then we taped the two boards together so that one set of drilling would do (that was a very good thought of The Australian’s), and spent ages drilling those holes.
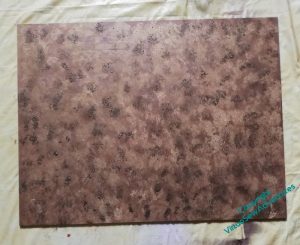
In the interests of having a nice looking back, not covered with a zillion lines in fibretip pen, I’ve sponged the back with two shades of gold acrylic paint.
We’ll get to the end of this eventually – I hope!
Knot Garden progressing
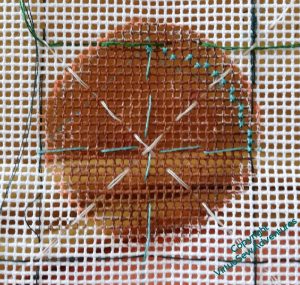
One of the original stars of the inspiration picture was a circular bed with something exuberant in it, at the centre of the garden. As you can see, I put some effort into planning where it would go, and how I would get something close enough to circular, using the gauge of canvas I’m using.
The intention is to create a sculpted Turkey Work boss, but now I have the outline in place, I think that should wait until the last moment, when everything else is done, and I’m not scrolling backwards and forwards across the frame all the time.
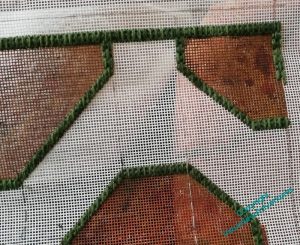
So I went back to the borders representing the outlines of the beds, trying to keep the design crisp and balanced, so that whatever I put in the borders can be suitably displayed. And therein lies a problem. When I sat back and looked at what I’d done, I thought it didn’t look nearly strong enough for what I was going to create.
Why, I wonder?
Well, I think it relates to a certain sameness. All the borders are the same stitch, and it makes it look less like something inspired by a garden, and more like something inspired by a drawing of a garden.
So I’ve changed the outer border to something chunkier and with a slightly different shape, and so far I think it may be working!

