
Category: General Embroidery
From Watercolour to Embroidery
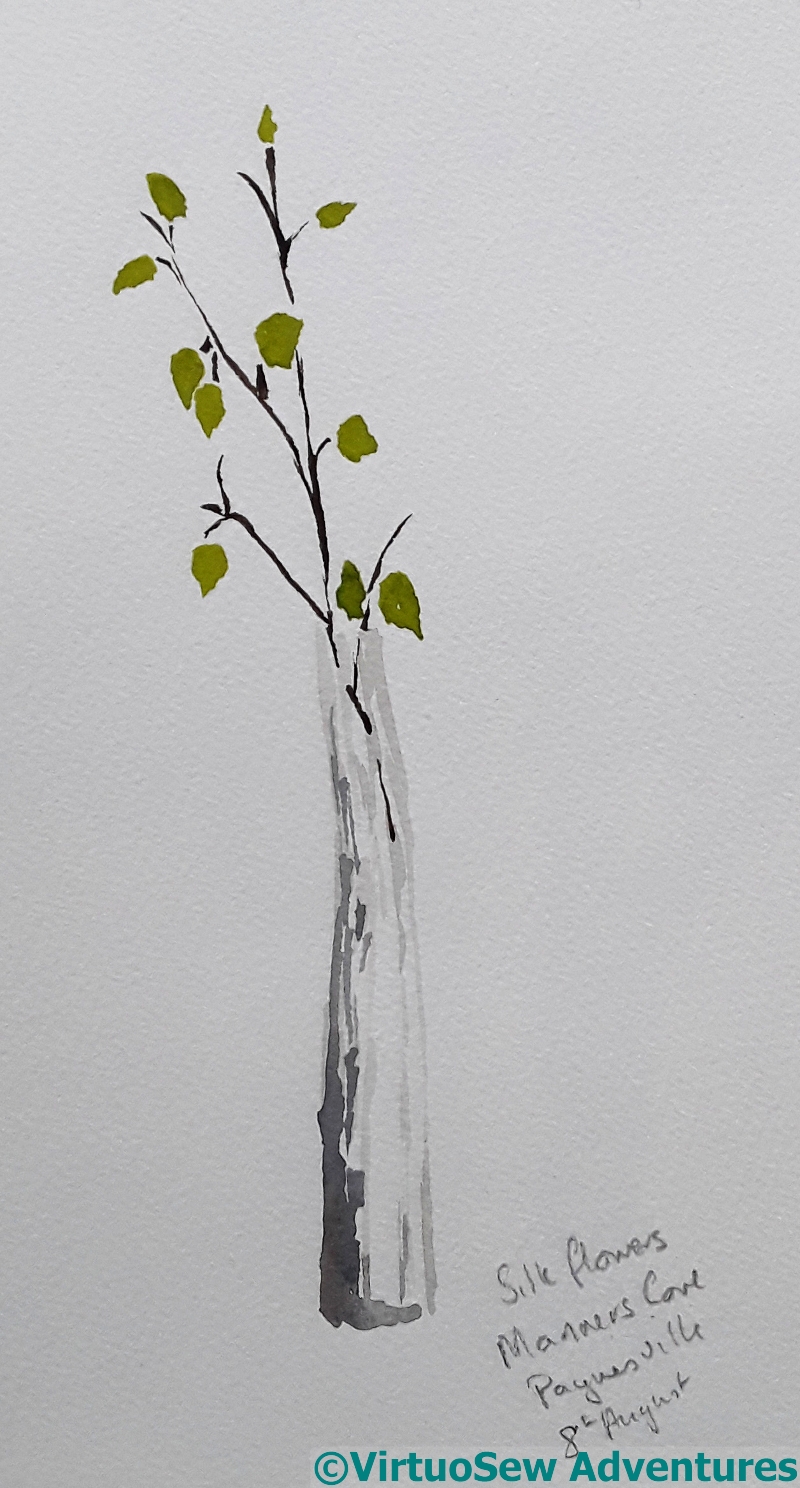
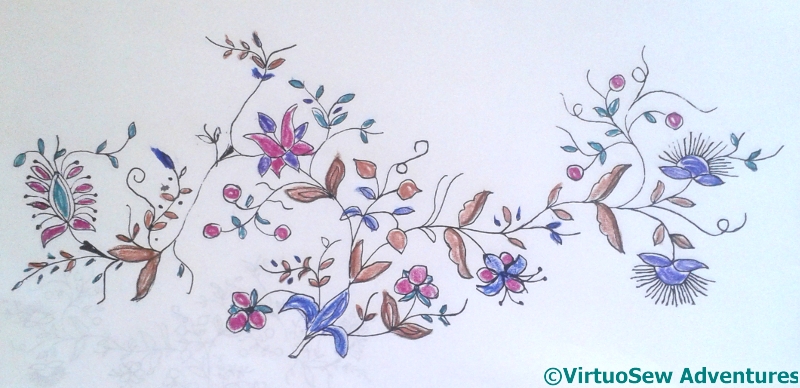
Watercolour : Silk Flowers at Paynesville
This vase of flowers was on the table in a motel room we stayed in, many years ago. For some reason they caught my eye, and for our whole stay – which was full of activity and outings – I wanted to paint them. But we were never in the room for long enough during the daytime.
Finally, on the morning we were going to leave, I got out my paints, sat down, stared very hard, and painted this. I’ve noticed that if I really want to paint something, it often works much better than paintings I’ve done because I want to practise painting.
I don’t think I even bothered to take a photograph. Everything I wanted to remember about the vase is in the painting.
When we got home, however, it seemed to me that the painting offered possibilities as the basis for a simple embroidery.
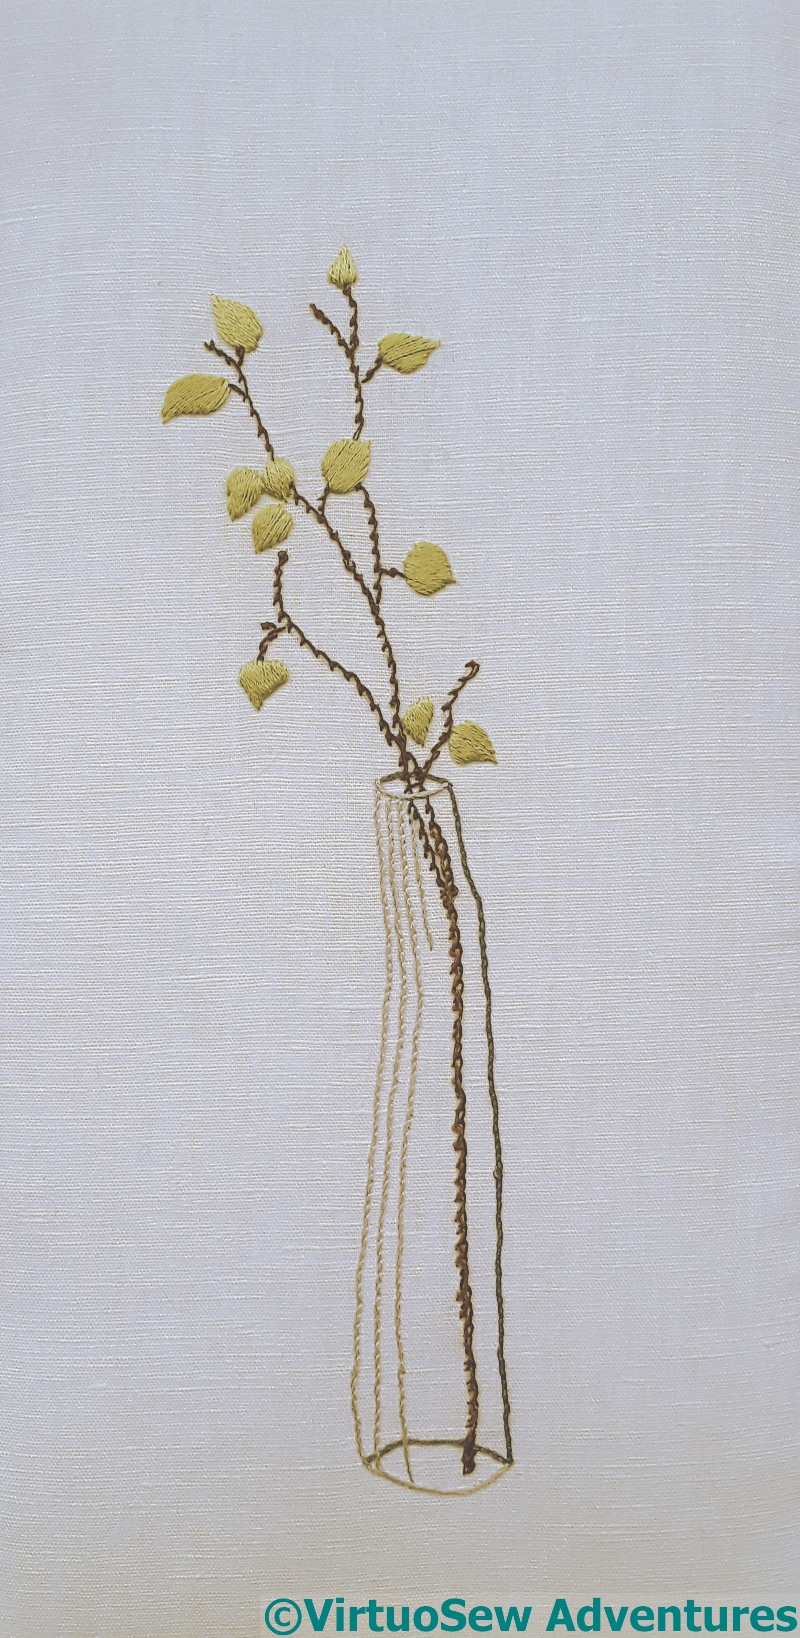
Embroidery based on the watercolour
A very simple embroidery, but, as you see, making use of a variety of stitches.
The vase was textured glass, not clear, and I represented that using lines of coral stitch among the stem stitch. I didn’t work it more densely, because I wanted it to have a certain lightness of touch.
The twigs were very rough and twiggy, so I used scroll stitch.
Finally, the simple shapes of the flowers were best represented using my neatest and most careful satin stitch. All I really wanted from them was the colour.
I haven’t the vaguest idea what to do with the embroidery, so I’ve laced it over a board to keep it tidy. But I thought you might be interested to see one of my very rarest stories – I know other designers often do detailed watercolours of their designs, but it’s not how I work. More often, I have a rough idea in my head, and work on each element while I’m planning the details of the next, waiting for the piece to tell me what it wants.
This has turned out well, but I’m still slightly bewildered that it happened at all!
More thoughts on the Jacobean Coat
Coat Design
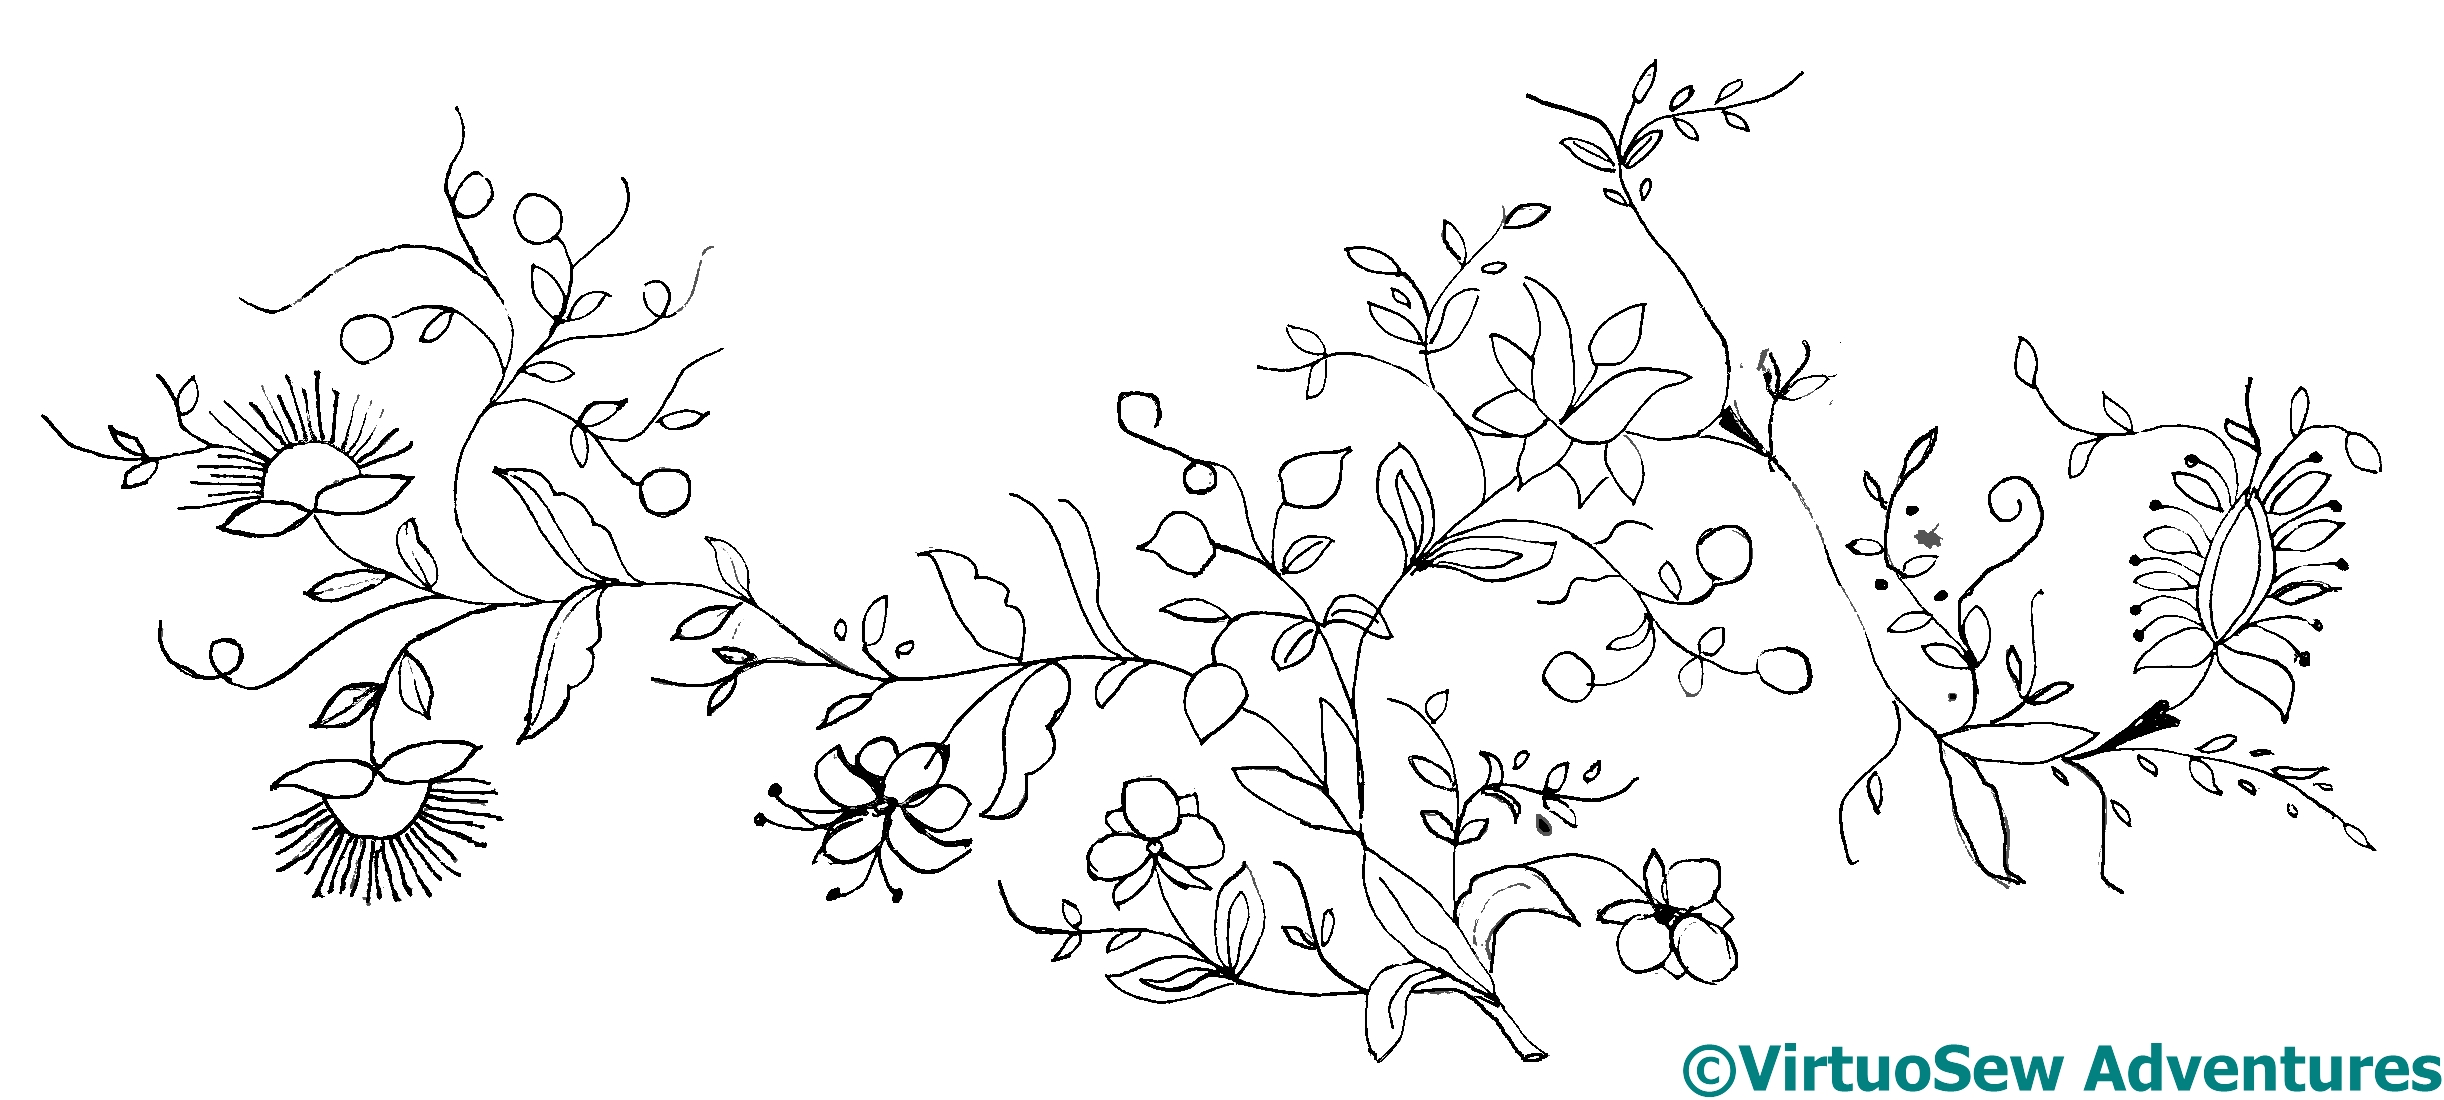
The design wraps around the back of the coat, leaving the front mostly unadorned. There are sprigs placed on the sleeves, too, one of them above the elbow, and the one on the opposite side below it. Remember the comments I’ve made in the past, about taking inspiration from Grinling Gibbons, and aiming for balance rather than symmetry? That goes for the placement of design elements in apparel as well as anything decorative.
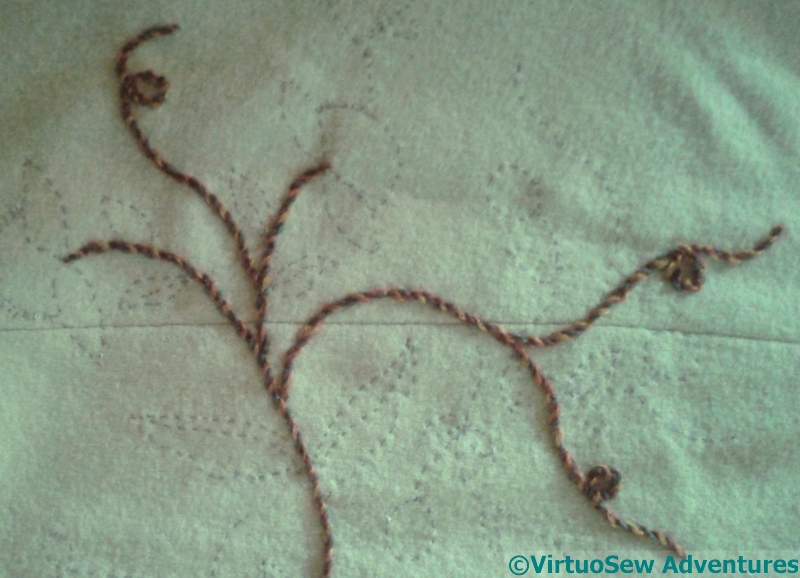
Starting Stems
My mother has commissioned the coat with various other garments and accessories in mind, and one of the ways we thought would help to tie the coat in with them would be to use a knitting wool which is involved in those accessories. Now, as it happens, I have experience with this sort of trailing design (remember the Piano Shawl?), and I remember that it can feel very disjointed and dispiriting as you work individual motifs, and however confident you are of the whole, it’s hard to be motivated when it keeps looking spotty and halfhearted.
However, the stems pull it together, so I thought this time I would start with the stems. It’s a big, chunky, variegated knitting yarn, so I will end up with the skeleton of the design, and all sorts of colours within it. I’m catching it in place with a fine woollen yarn, using small oblique stitches buried within the twist. They should be almost invisible.
Trialling Colours
However, that too is going to take a while, so I can trial colour placement for the motifs themselves! As you can see, we aren’t aiming for a naturalistic colour scheme. This may not be the final arrangement, and there will be tweaks along the way, but I’m happy with this as a starting point.
Harrogate Knitting and Stitching Show 2018

Harrogate Haul 2018
The Knitting and Stitching Show in Harrogate has been a yearly treat ever since I first went there. It’s a chance for friends to gather to talk about embroidery (or anything else, in the case of my lunch with Elizabeth from Sew In Love Stitch Art!) or to make new friends, to stock up on weird and wonderful materials you can’t get anywhere else, and to look at exhibitions and go to workshops.
Oh, and I have breakfast in Bettys of Harrogate, which is a treat in itself!
This year I had a very short shopping list, and managed to get almost all of it on Thursday night! I got a copy of the new Goldwork book produced by Sarah Rakestraw and Susan Hinde of Golden Hinde Goldwork – signed by the authors, no less! – as well as having a long conversation with them both that resulted in a few ideas for unlocking my logjam with Akhenaten. I also bought a couple of threads that I hope will make it possible to try again to create the uraeus on his crown. The book is a good, thorough work of reference that will be very useful in the future. Yes, I know I already have others, but you would be amazed how often someone’s explanation fills in the gap in someone else’s!
The Needles Excellency
I also found some light navy blue wool (lighter than it appears in the photo), which I hope will provide a background for the panel of The Golden Fleece, if I get to it before the Conversion of Placidus (or maybe even after…!) and a couple of reels of silk which I hope might help me to do another version of Akhenaten’s face. It’s not really strong enough as yet…
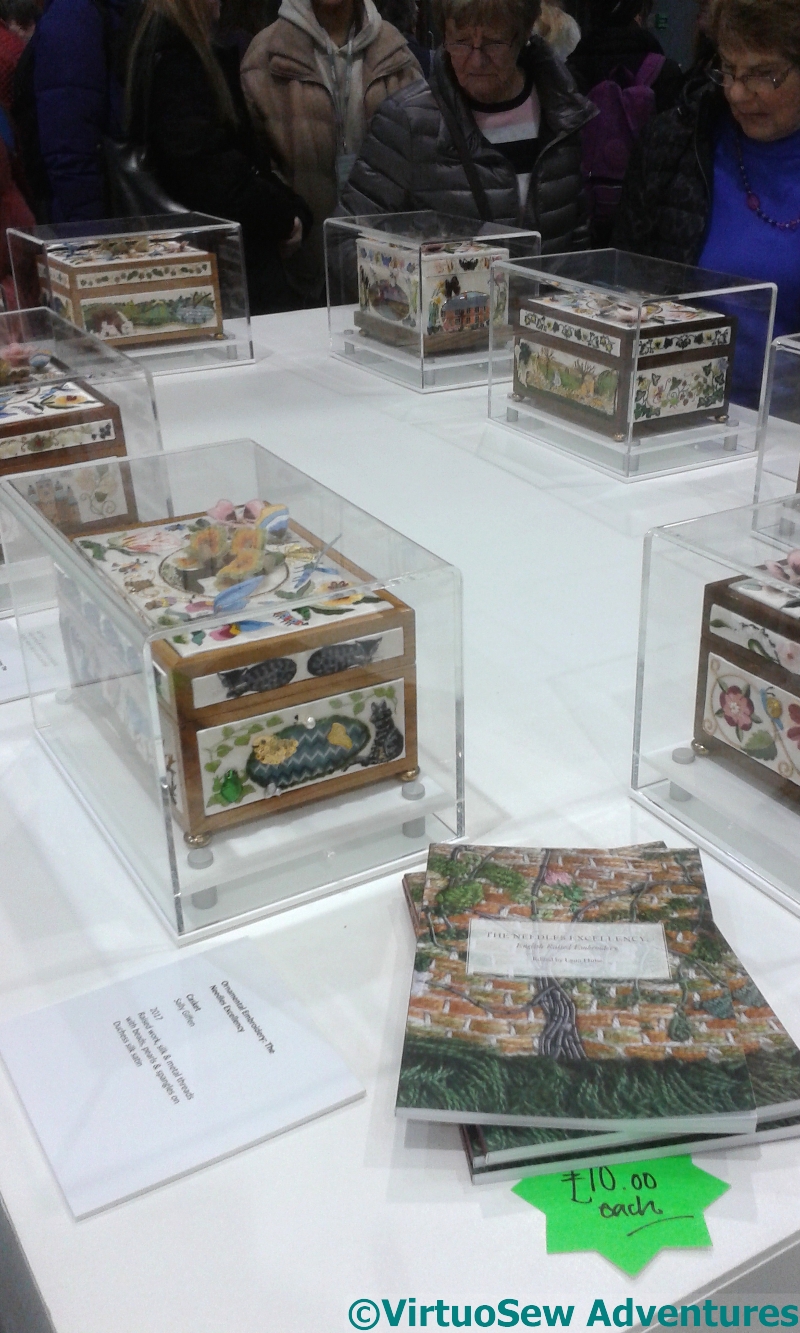
One of the really striking exhibitions was entitled The Needle’s Excellency, a display of stumpwork caskets worked by Nichola Jarvis and her students at the Ashmolean Museum. They are beautifully worked, the tops all largely similar, and all the sides worked in different designs created by the students from episodes in their lives or motifs they particularly liked. I believe there are thoughts of running the course again in a couple of years, so if you are interested, keep an eye open!
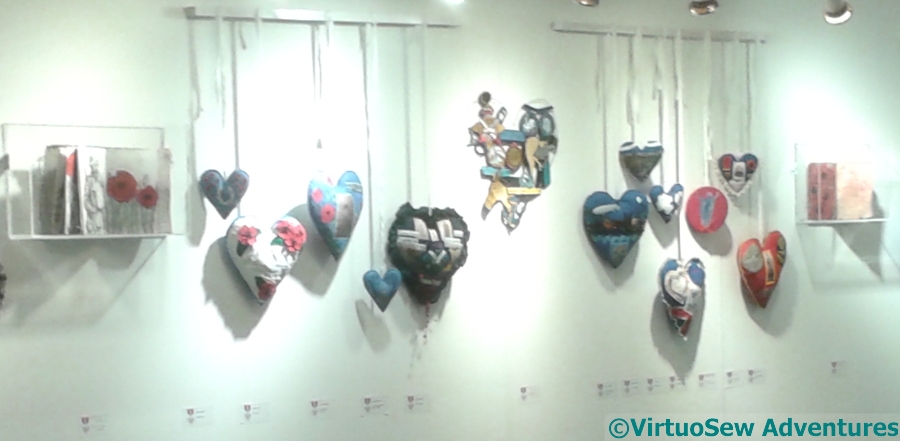
Harrogate 100 Hearts
Finally, there was, of course the Harrogate edition of the “100 Hearts” project of the Embroiderers Guild. There were some old friends I recognised from the exhibition in Liverpool, but most of them were new to me, and there were some fantastic pieces of work, providing food for thought and some pointers to yet more untold stories.
Head of Ankhsenpaaten – more progress
Starting Second Layer
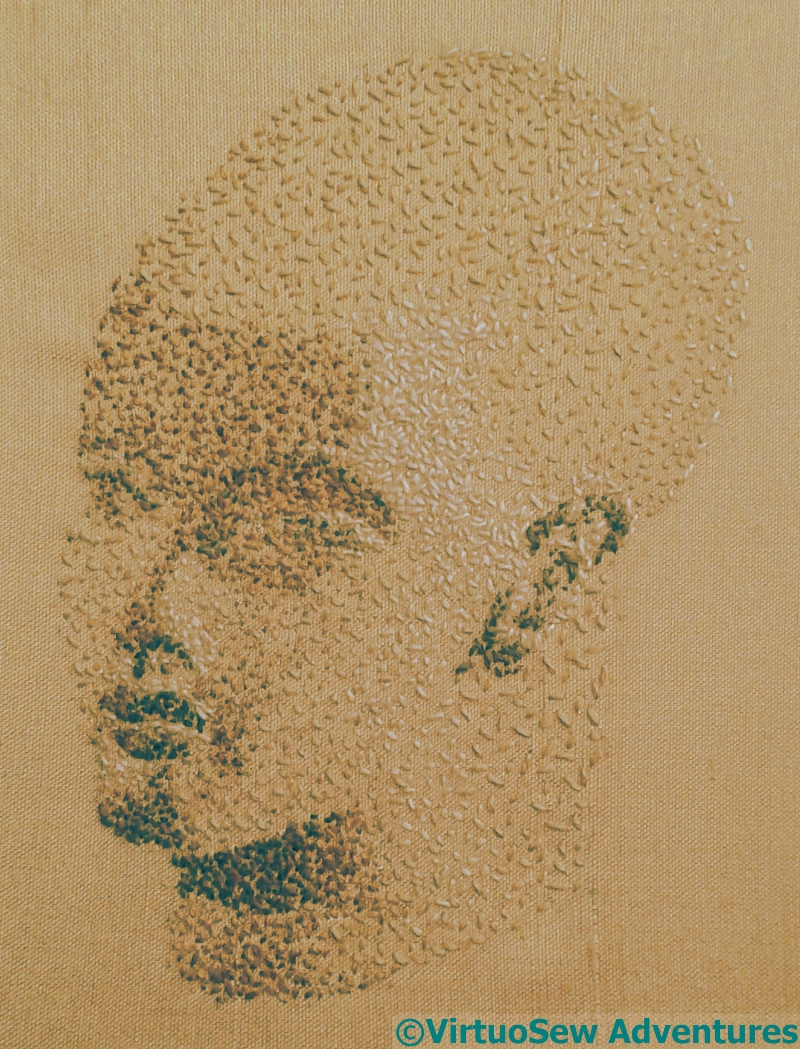
Once I had a single layer of stitches I removed the running stitch outline. Not as easy as you might hope, because my “real” stitching had caught some of them, but doesn’t it look better without!
The angle of the photo shows but doesn’t over-emphasize the slightly elongated skull the family had, and you can almost see this little girl as a daughter of Nefertiti – the same fine-drawn features, softened by youth and lack of care.
More Darks
The next thing to do was to add in some of the mid tone darks. The photograph I’m working from does have some quite strong shading, and I felt that in spite of my early Dark darks, there wasn’t quite enough form.
However, this point I had a bit of a wobble, because I was wondering whether I’d done too much dark. Looking at the photo, I now think not, but I do need a mid-mid-tone to blend in the curves of the face a little bit more.
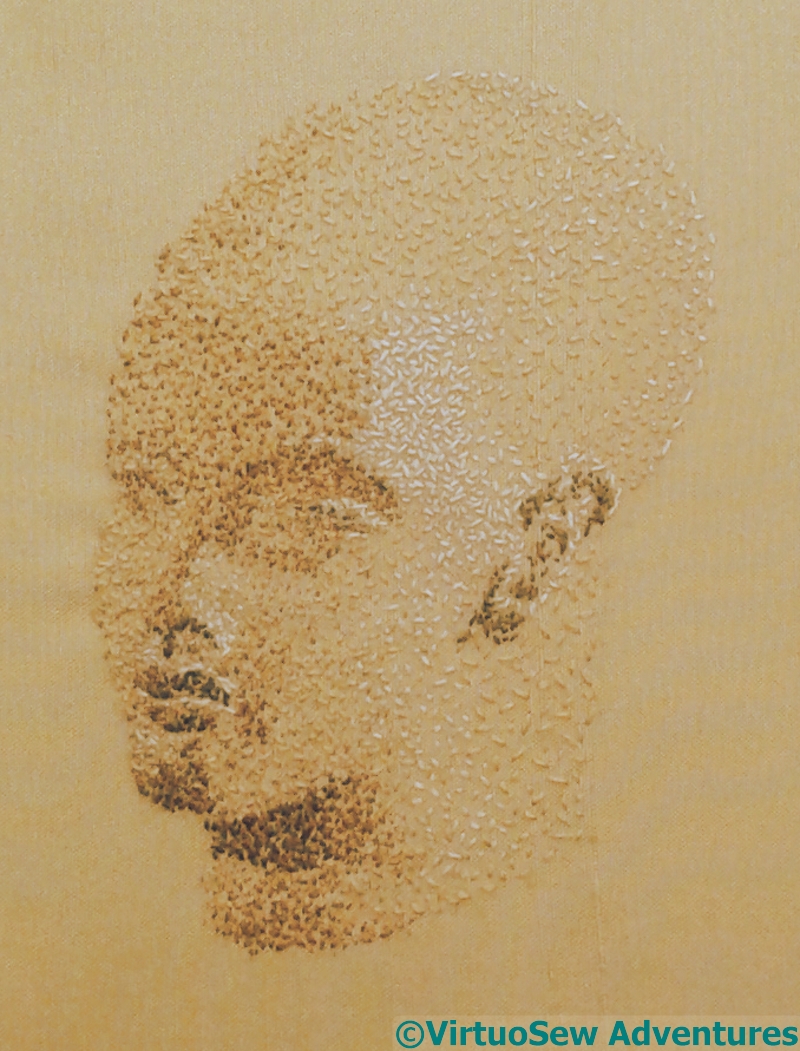
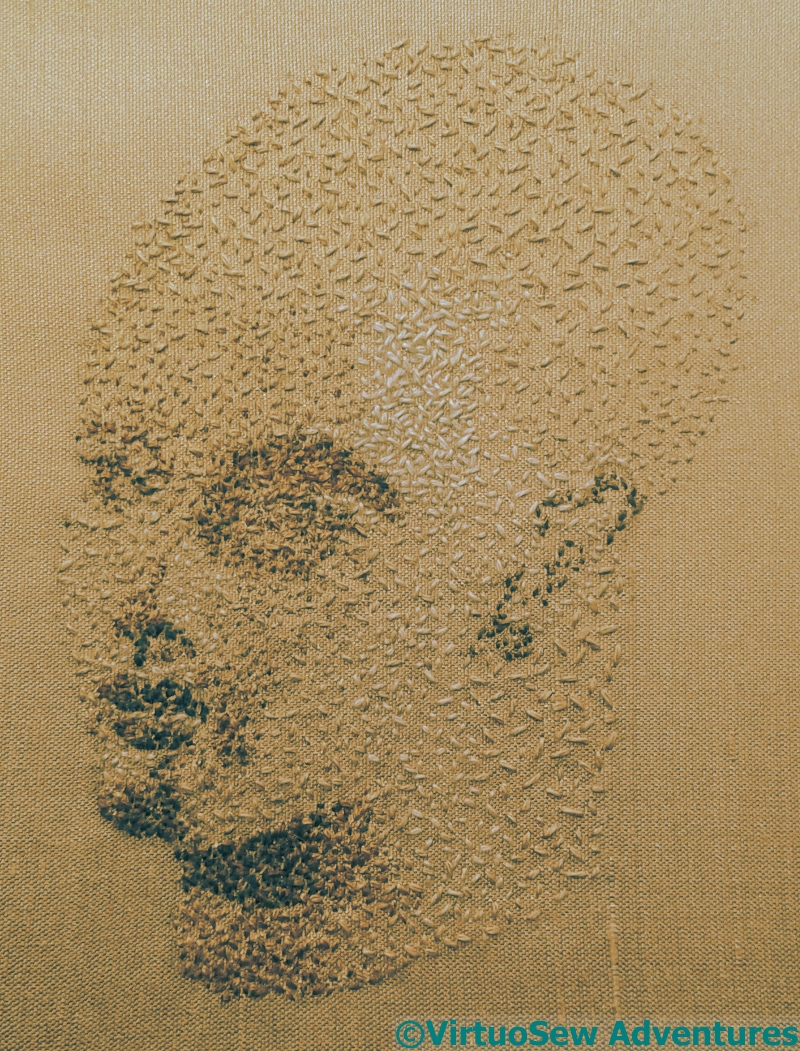
More Lights Too
However, I put in more lights to help myself back on track.
You can see, if you click to enlarge the photo, very light cream stitches around the highlight on the temple, on the eyelid and around the curve of the nostril and the light areas around the lips.
I need to extend some of these, and add those pesky mid-mid-tones. But I do think it’s going to work.
And I’m completely astonished at myself. I’ve approached this almost as I approach a watercolour, and you wouldn’t have thought embroidery – certainly not my embroidery – would be amenable to such treatment.
Gosh.
The Jacobean Coat – getting started
Coat Designing
This is going to be a truly multi-generational project. The design elements are stolen from a tablecloth my Grandmama did during the war, and I’m going to embroider it on a coat for my Mam (her daughter). I will write a post about Grandmama’s tablecloth one of these days, because it’s an absolute cracker, full of wonderful needlelace patterns I’ve never seen anywhere else. However, as it is stitched in white on white fabric, I will have to become a better photographer first!
Stage One of Design Transfer
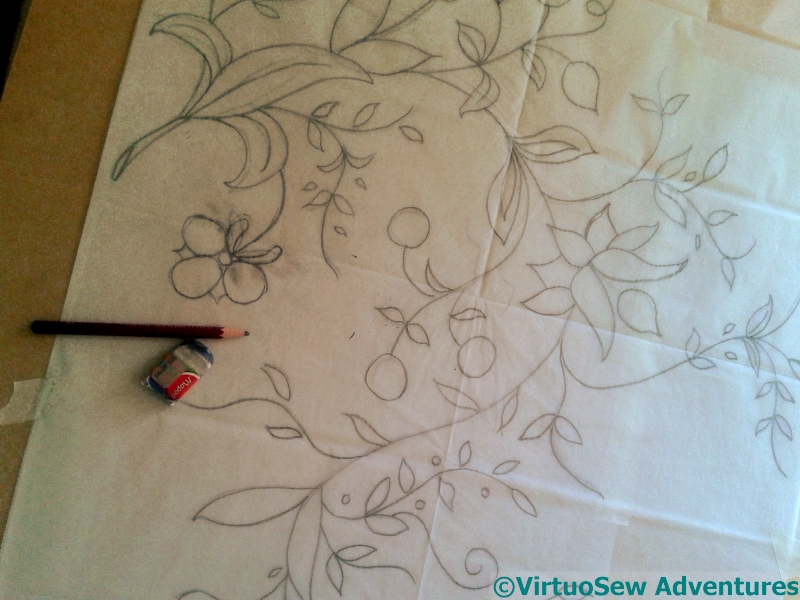
You may recall that during the Great Lady’s Magazine Stitch-Off, I wrote a post about the different methods for transferring designs, particularly concentrating on their advantages and disadvantages in different circumstances. The fabric of the coat (this will be the second incarnation of this fabric!) is a pale green boiled wool. It’s dense enough to have some structure and weight, light enough to be easy to stitch (I think). You might have thought it would accept gracefully any method I chose.
Stage Two of Design Transfer
However, when I thought about transferring the design, I found myself ending up with the most time consuming of the lot! Since the garment is unlikely to be washed, and rubbing may damage the surface, my options are somewhat limited. Transfer pencils spread, sometimes, if the ironing temperature is wrong, the chalks have a nasty habit of not always rubbing off when they’re wrong, and my quilter’s pencil doesn’t work on strongly textured fabrics.
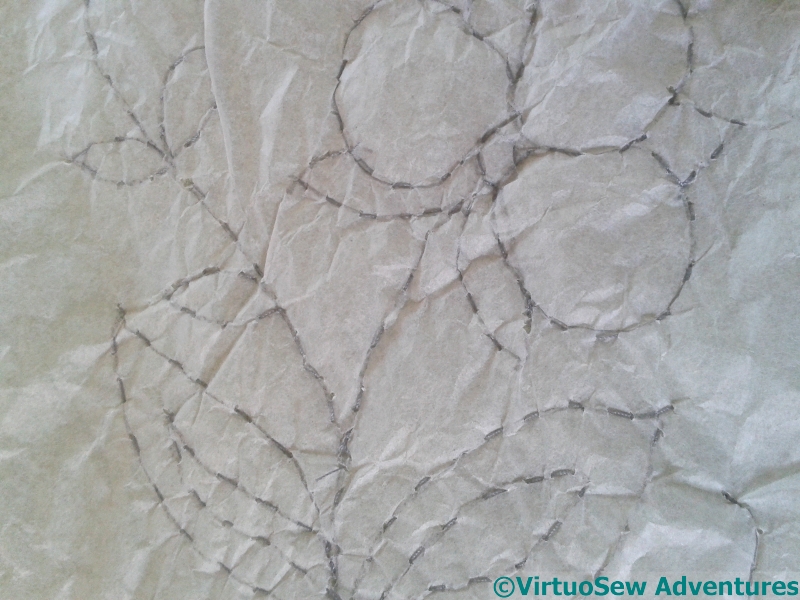
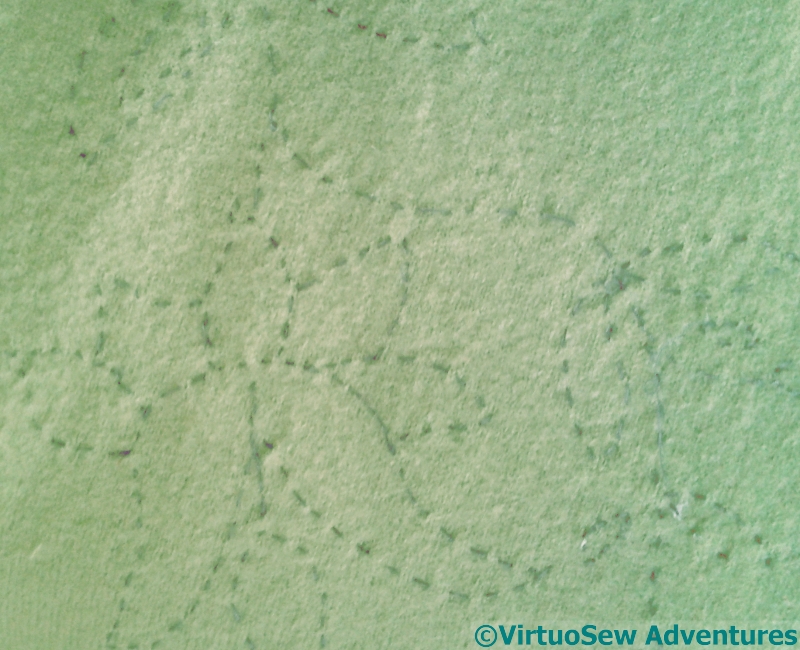
So, running stitch through tissue it is, then. This will take a while…..
The Little Robin finished!
Working On The Robin
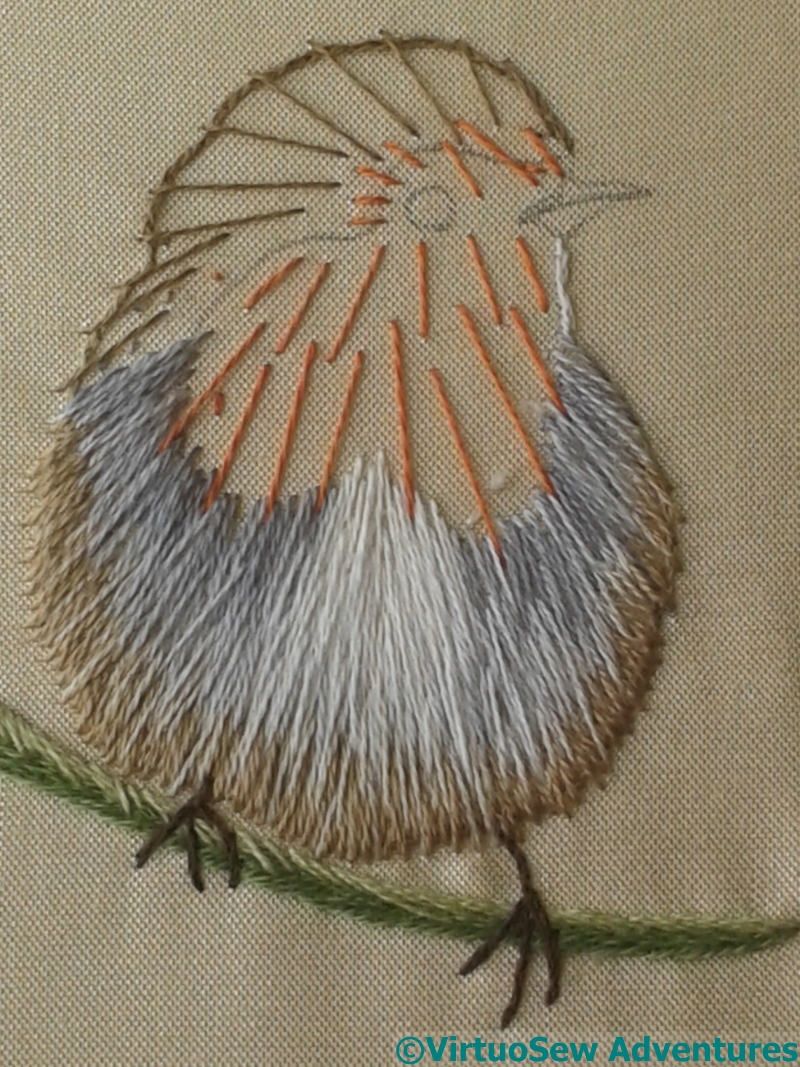
I have to admit that I have enjoyed the little Robin. Here is a halfway point, showing that while many suggest drawing direction lines for their stitches, I chose to draw with my needle instead. I found that the more helpful because it gave me a chance to gauge the overlap of each section with the next.
I’ve gathered that some tutors suggest working small sections to completion, and others in colour layers. I took the latter approach with the (I’m sure not original) refinement that sometimes I went back and did another layer in a colour I’d already done.
Stumpwork Bits
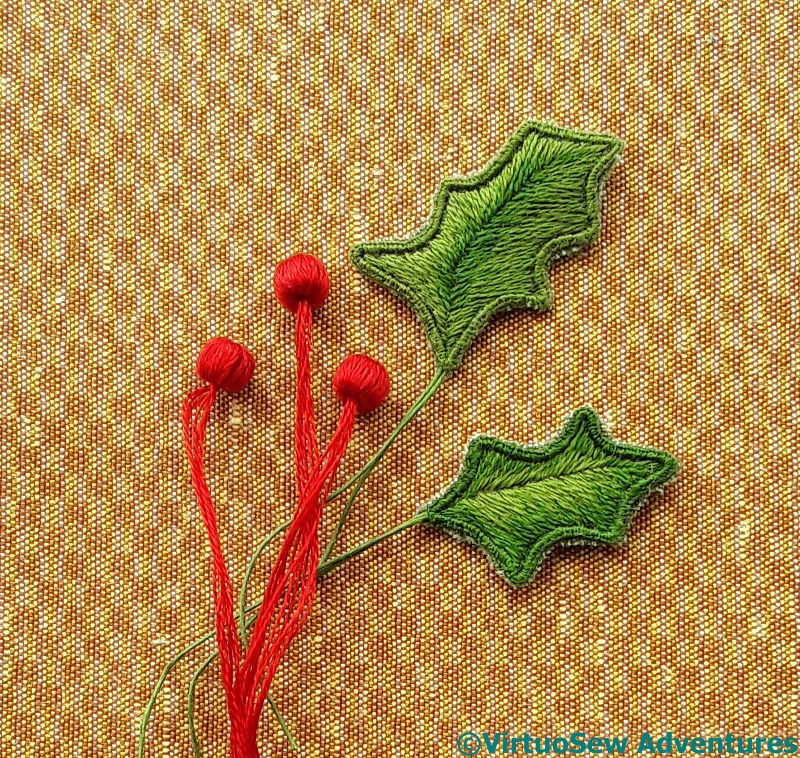
I also had fun with the stumpwork elements: two simple wired leaves (nothing terrifying about that, after working on the Stumpwork Violets for Dreams of Amarna!) and three berries made of beads wrapped with thread. I’ve not wrapped beads before, but as it turned out, this, too, turned out to be fairly straightforward.
And fortunately, my wandering applique scissors returned to the fold in time to be of use…
The Robin Completed
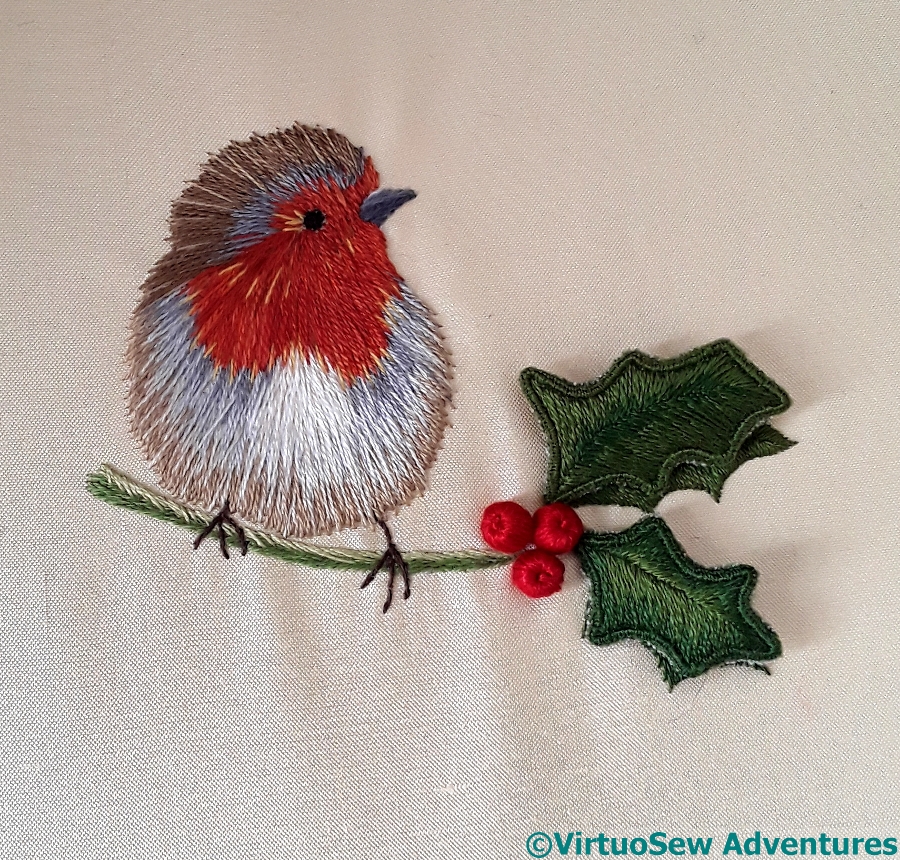
So here he is.
As you can see, even though I worked him in a hoop, and regularly made sure the fabric tension was maintained, there is a little bit of puckering. That may reflect, as much as anything else, a certain anxiety on my part. I think I will mount him on a round card and add him to the winter decoration corner when I set it up, and I should be able to ease some of the puckering then.
And – for those enquiring minds that wish to know – while I can’t say I’ve fallen in love with silk shading, we are definitely on better terms than we were!
Renovating Grandmama’s Footstool
Beginning Refurbishment
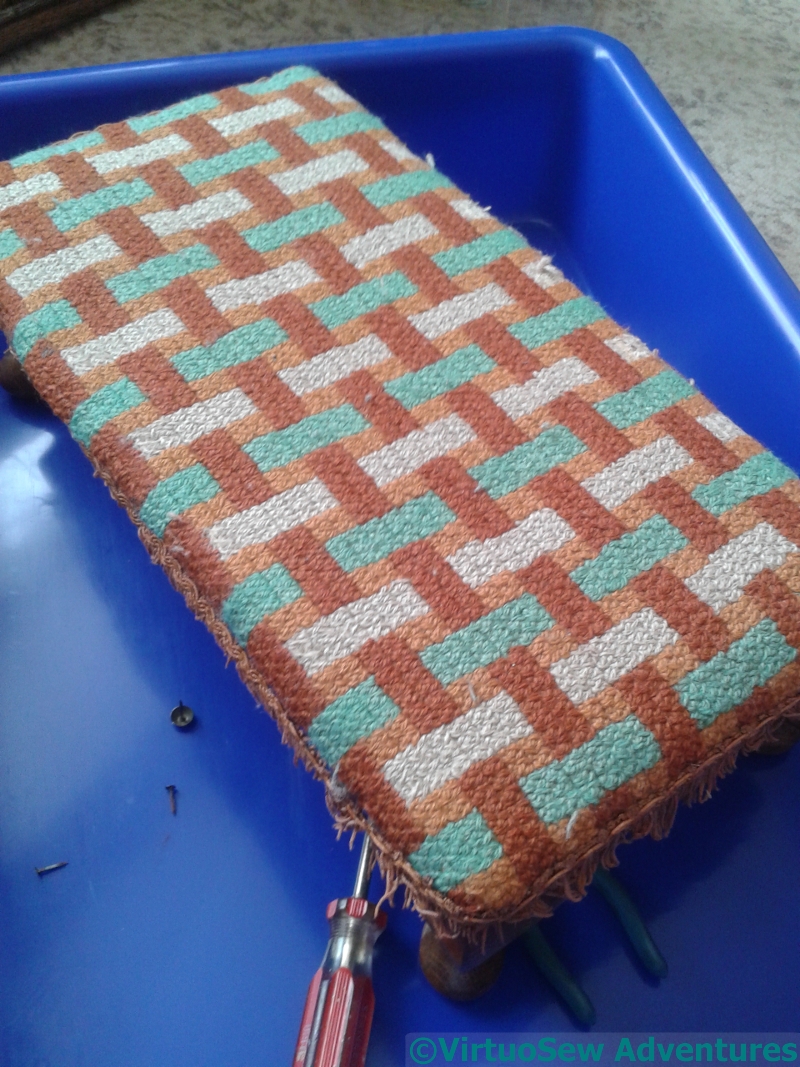
Having been working on the Heart, I was still thinking about Grandmama, and noticing that one of the footstools she made was getting a bit shabby and buckled, I decided to renovate it…
It’s worked in tapestry wool on binca (that strange cotton matting fabric that stitching happened on at primary school – does anyone else remember it?). I think I still have, somewhere, Grandmama’s draft of the pattern on squared paper, but the best I can do for putting my hand on it is to say it is Somewhere In The House! Since I don’t have a workroom, I put the footstool in a plastic tray, which I seem to remember is sold for cleaning oven trays. I use it for wet felting and to contain messes when I’m doing things like this. The blued-steel flat-headed nails were very hard to get out, and indeed, some of them lost their heads (!) and didn’t come out. In due course they were hammered firmly back in, instead!
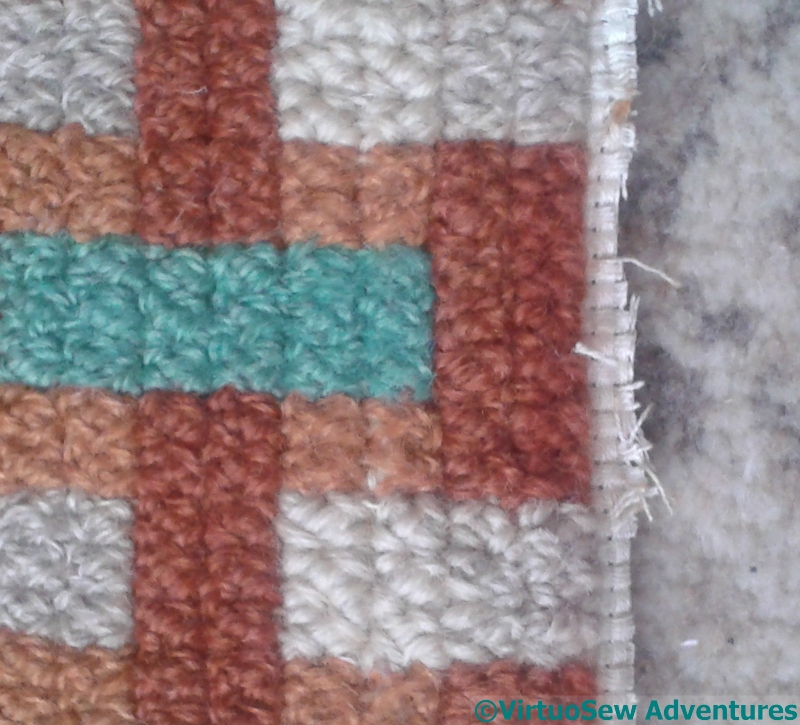
Repaired Stitching
The binca around the edge was badly mauled by the nails, so I knew I would have to do something about that, but in the meantime, there were sections of the canvaswork that needed to be reinstated. First I washed and dried the whole thing (by hand) and then spent some time looking very hard at the stitching. More than fifty years of use have worn a few small sections, and the stitch took some identifying, but in the end, I decided it was Rice Stitch, and found a pale oatmeal tapestry wool that didn’t shout its’ newness too loudly.
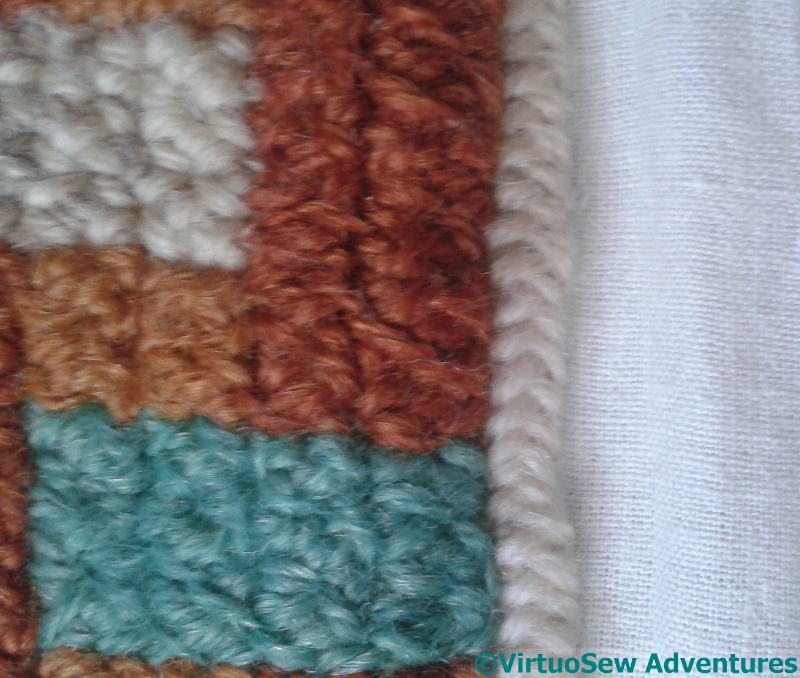
Attached To Calico
Then I attached the binca to some calico and covered the join with one of the long-armed cross stitches. I wasn’t absolutely sure I had enough of the plain oatmeal colour so I alternated a needleful of each all the way around.
In the end, I had plenty left over, but I’ve said many a time before that when ekeing out assorted supplies, the trick is to Make It Look Deliberate!
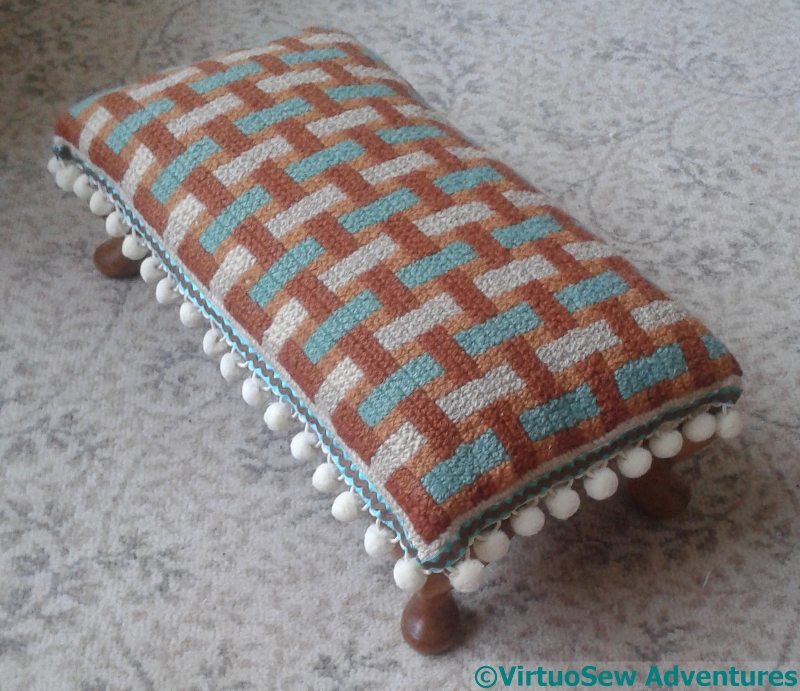
Finished Footstool
I had to do that with the trim as well. Nothing in our local needlework shop was even remotely suitable so in the end I took some bobble fringing, a length of ribbon and some ricrac, and made my own!
There are one or two infelicities in the details, but it’s certainly got a good few years left in it now.
Thank you, Grandmama.
“Leaving The Tyne, 1915”

Leaving The Tyne 1915
My contribution to the Embroiderers Guild 100 Hearts Project, commemorating the end of the First World War.
Dedicated to the memory of the men of the merchant fleet, and in particular the many immigrants and naturalised citizens who, sometimes in the face of xenophobic hostility, continued to serve their adopted country faithfully and well, and brought up their children to think of it as home. But in especial memory of my great grandfather Henry Frederick Bloom, who was Swedish, naturalised shortly after my Grandmama’s birth, and himself served throughout the War in the merchant fleet.
It has been allocated to the Liverpool exhibition, at Liverpool Cathedral, from September 7 until October 10.
Assembling the Heart
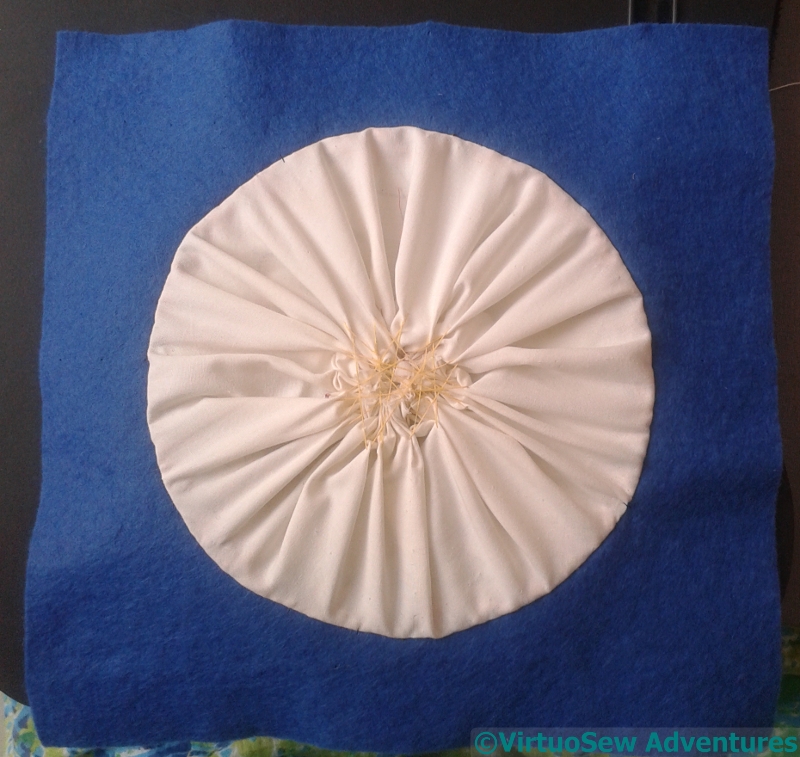
Gathering Backing Fabric
The assembly involved a lot of stages. I cut the backing fabric into a circle and gathered it up behind the design to provide an extra layer of protection against the hurly-burly of the stuffing.
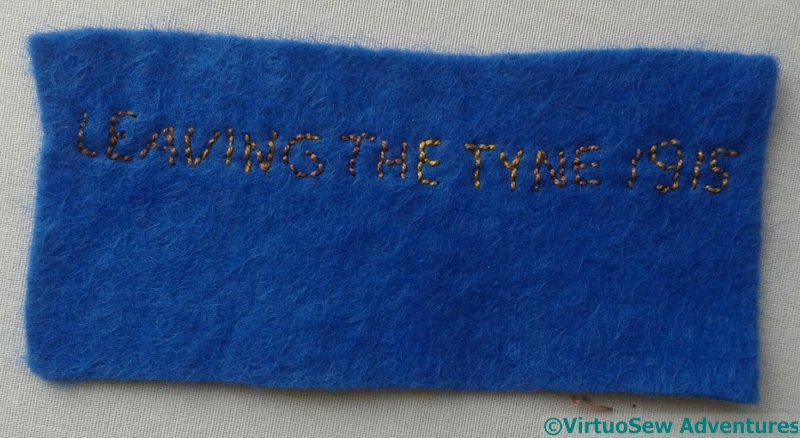
Title Label
Then I had to make a stitched title label (it also has my Guild membership number, but I forgot to take that photo!) to attach to the back. I’m really not keen on lettering in stitch…
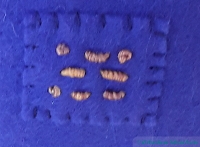
Morse Code Label
At this point, though, I thought, I simply cannot fail to have my Morse Code signature on the back too. Morse Code was a staple of communications until well after the Second World War, so it was very much in use during the First World War..
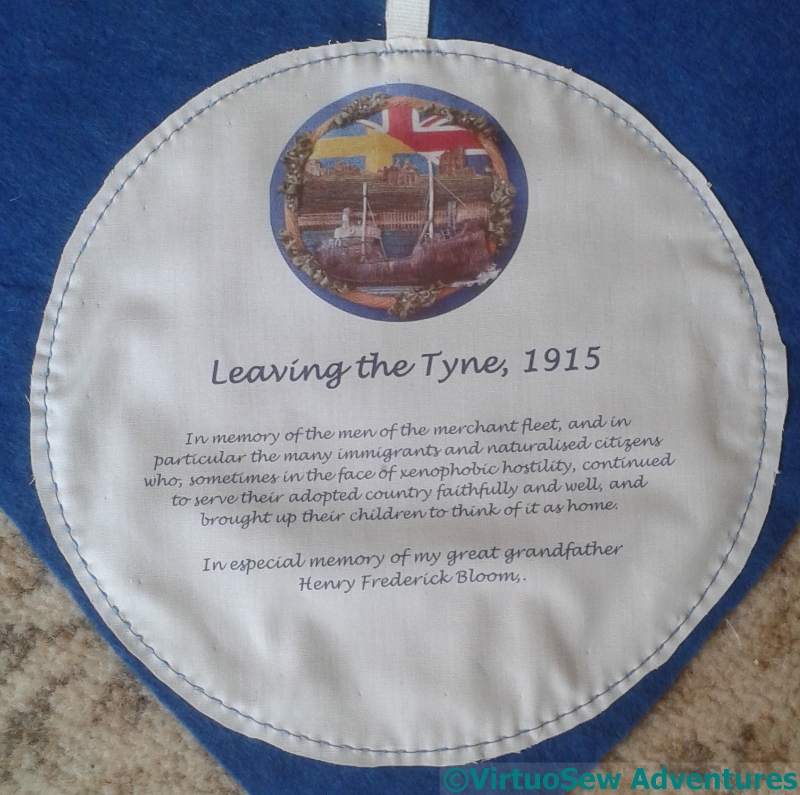
Dedication Stitched In
Having attached my title and signature labels to the back piece, I printed a photo of the finished roundel, the title and the dedication onto a piece of fine cotton, within a circle, to echo the circular shape of the roundel on the front. Then I attached the cotton circle to the inside of the back piece. When the piece is finished, a circle of backstitches on the back will be all that shows that this is there, but I will know.
And so will you!
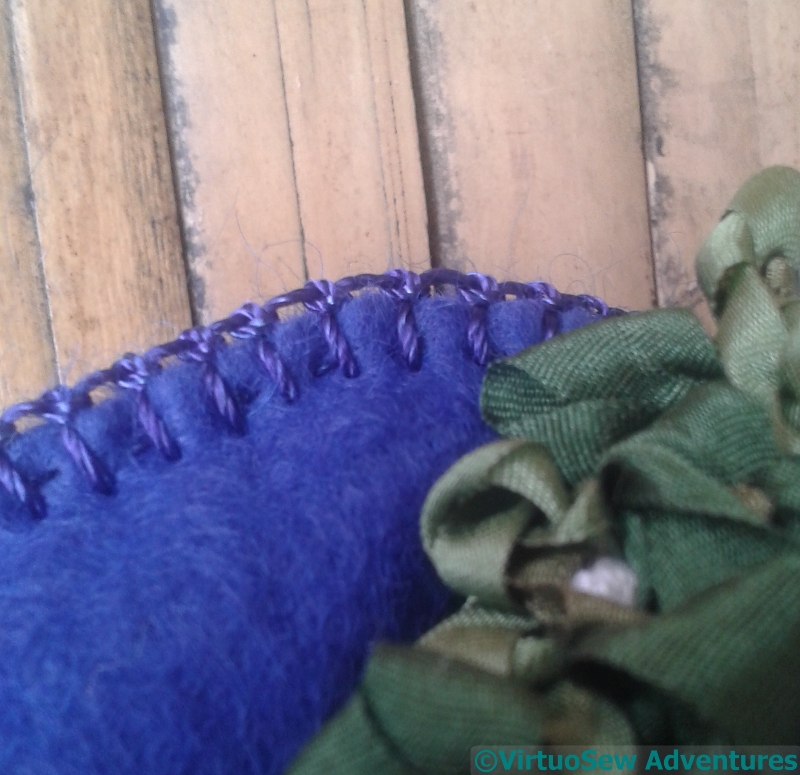
Antwerp Stitch Edging
I made assurance doubly sure of the assembly by first using running stitch to assemble the two sides of the Heart, and to close it after stuffing it. Then once the Heart was stuffed and closed, I reinforced the edge by stitching around it using Antwerp Edging Stitch, which is a knotted variation of blanket stitch.
Final reveal next week…
Final Details – I hope!
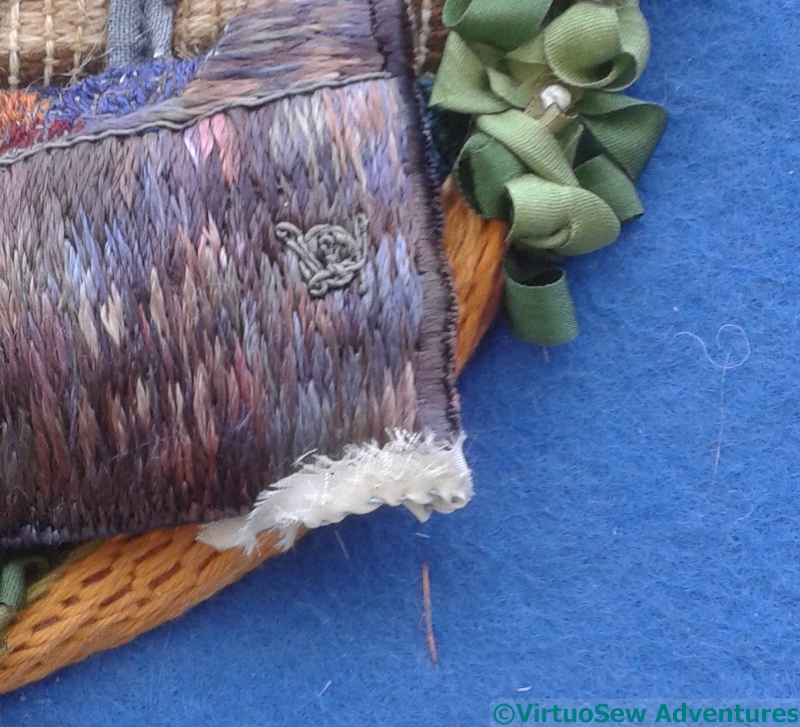
First Attempt At a Bow Wave
My first attempt to tackle the bow wave was to shred some white silk ribbon and try to attach it to the bow. That seemed a bit too white and a bit too solid.
What it did do, however, was give me an inkling as to how tricky the attachment of the bow wave was going to be. “Fiddly” doesn’t come close! And remember, there are a lot of delicate little details already assembled, so I couldn’t be too heavy handed with the attachment, either.
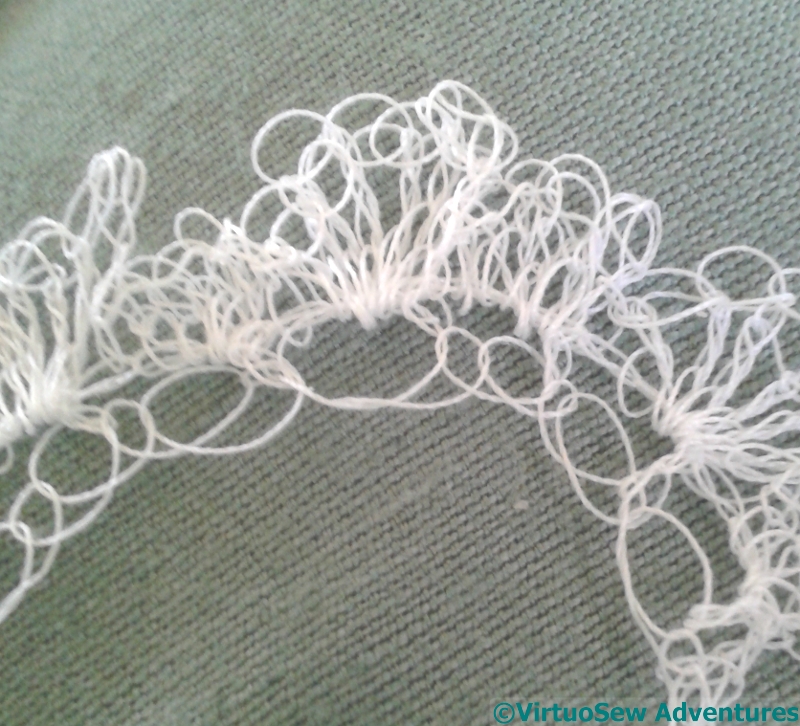
FreeForm Crochet
Having decided something lighter was needed, I tried another experiment: freeform crochet. In this case I started by using one strand of a stranded silk, decided that even that was too heavy, and moved on to sewing cotton. I’ve done a sort of shell pattern, but varied the sizes of the shells slightly to give a bit more unevenness to the whole thing. I’ve also crocheted fairly loosely to give the right frothy effect of seafoam.
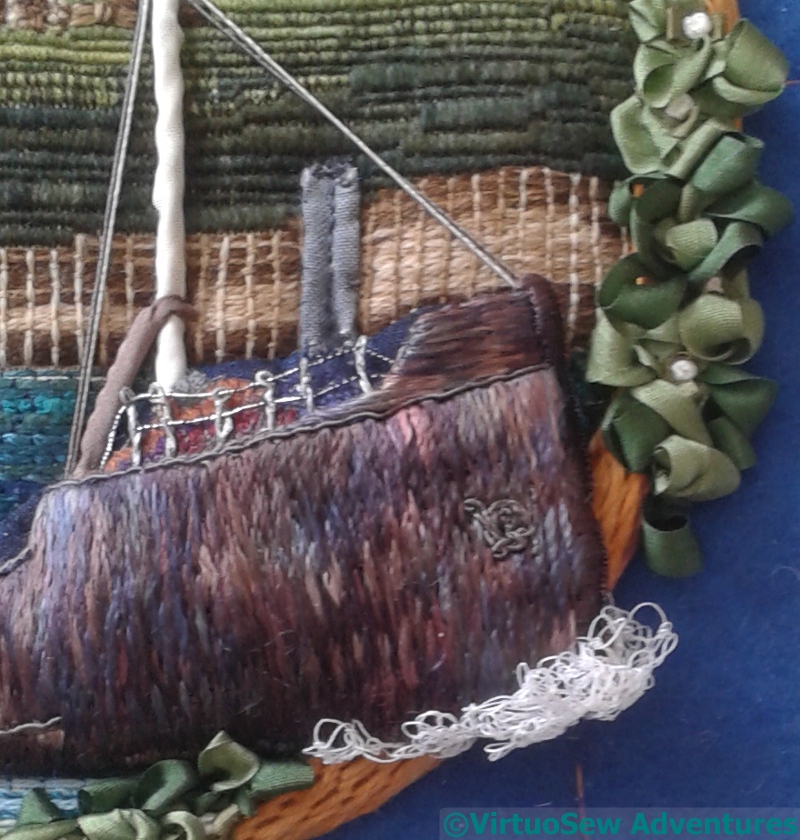
Last Few Tweaks
The last few tweaks here are: the addition of the bow wave, and then the addition of railings around the deck cargo on the bow, and finally the rigging. The railings are made using a paper covered wire painted silver and dirtied with inktense for the posts, and two lines of black and silver twist for the chains. They’ve been surprisingly effective in helping everything to sit at its right plane in the sequence from foreground to background.
There maybe isn’t enough rigging for an operational vessel, but the photo wasn’t clear, and there is enough to have point and purpose
Now all I have to do (all!!!) is assemble my Heart!