
Category: General Embroidery
Finishing the Form Cushion – Stage One

Corner of the Form
When I’d finished the stitching of the canvaswork for the Form Cushion, it was a little puffy and warped, and badly in need of blocking, but being long and thin I had nothing suitable for blocking it on. Until I had an inspiration – use the form itself!
We covered the form with an old towel, and then worked on alternate sides of the form. I’ve put an old length of cotton curtain header over the canvas, so that when I come to remove the staples, it will be fairly easy to do.
In theory…
It took quite a lot of heaving and tweaking, and the combined efforts of my mother and myself (for a client, she’s having to put a lot of effort in here, isn’t she! – she’s started on renovating the form too.), but in due course we managed to get the canvas firmly attached, and stood back to look at it.
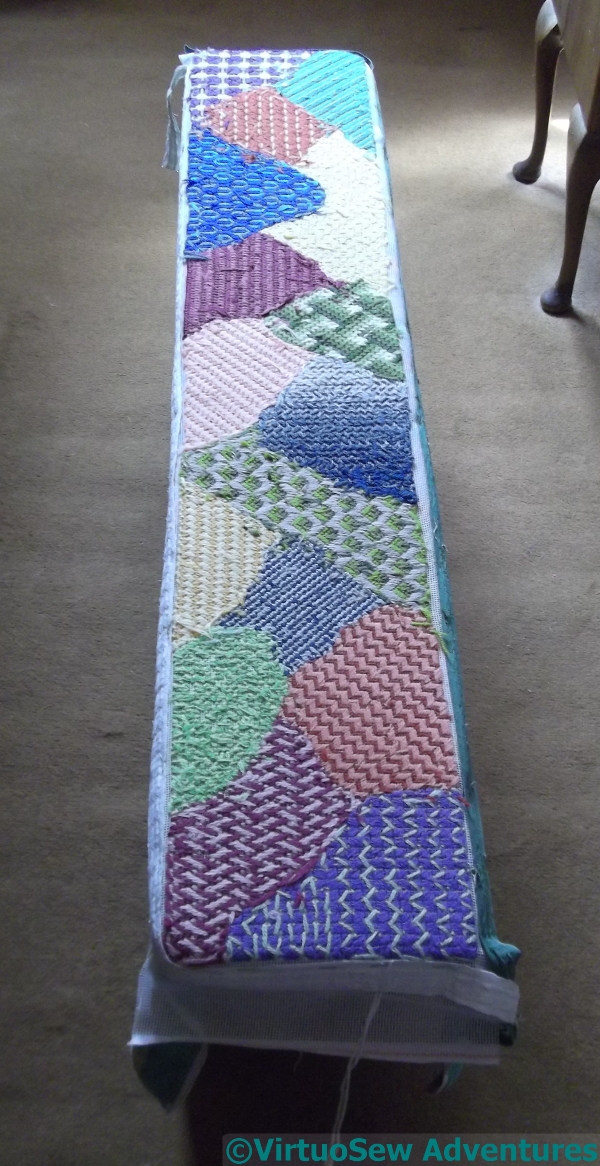
Taking The Long View
It didn’t look nice and smooth as it does here. It was bumpy and lumpy, and not very happy at all.
So I steamed it gently, using a steam iron but not letting it touch the wool. Very, very carefully, and slowly..
It started looking a great deal better (even upside-down), but then we set it aside, still stapled in place, for a few weeks. We wanted to be sure that it was very thoroughly dry before we moved on to actually making the cushion.
And besides, I’m not entirely clear on the type of cushion it will be!
Three Rabbits – or are they Hares?
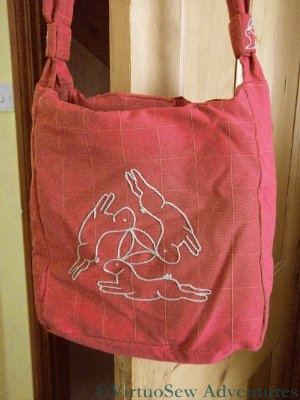
Three Rabbits (or Hares) Bag
Rummaging around as I try to reorganise the house, I’ve rediscovered a bag I made some time ago.
The Three Rabbits (or Hares) design is an ancient one, found all along the Silk Route and in many different cultures. I’ve seen it in textiles and ceramics, carved as mere outlines, polychrome with a wealth of fabulous detail. I’ve also seen variants with animals other than hares, and even variants with more animals in the circuit.
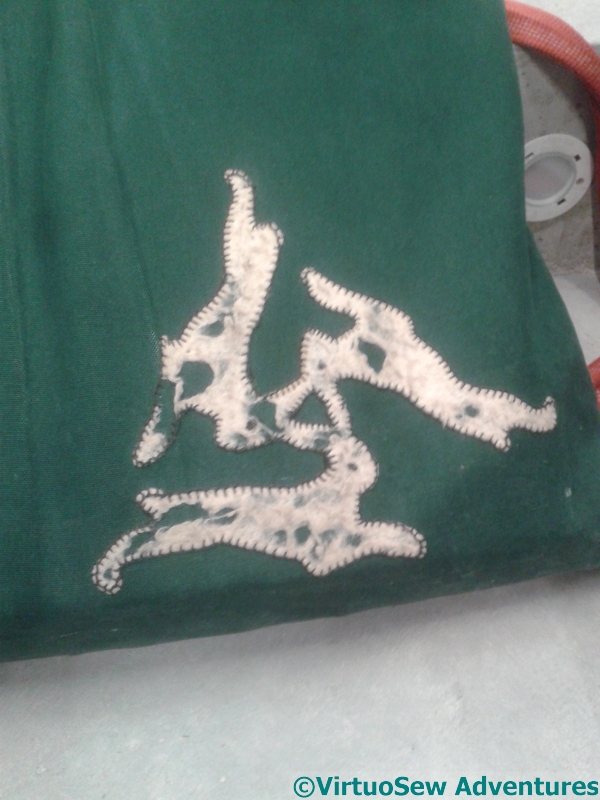
Close up of the rather travel weary hares on David’s bag
I think I first encountered it when I first met David Singmaster, the mathematician and metagrobologist – it’s one of his many interests, and he has a drawstring bag decorated with the design that he takes everywhere, stocked with mathematical puzzles and games to entertain anyone who comes near. I saw it recently when David and his wife were at a conference my husband and I attended, and his wife remembered that her mother had had to remind her of how to do the French Knots for the eyes. I took delight in noting the puzzled brows that ensued whenever David took anything out of the bag!
My version is one of the simplest, I suspect. I designed a very simple circuit of hares (or rabbits!), and embroidered it using chain stitch on a russet coloured furnishing fabric. The bag is padded with wadding and lined with the same fabric.
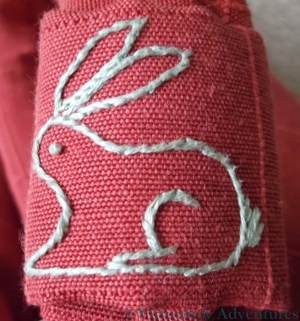
Bunny Buckle
Finally I designed a small buckle-type ornament made of a strip of fabric embroidered with a very definite bunny embroidered in stem stitch, and put one on each end of the strap.
I’m intending to do a much more complicated version one of these days, maybe with a mille-fleurs background like the tapestries in the Musée de Cluny.
Watch this space, as they say!
The Worktop bin – finished
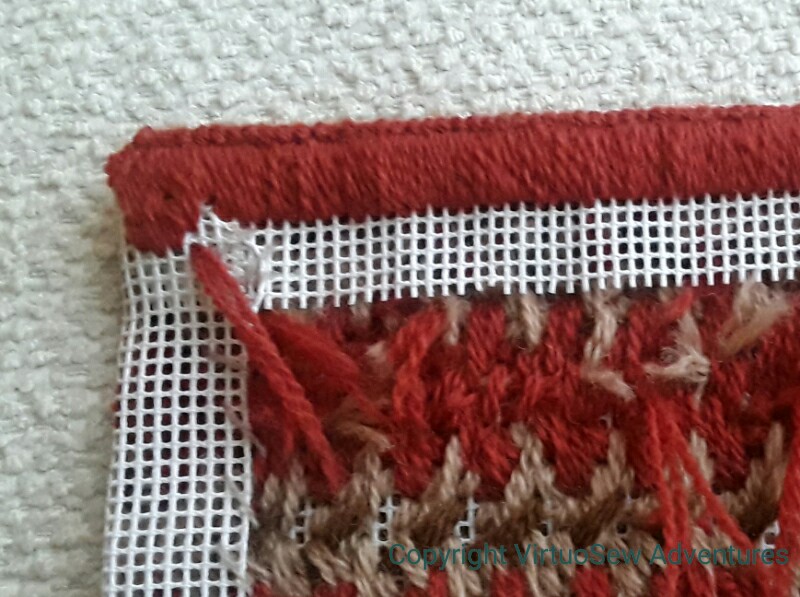
Edges turned in
There is always more “engineering” involved in these projects than you expect. Once I’d turned in the edges and done the herringbone stitch “piping”, I realised that the top of the bin was probably going to be on show on the inside. I found some felt to line it with, but since it was a spare offcut, I decided to run a line of straight stitches on the inside, just in case there wasn’t enough of it!
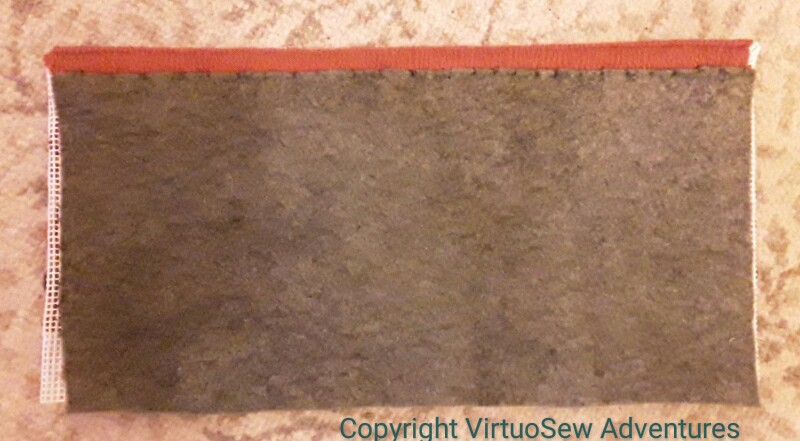
Felt lining attached
I attached the felt with small stitches, not too tightly, but just enough to make sure that it doesn’t move unless I want it too. It’s almost a pre-felt, not too dense, so it showed some adventurous tendencies. Some firm treatment, a tug or two, and it settled down nicely.
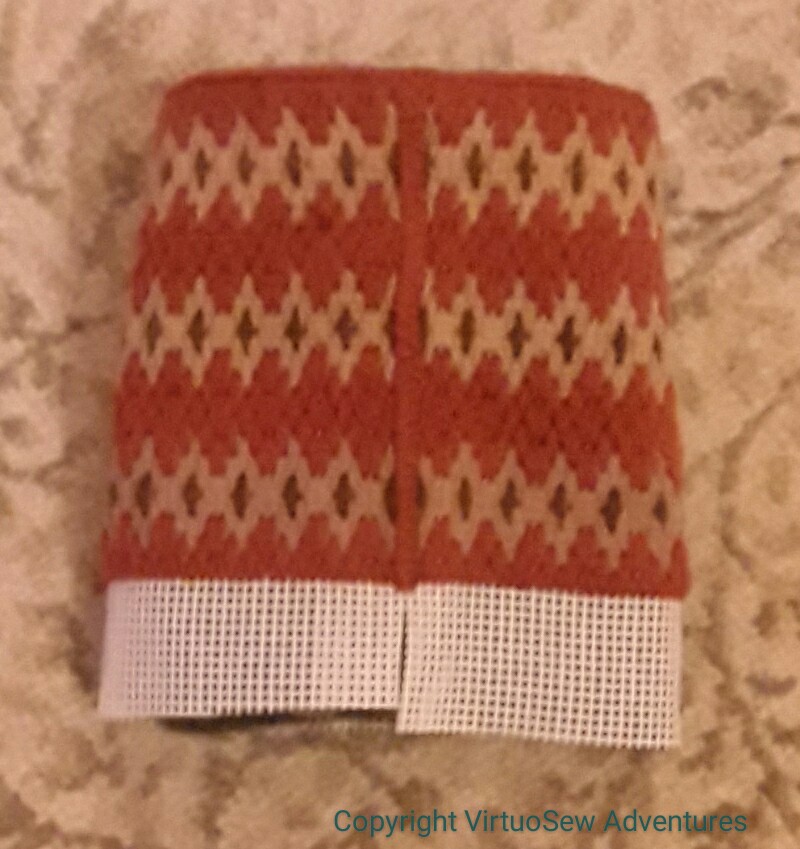
Vertical Seam
Which allowed me to consider tackling the seam turning it from a flat piece to a tube. After some of my usual thoughtful staring, it finally occurred to me that I already had the answer: Herringbone stitch, just like the edge finish at the top.
Obvious, really, isn’t it! It makes a sturdy seam which won’t permit much lateral movement, and since I’ve used it on the top edge, it doesn’t introduce yet another texture.
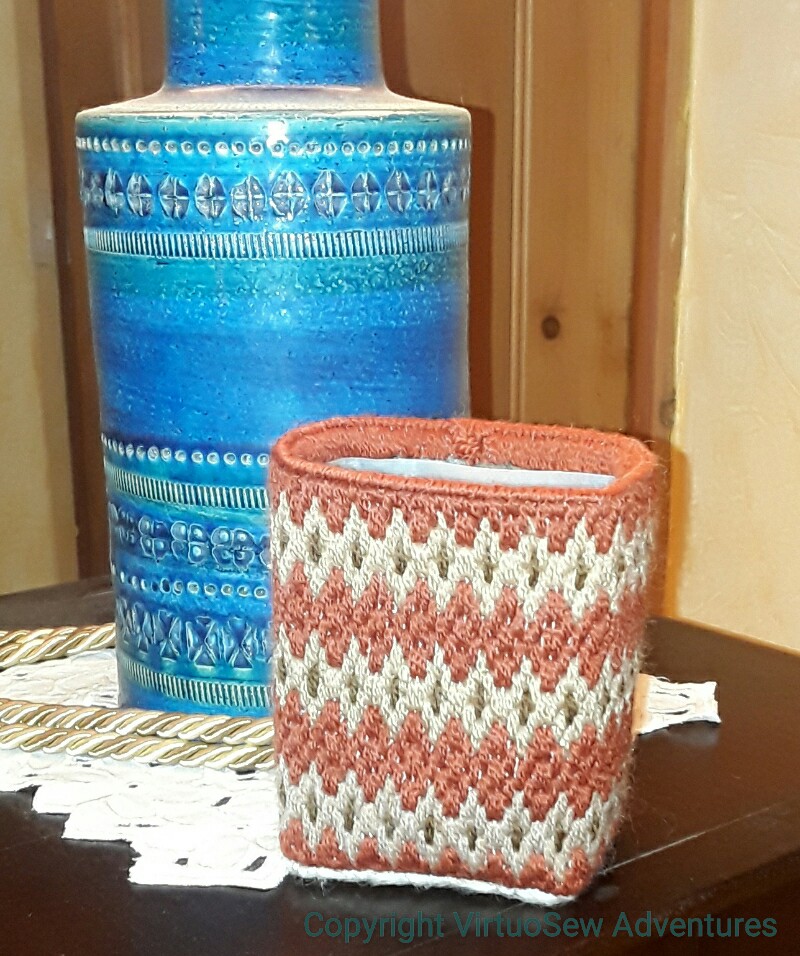
Finished and in service
When it came to sorting out the base, I put the sawn-off milk bottle inside to make sure I made everything fit, and folded in the canvas, holding it with a few rough stitches.
Finally I attached a piece of very dense felt to the bottom to hide all the canvas edges and make sure they don’t scratch any of the furniture. It is already in use, and you have to admit it’s very much better than an unclad sawn-off milk bottle would be!
Coalbrookdale in Cross Stitch
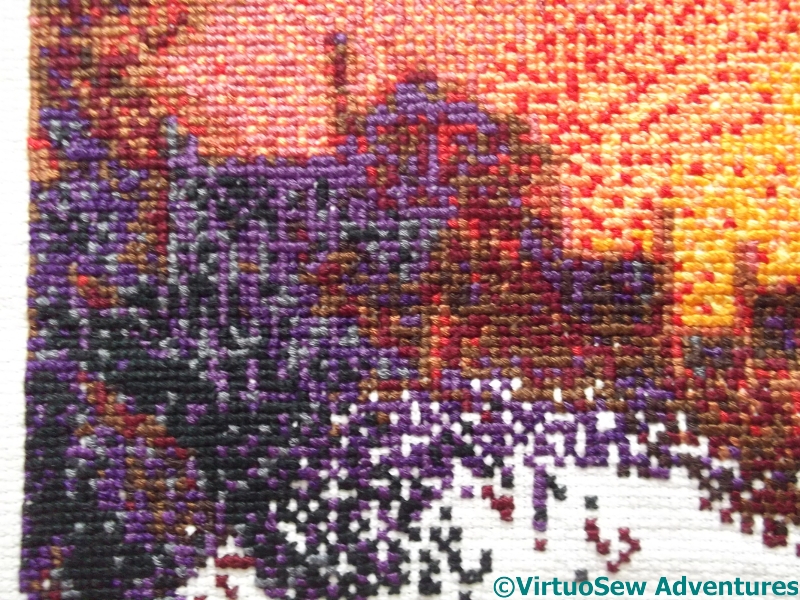
Coalbrookdale – Detail
Many years ago I used to design counted cross stitch kits, and did some for the Ironbridge Gorge Museum. I did think of turning a certain very famous picture into a kit, but since we never finished the test stitch, it is just as well they decided not to go with it.
This is something else we’ve found in a fit of tidying up, and thought,”hmm, we should finish that – it will look good!”
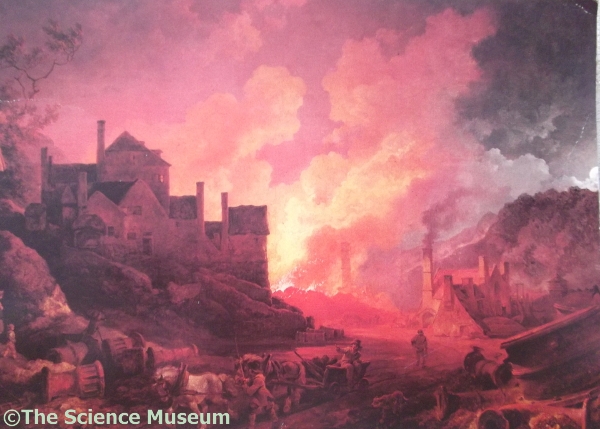
“Coalbrookdale By Night” by Philip James de Loutherberg. Copyright The Science Museum
It was done in the early days of computer-aided cross stitch design. I scanned a postcard of “Coalbrookdale By Night”, in the somewhat apocalyptic vision of Philip James de Loutherberg, and then spent some time tweaking the number of colours the computer used to render the design as a cross stitch piece. One of the problems with this form of computer design was that, no matter how much human intervention was involved, the design tended to end up being a bit spotty.
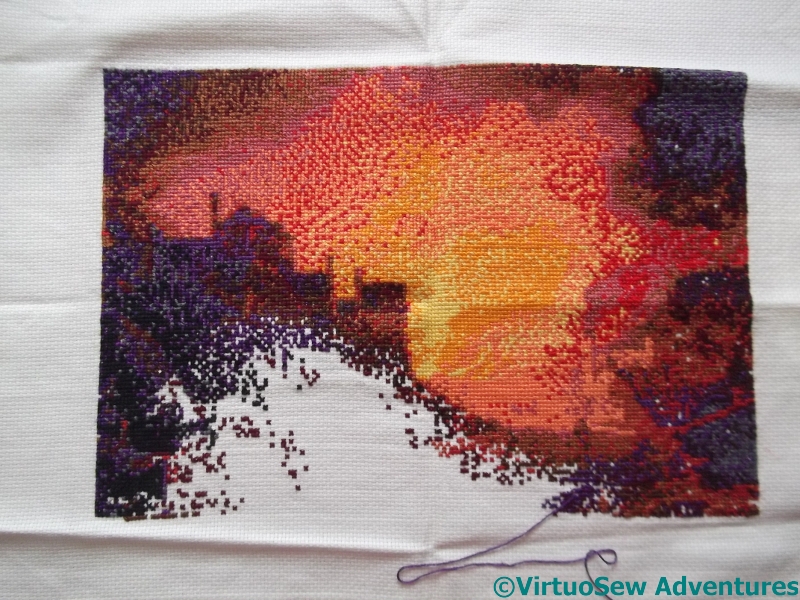
Coalbrookdale Cross Stitch
You can see that spotty effect in the detail picture above.
The human intervention did at least result in the removal of the entirely superfluous lime green stitches that the computer package used to scatter across every design it was involved in. I never did understand why that happened, but the first change I always had to make was to change the lime green into something more suitable.
What I have to do now is think of something useful to turn it into when it’s finished….
17 UFOs in 2017
Still More Circles
Meredithe (Pomegranate and Chintz) and Anne (Frayed At The Edge) are running a challenge for the year – 17 UFOs in 2017. The idea is not necessarily to finish, but to make substantial progress, on 17 UFOs.
Now, I’m not sure I have that many UFOs, and I have many new projects I want to work on (more on those soon), but I do have a good few that are stalled, or that I’m not sure whether I’ve finished or not, so although I’m not going to join in regularly, I will try to use the impetus of the challenge to remind myself to assess progress.
Blanket Stitch Fans
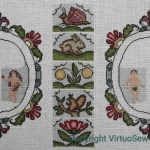
1 Eve in the Garden of Eden – I really want to finish this so I can sign up for the Stumpwork Lion!
2 Nefertiti Shawl – well, clearly, I want to be able to wear this!
3 Queen Anne style teacloth – this is a travelling project, so it depends on where I go and whether I have light or time to work on it.
From The Back
4 The Modern Stitch-Off – I’m not sure whether this is finished or not, so if I can at least decide that by the end of the year, I’ll be pleased.
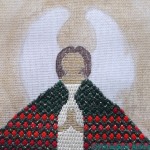
5 The Christmas Angel – I was going to work on the Christmas Angel last year between Christmas and Epiphany, and never set a stitch on it.
Shoulder Cape
6 The Faience Necklace – this has been a real trial to me, as I can’t bring the design into focus. I’ve got some lovely silk thread so maybe that will help me to get started.
7 The Swan – I got the first layer of Laid and Couched work done, and have had trouble working out the detail layer…
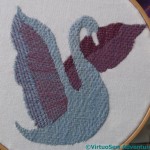
Swan – First Layer
8 The Unicorn – again, first layer done, details escaping me.

Unicorn – the first layer
I have a lot of other things I want to do, which are barely begun, never mind finished, and as I have said, in the case of several of these projects it is not a matter of simply stitching, so much as deciding what to stitch, and then stitching it.
My real target for the year with these eight is to have finished the Nefertiti Shawl and Eve in the Garden of Eden. Anything else is a bonus!
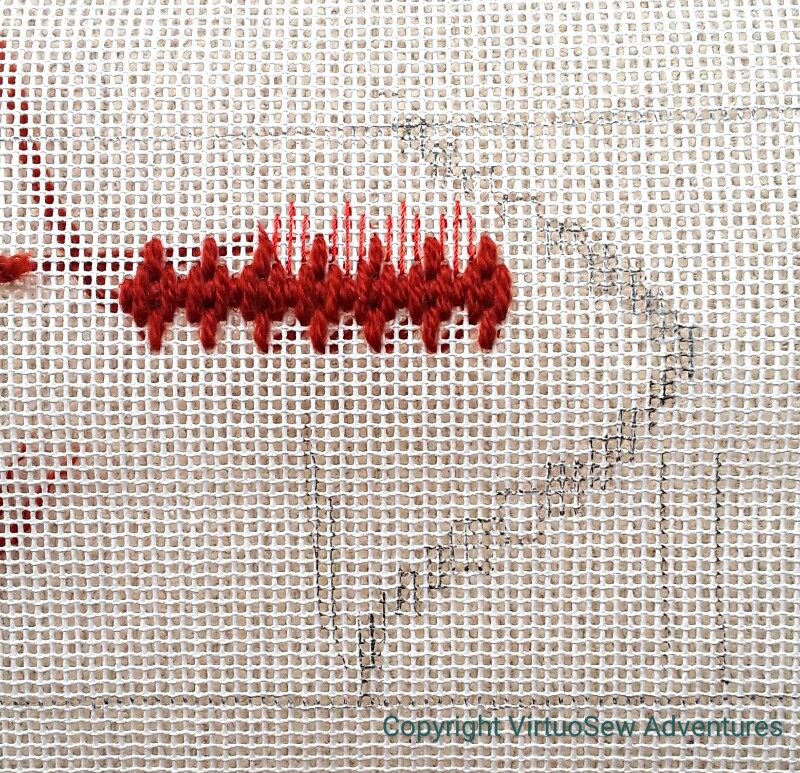
Continuing The Worktop Bin Cover
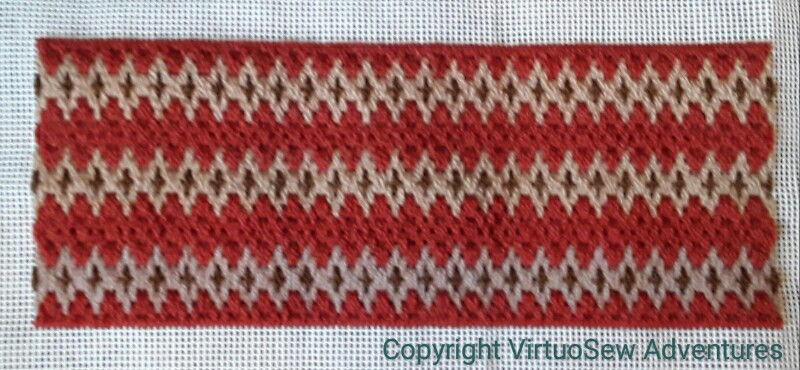
Bargello Panel
Once I’d settled on a pattern, it fairly romped along. Ten count canvas is such a lovely rest after the forty count linen of Eve In The Garden Of Eden!
As with the Crazy Canvaswork Cushion, I’m not buying extra wool for this, hence the row of light stitches which aren’t the same shade as the other two. Most of the thread is Paterna Persian Yarn, but the odd one out is Appletons. The texture and level of shine are different, but then, anything will be better than a sawn-off milk bottle!
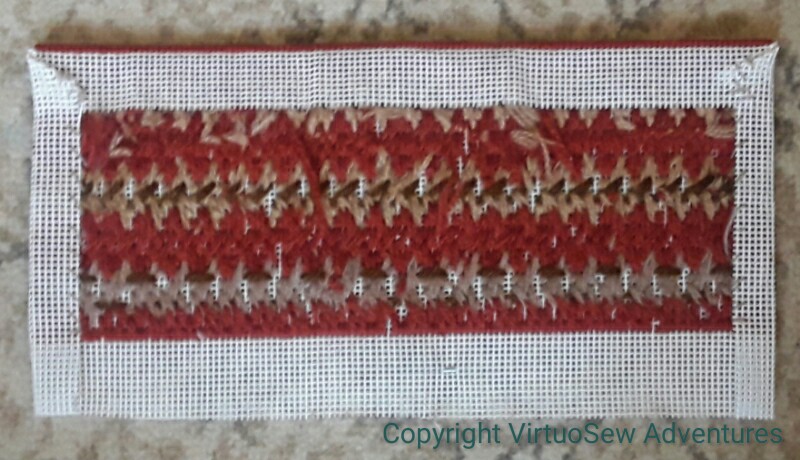
Edges Turned In
The next stage is to turn in three of the edges. I’m going to use the canvas at the bottom to help create the bottom of the bin, so I’ve left that, but the short edges will be seamed together – somehow (I’ve not solved that puzzle yet!).
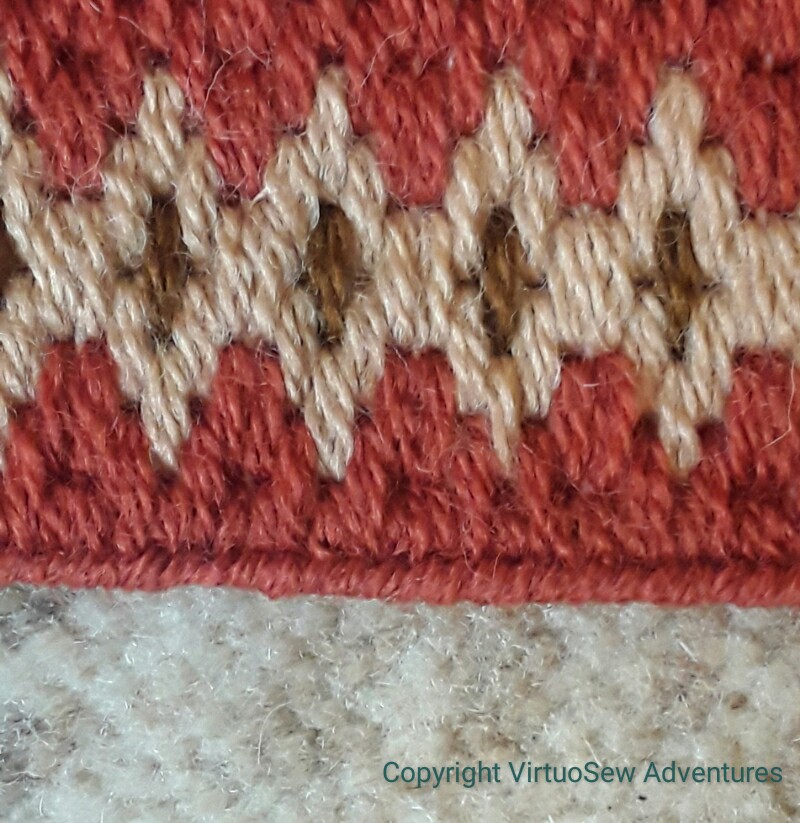
Herringbone Edge
I’ve learnt, over the years, that it is better to finish the folded edge of a piece of canvaswork than it is to try to fold the edge to be completely invisible.
So what will be the top edge of the bin has now been finished with herringbone stitch. It creates a lovely piped effect, much denser and firmer than a simple overcast stitch, and that will be very useful to help the bin stand up!
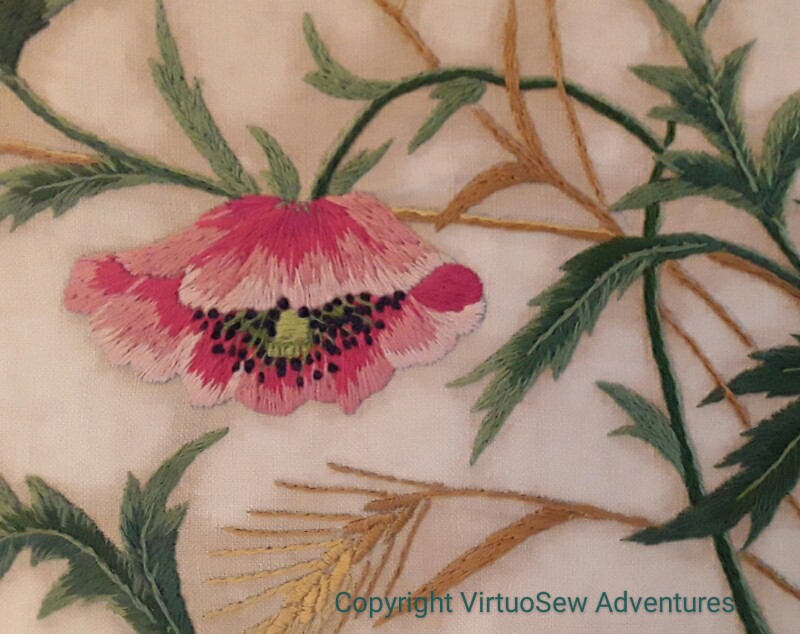
Poppies And Wheat, Cleaned and Conserved
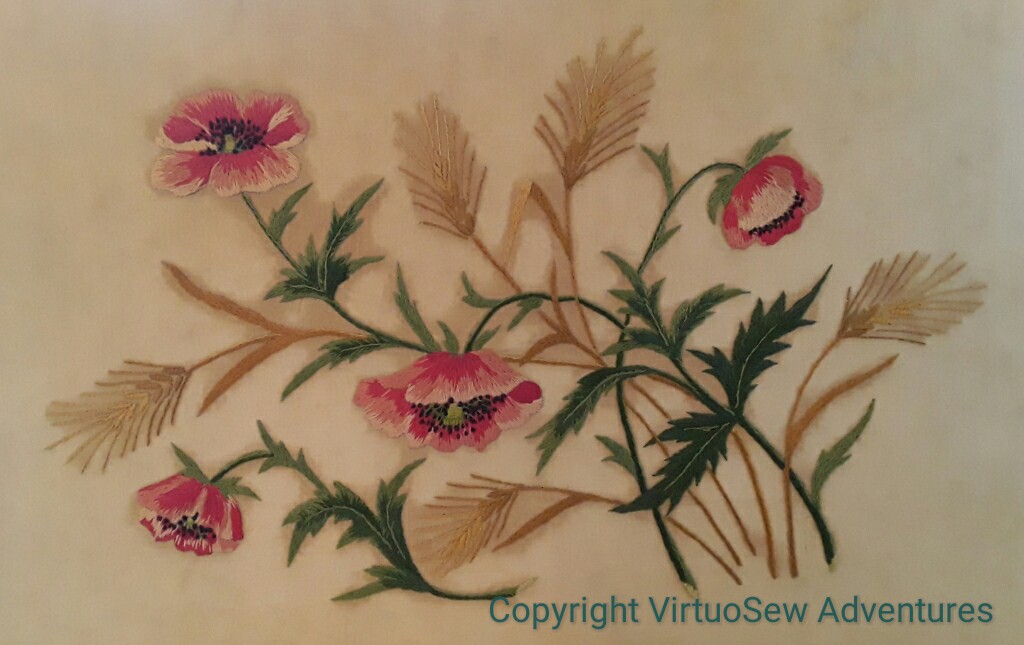
Some of you may recall that some time ago, my mother and I were planning to reframe one of my Grandmama’s embroideries, and discovered to our horror that it had been glued to a backing board made of strawboard.
In due course, we found a textile restorer, not too far away, and I took it to her. And now we have it back again. In the course of the work, it was discovered that two different sorts of glue had been used. One of them was unstuck fairly easily, but a particularly acidic glue had been used on the back of the embroidery itself – almost as if the framer did not believe the work had been finished off properly. Which it had – apparently it was very difficult to find some threads to take out to test for colourfastness!
-
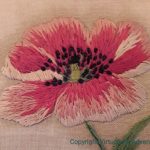
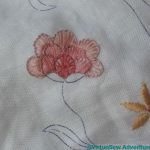
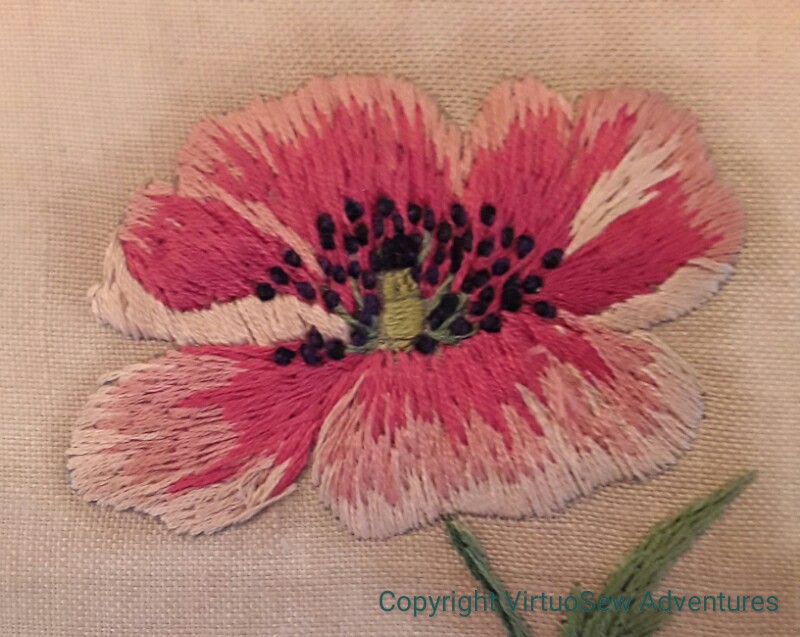
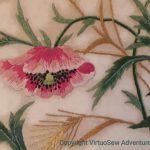
- Poppy – Brighter and Lighter
-
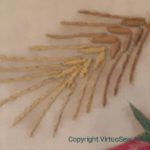
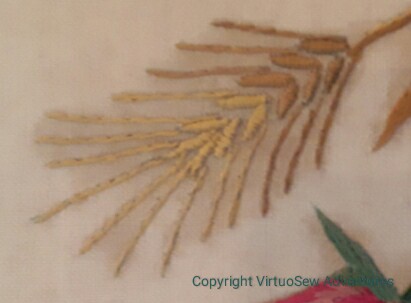
- Wheatear – Brighter and Lighter
-
- Further Detail – Brighter and Lighter
The fabric and thread are both much brighter than they were, but the very acidic glue that was used is the reason for the bloom of staining around the embroidery. It’s much reduced, but unfortunately it wasn’t possible to remove it entirely.
So, Gentle Reader – be careful with glues and boards. Avoid if you can, use neutral-pH as far as you can, or someone in the future will be muttering imprecations in your direction!
Small canvaswork worktop bin
First Trial
I have a small plastic bin – cut down from a milk carton – on the worktable beside my chair. It’s very useful for odds and ends, but it scarcely adds to the ambience.
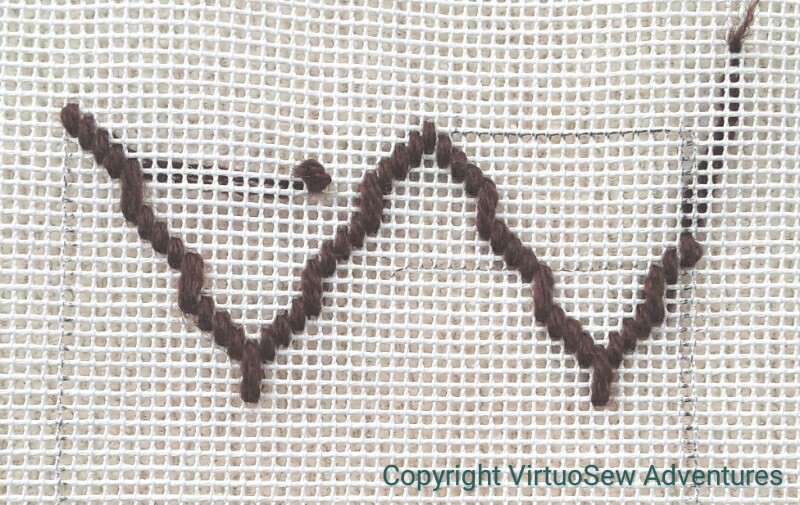
Since all my embroidery at the moment – “Eve in the Garden of Eden”, and something I’m planning for “Dreams of Amarna, but haven’t quite got ready for stitching yet – is fine and detailed, I’ve decided to work a cover for it in bargello work.
One stitched and one drawn
I’m using another of those offcuts of 10-count canvas. Ideally I would use something finer, but since I want a rest for my eyes, and in particular to use up some more of that persian yarn, I’ve been playing with various patterns in an old book. In this case, one pattern drawn on, and the other stitched, partly in wool, and partly in a fine silk, just to help me with stitch placement.

Another trial
I’ve decided to use the rusty colour, which I have rather a lot of, as the main colour, and I’m trying to find a small pattern that won’t dominate the room. I don’t think the “pomegranate” pattern qualifies…, but this one might…
Harrogate Haul..
The Knitting and Stitching Show in Harrogate is my main opportunity to stock up on thread, fabric, materials and oddities.
Yes, I know we all buy online these days, but so often I am looking for something slightly obscure, or I know what I want to achieve, but not how. The opportunity to look and feel before buying, and to talk to the specialist suppliers who are there, is absolutely invaluable.
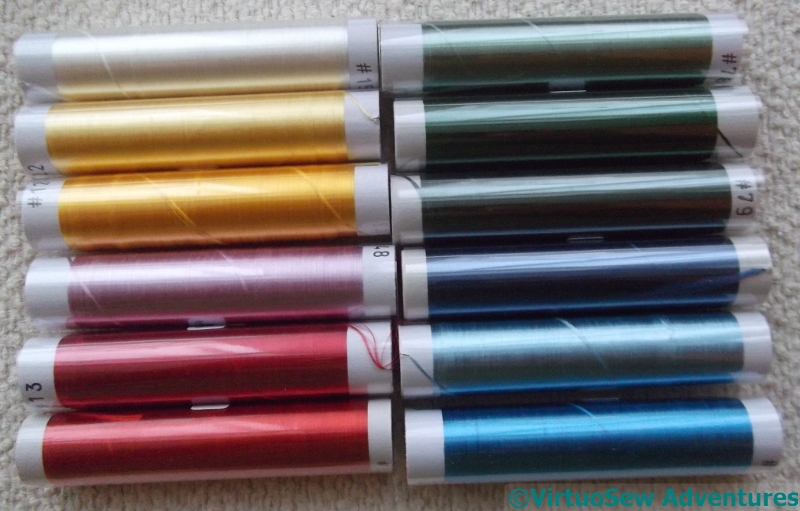
Flat Silk for Necklace Embroidery
This time I was semi-organised, and as soon as I arrived, I went to Midori Matsushima’s stand with a shopping list of colours for the Faience Necklace designs, when I get to them. I’m hoping that now I have the silks I will have an incentive to pull my ideas into focus, because I feel that the Dreams of Amarna panels need more colour in them.

Felt and Thread
I also bought some wool felt and silk threads, some because I have plans for it, and some to have something frivolous to do. I still have a couple of those wooden pots to put pincushions in…
This slightly less dense felt – some from 20th Century Yarns and some from Oliver Twists – is much easier to stitch than the dense felt sold to crafters which is stocked everywhere. I also like the somewhat rougher texture.

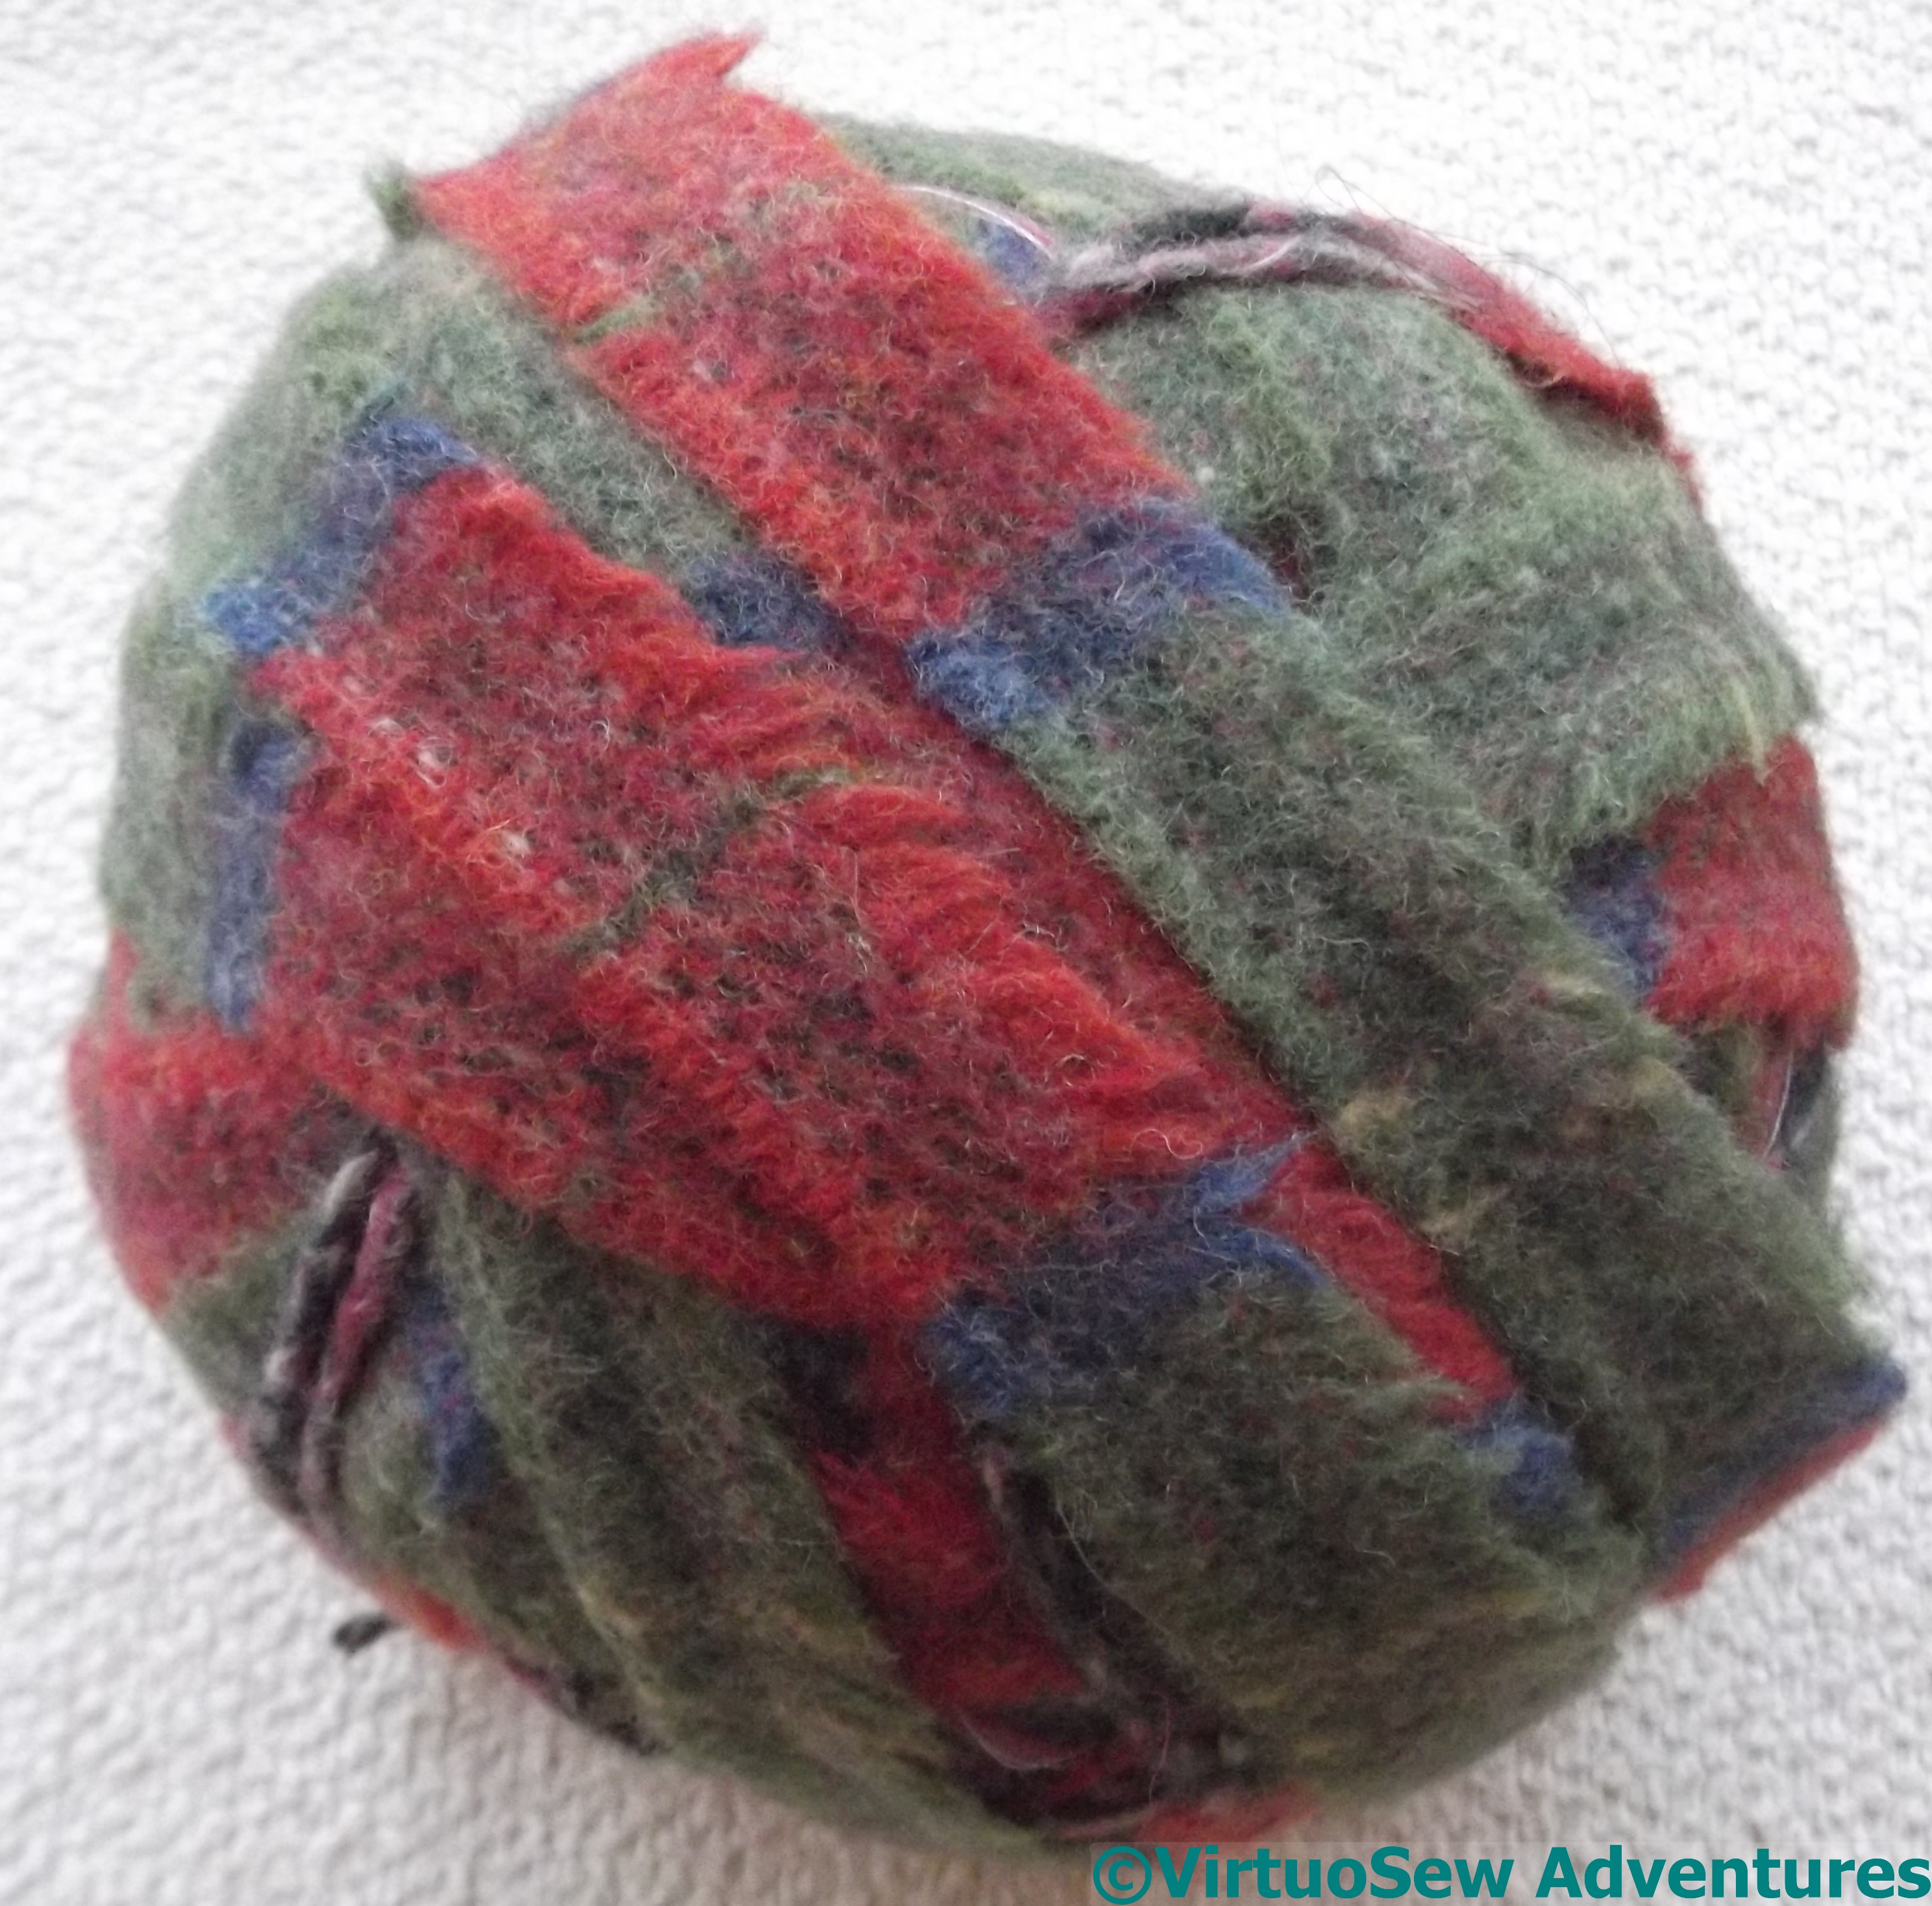
Silk for Spinning
I went to a workshop introducing wet felting, which I am planning to use as the initial colour blocking for the “Vision of Placidus” panel, but what I actually bought was more silk to spin into thread for the second layer. I’ll have to wait until the sore elbow and shoulder have healed, but this is something I can do in preparation for the project while I’m still working on the Dreams of Amarna. I’m thinking about Placidus quite a lot in my odd moments!
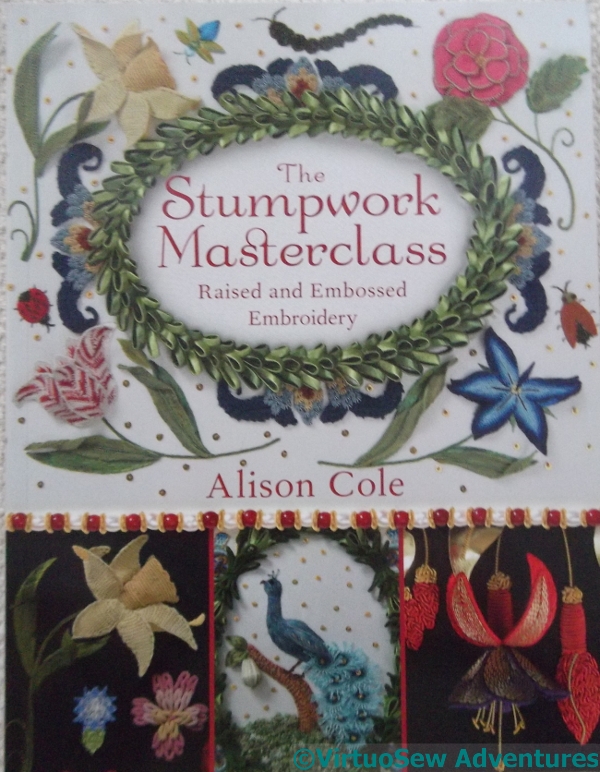
A good reference book
Blanket Selvedge
Finally, I bought a book – only one, but it’s a cracker! – and a ball of wool selvedge, for purposes that will remain a mystery for now…
Playing with brooches again
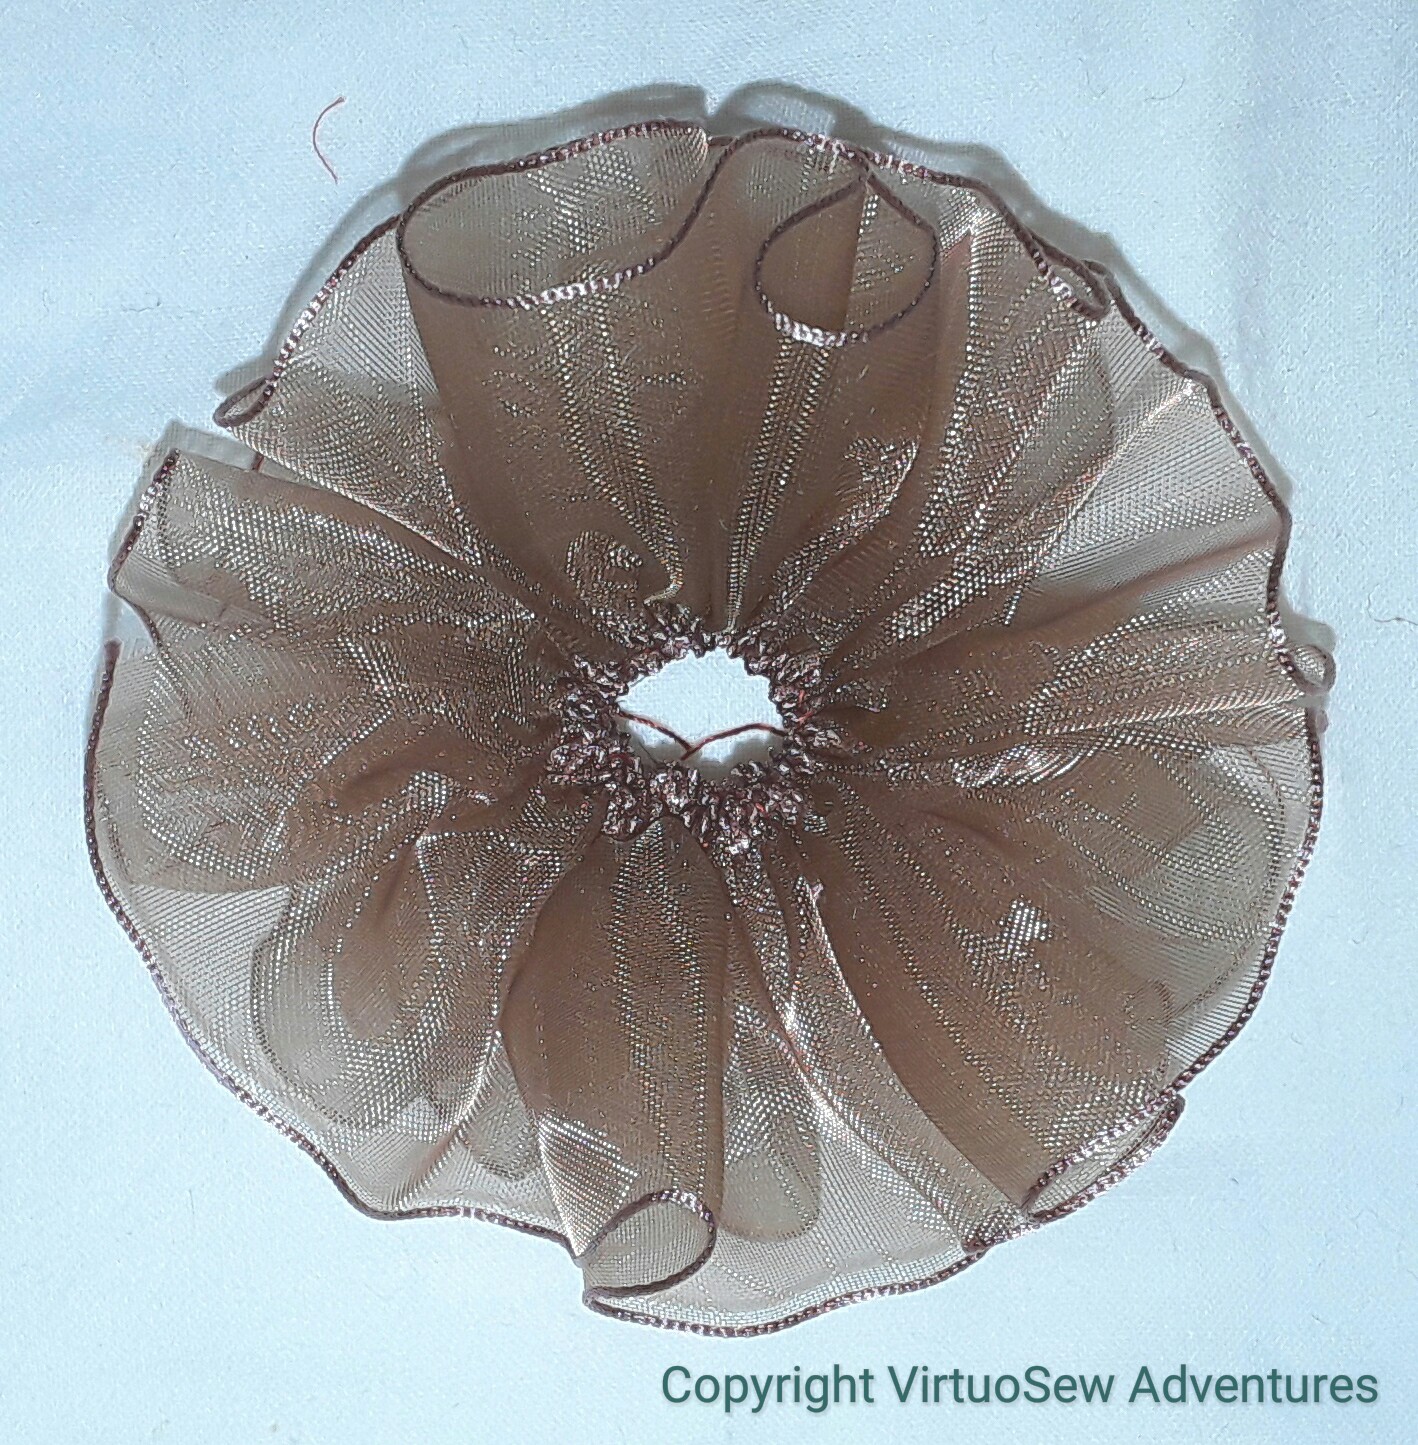
Gauze Spiral
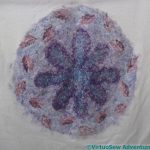
I was very taken with a length of gauze ribbon i found when I was rummaging for bits of teal fabric, and spent an idle moment or two running a gathering thread along one edge. I wasn’t at all sure where I would go from there, but as I pulled the gathering thread up the ribbon settled naturally into a tight spiral reminiscent of an Elizabethan ruff. Hmmm. Promising!
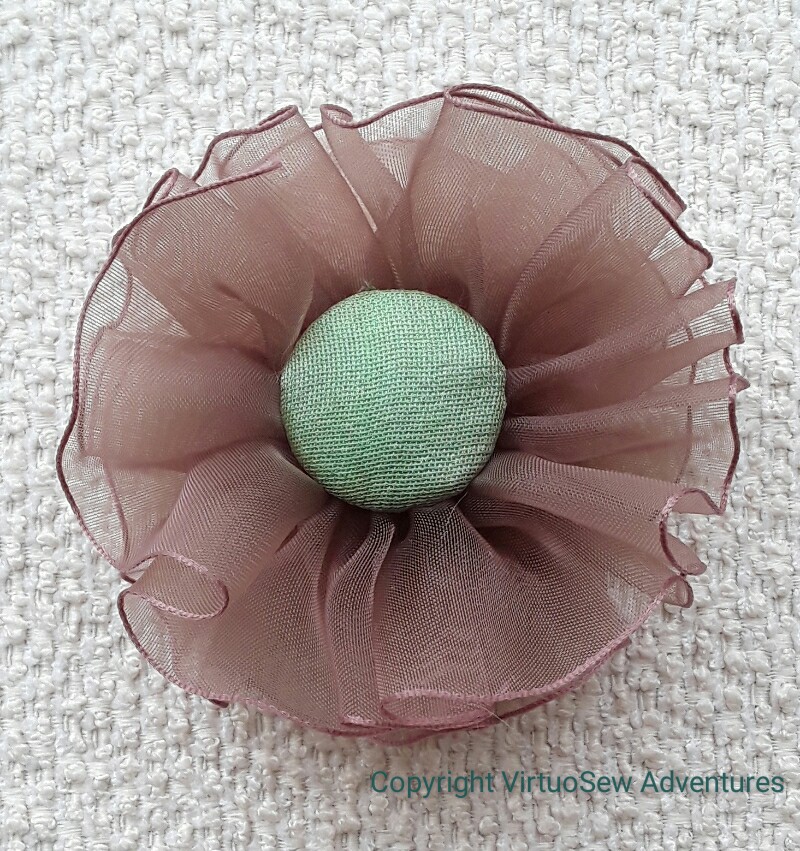
In the end, I covered another self-cover button with two layers of a rather gorgeous silk fabric which I originally bought for my mother to line a bookbox she made for a fine binding of “The Wind In The Willow”, and created a cross between a winner’s rosette and a new species of flower.
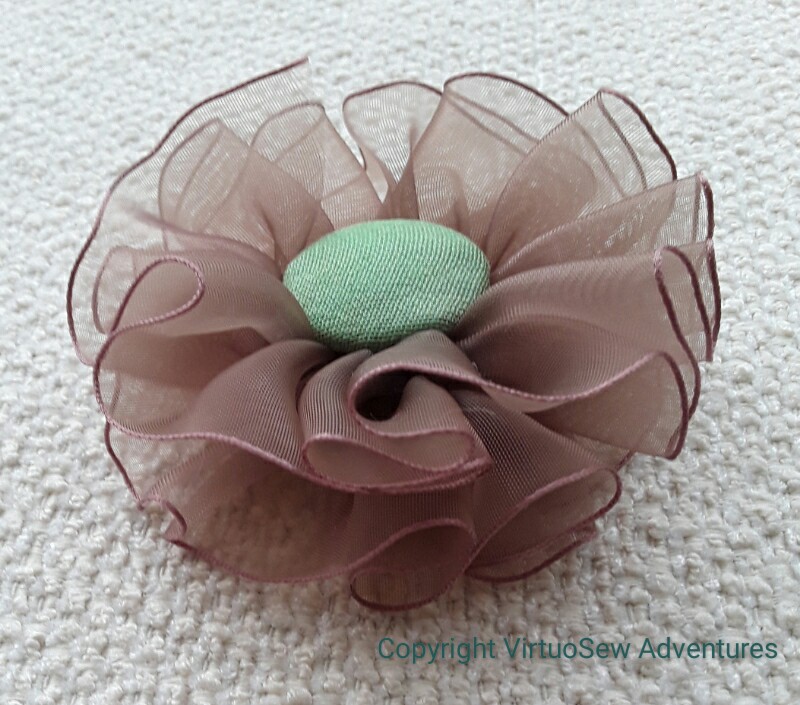
I think it will be fun to wear, but the real delight is the ruffle… It has “loft”, and a gentle glimmer, both from the gauze and from the silk button. More of a spring than an autumn piece, with that light spring green and and the gauzy ruffle, but I’ll look forward to the treat!
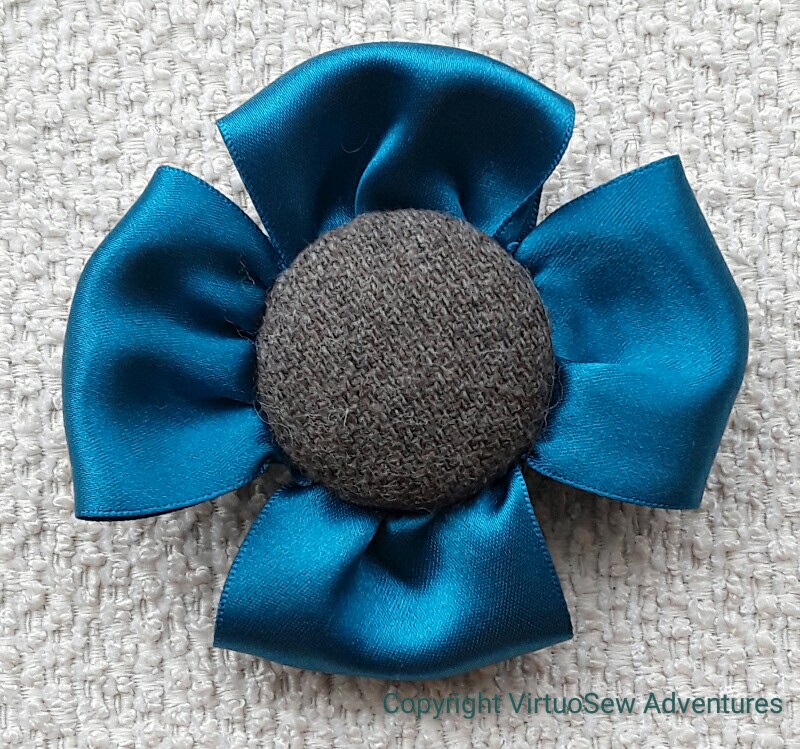
Satin and Tweed
Talking of unnatural flowers….
What I would really like to do is think of something else to do with the tweed fabric in the centre of this. It was cut off a pair of trousers which were too long for me, but it is a nice fabric and I want to create something fun with the scraps.
Thinking caps on, then…