Category: General Embroidery
More Experiments!
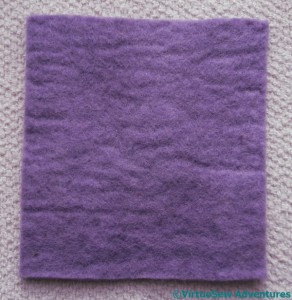
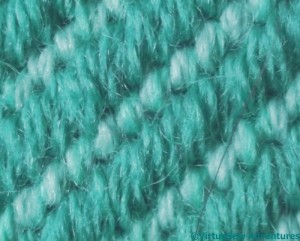
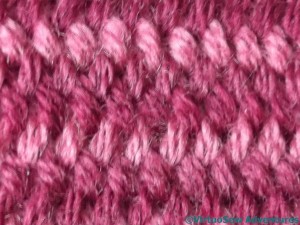
You could be forgiven for thinking that I had finally lost all common sense. We’re all interested in fibre, fabric, and stitch, but even so, expecting you to take an interest in a photograph of a plain piece of felt seems a little extreme.
Especially a very ordinary, single-colour, and entirely unadorned piece of felt.
So what am I up to?
Mischief, of course!
Does it help if I tell you that it’s really quite a thick piece of felt?
Or does it help if I tell you that this is the front?
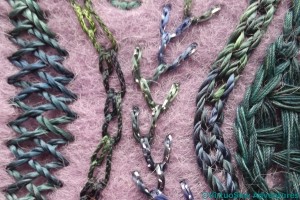
I bought an “inspiration pack” of threads, and this thick square of felt at “Sewing For Pleasure” a while back, with absolutely no idea of what I expected or intended to do with it.
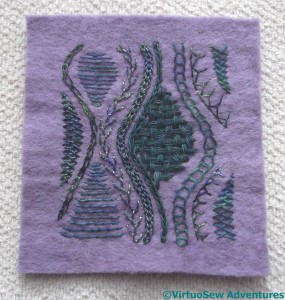
While I was wondering about it, I remembered reading about a medieval satchel that had been made by sewing the pieces together within the thickness of the leather. I didn’t feel quite willing to attempt something structural, but it gave me the idea of trying to work a sampler of stitches without the back showing.
I even managed to work some of my favourite stitches.
I originally began with a wavy line of Shell Chain stitch, and then built up the design from there. Some of the threads were too heavy to use in this context, and there was a wonderful heavy slub that I couldn’t find a use for (never fear, I will!) but I had great fun alternating texture and shine, space-filling and line, and just playing.
I have absolutely no idea what I’m going to do with it, but I’m rather pleased with how it turned out!
Gabrielle, the Christmas Angel – Part Two
And now, the Finale…
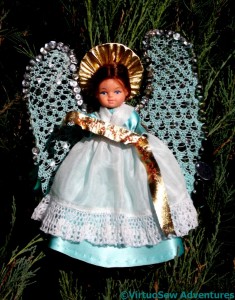
“Angels need wings. I have never made big wings before, only gauzy ones, so these grew a bit like Topsy! I had, fortuitously, a ball of crochet cotton which exactly matched Gabrielle’s dress, but I had already used crochet to make the lace on the overdress. Needlelace seemed an option if I could find a suitable former to hand. Wire proved to be too thin, and the thread slipped about, so in the end I made a frame from one strand of the plastic coated wire of electric cable. Yes, I know you can buy purpose made formers but I wanted to do it now.
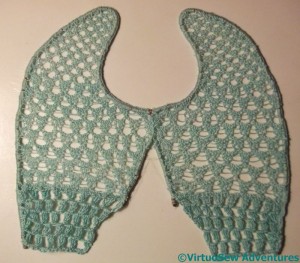
After drawing the shape on heavy card, and arriving at a good shape was an interesting exercise in its own right, I couched on the wire at widely spaced intervals, then covered the wire and its plastic coat in blanket stitch using my turquoise crochet cotton. Not only did this cover the wire but it provided a anchor for the needlelace itself. I used pea stitch at first then increased the number of loops in each group first to five and then to seven to add “weight” towards the lower edge. I hadn’t provided a former across that edge as I didn’t want it to be rigid, but needlelace requires just such an edge! A single thread helped a bit but a piece of applied crotchet finally did the trick.
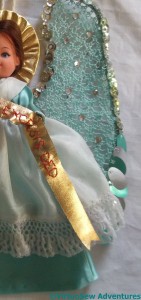
She looked balanced, if a bit subfusc for Christmas, so I added sequins, left over from one of Rachel’s childhood projects, mainly cup-shaped but the lower ones are long ovals to suggest pinions. Again, the colours, turquoise and silver, were a perfect match. Some people have all the luck. Rachel added crystals to increase the “bling”. The halo is a cardboard former covered with cloth of gold. I used the gathered side to suggest an aura of radiating holiness and backstitched a banner “Gloria in excelsis Deo” in red on cloth of gold, too.”
We timed our photography just right, too – the last sunny day of Autumn, before the weather turned thoroughly nasty on us…
Outside, hanging from a fir branch in the garden, Gabrielle made a remarkably effective member of the heavenly choir.
Gabrielle, the Christmas Angel – Part One
Lest you imagine my talent for complex projects sprang out of nowhere, I have asked my mother to write a couple of guest posts about one of hers – Gabrielle, the Christmas Tree Angel. Gabrielle figured on our Christmas cards this year, and she took nearly a year because she was being improvised as she went along.
—
“Looking at my collection of crochet hooks, I decided that I needed to do something quickly if I wanted to use the smallest one before my eyesight made it too difficult. I am becoming increasingly long sighted as the years progress, and my myopic Impressionist wonderland is receding. Coincidentally, it was Christmas tide, and we had just rejuvenated Bethlehem. (Ask Rachel!) A Christmas Angel for the top of the tree seemed the next proper project.
Gabrielle herself is one of Rachel’s dolls, rediscovered when we were tidying the loft. She is just the right size for our Christmas tree. A rummage through my stash of cloth provided enough satin, a beautiful turquoise, and a square of fine silk which had been the Virgin’s veil when we made a crib one year using Rachel’s dolls as the cast.
To make the dress I cut out a cross shape wide at the top and bottom narrowing towards the crossing place out of the turquoise satin. The cross piece itself, which formed the sleeves, was short and narrow. I hemmed the cuffs and a small opening for her head before folding bottom to top and sewing the side seams.
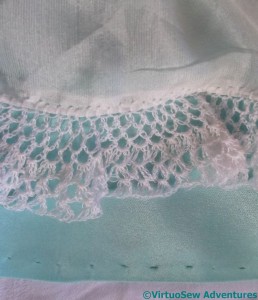
Next I tackled the silk over-dress. A line of open blanket stitch along the selvedge gave me a base for the crochet work I so wanted to do. Again, I used ordinary sewing thread and kept the design simple. It was surprisingly easy to work. In no time I had a sizeable length of delicate lace.
The original intention had been to make a cottar such as altar boys used to wear, but the very small size and filmy silk made my stitching look crude. Instead I used two pieces of folded silk over the shoulders fastened lightly to the satin and covered the raw ends with the very gathered edge of my lace bordered silk. It looks more like a pinny, but billowing satin displays the lace beautifully.”
More Laid and Couched work – The Unicorn
I enjoyed working Rusty and Spots in the Opus Anglicanum Stitchalong so much I decided I wanted to do some more laid and couched work.
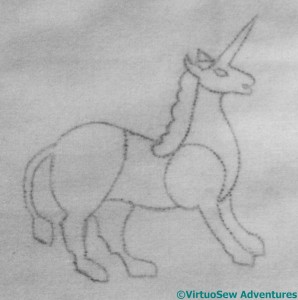
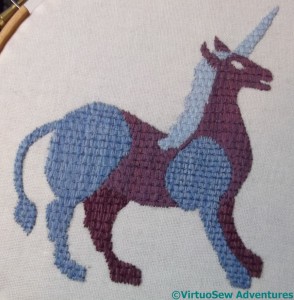
I rummaged around in my heraldry books and online for medieval unicorns (for a quadruped) and swans (for something winged), and produced something of a synthesis. Some of the medieval unicorns had leopard feet, and one of them had a curly, piggy tail. Mine has vaguely leopardly feet, and a lion’s tail. I’ve sized him so that he fills the same space as did Spots.
It occurred to me that I may want to work medieval creatures in the corners of the Vision of Placidus, when I get that far. I was going to use Rusty, Spots, and their friends, but then I realised that in that context, it would be more appropriate to the story of conversion to use the symbols of the Evangelists – the winged ox, ram, man, and eagle.
So I’m still not sure what I will do with these present creatures when they are done..
Since I am using existing stores here, and I wasn’t sure I would have enough of the colours I used for Rusty and Spots, I moved on to a different colour range – purples and blues. These aren’t the slightly fluffy Appleons wools I used for the other two, but are rather smoother, softer version.
Again, I’m stretching out the colours by threading two colours in the needle for the underlayer. And my goodness, doesn’t it grow quickly!
Spots The Eeyoropard
Under Rusty’s very bright and beady eye, I got started on the companion that Tanya provided for him in the Stitchalong on her blog, Opus Anglicanum.
Which turned out to be a Leopard!
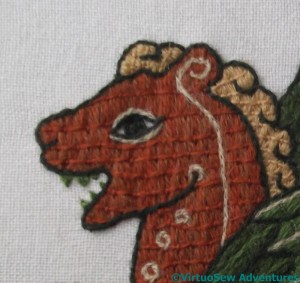
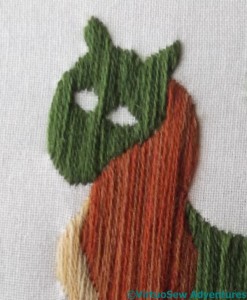
This closeup of his head and neck gives you a chance to see the two different shades used side by side in the underlayer of the laid and couched work.
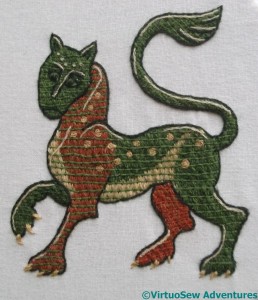
Once I’d finished the couching – in a modern twist, Tanya suggested working all the couching in a single colour, so that the Dragon and the Leopard will offer two versions of the same stitch – I had a slight false start with the outlining. When I tried the dark chestnut red, I wasn’t entirely happy with it. I’m not sure quite why, but perhaps it simply wasn’t distinctive enough against the orangey-red.
I went back to the dark green I used on Rusty, and used the same creamy yellow for the highlights. I don’t think I put in quite the same highlight twiddles as Tanya put on hers, but I like him just the way he is.
Apparently the Leopard of the medieval bestiary is a gentle creature – in spite of the fearsome claws, and according to Tanya, they all look “terminally grumpy”. I was talking about this with my friend @Matheknitician a week or so back when she accosted me at the MathsJam weekend, saying she was desperate to know what I was going to do with Rusty, and a day later she sent me a message suggesting that we should call Spots an Eeyoropard.
So, ladies and gentlemen, – Spots the Eeyoropard! Please be nice to him – he’s rather shy..
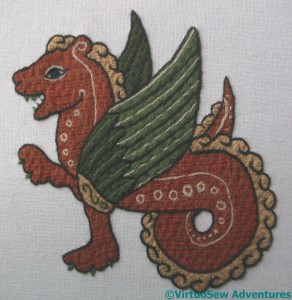
Rusty The Dragon
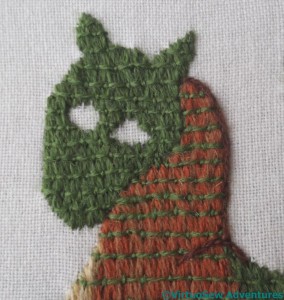
I did comment that the laid and couched work romps along, and once I got going, it really didn’t take long at all to finish the first layer.
In the interests of being sure of having enough thread to complete the Dragon, I used two shades of rust-coloured wool for his body. The underlayer of surface satin stitch is worked using two strands – making it possible to blend the threads – while the couching stitches are worked using a single strand.
Looking once more at Tanya’s Dragon on the Flickr Group, I realise that I’ve not quite followed her stitching angle in all places. but I’m very happy with how the first layer turned out.
Once the first layer is done, there are details to be added.
And my goodness, what details!
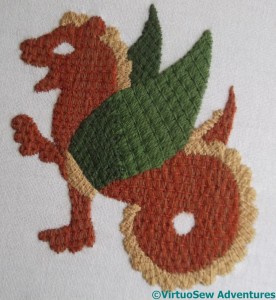
There was a slight false start, because the creamy-white was too light, the wrong texture, and simply looked wrong.
Since the details are worked in split stitch, the necessary unpicking was a severe trial. However, the combination of a pair of tweezers and my brand new embroidery scissors from Ernest Wright and Sons Ltd (bought when I heard of them following a BBC article) made it as easy as it could be (still not very easy, though!).
I finally picked a creamy shade, lighter than pale yellow I used for his crest, but in the same family. It turned out really well, and even his green teeth don’t detract from his charm. He looks a very genial fellow, and I’ve named him Rusty.

