
Tag: experiments
Needlefelted Amarna Geese
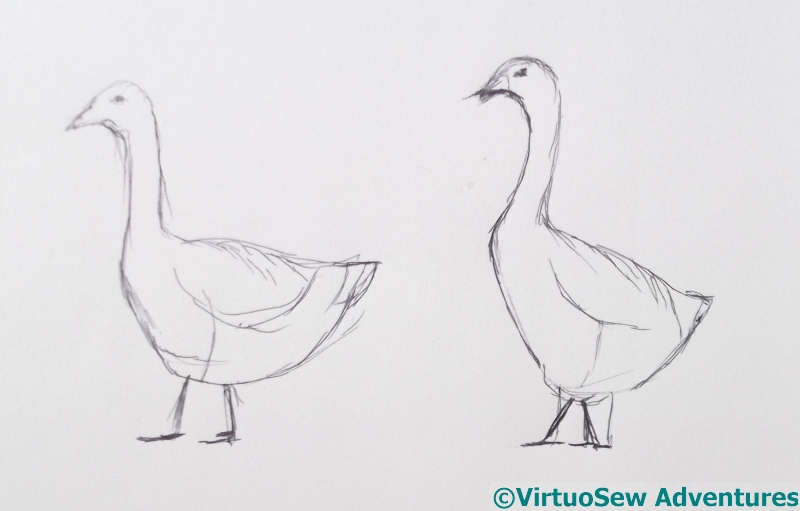
Sketched Geese
I have a picture in my mind of a gaggle of geese, fresco’d on an Amarna wall. Unfortunately, all my rummagings haven’t turned up a reference or any idea where I saw it. So I am going to make it up!
I spent some time online, looking for pictures of geese, and made some sketches. I’ve decided to use my embellisher – this is a sort of “bonus” project, as it won’t go on the main panels.
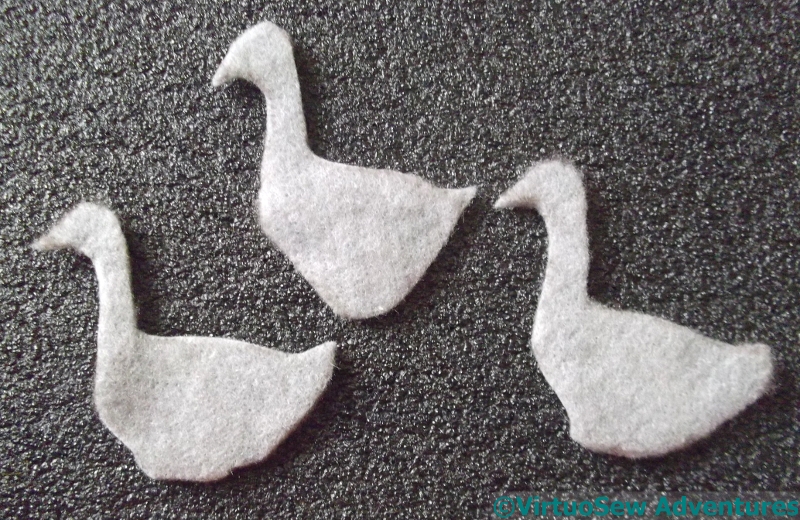
Geese Cut Out
So the next stage was to cut out some geese from some light grey pre-felt. One of them is to be slightly more upright than the other two, but since needlefelting – like wet felting – reduces the dimensions of the piece, it’s anyone’s guess how clear that will be when I’ve finished!
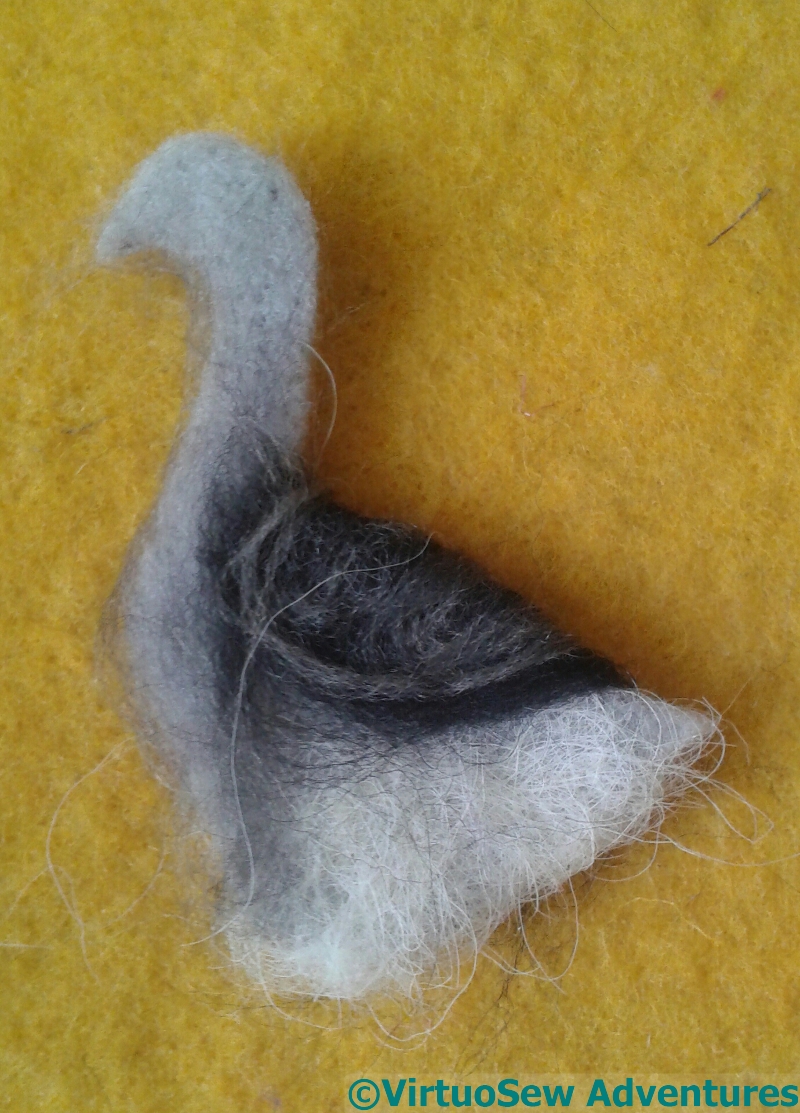
Goose with layers
I’ve tried to create the basic appearance of the goose using fragments of wool – several shades of grey merino, and some of the very wiry white wool from Heligan. It’s all needlefelted into place by hand. Not enough hands – I’m sure I could have done with another pair, or some other way to control the bits I hadn’t managed to deal with yet!
At this point there was a pause for thought… I have neither the inclination nor the patience to add the details with needlefelting, but equally, how much detail will I really need?
Inspired By Spring Flowers – 2
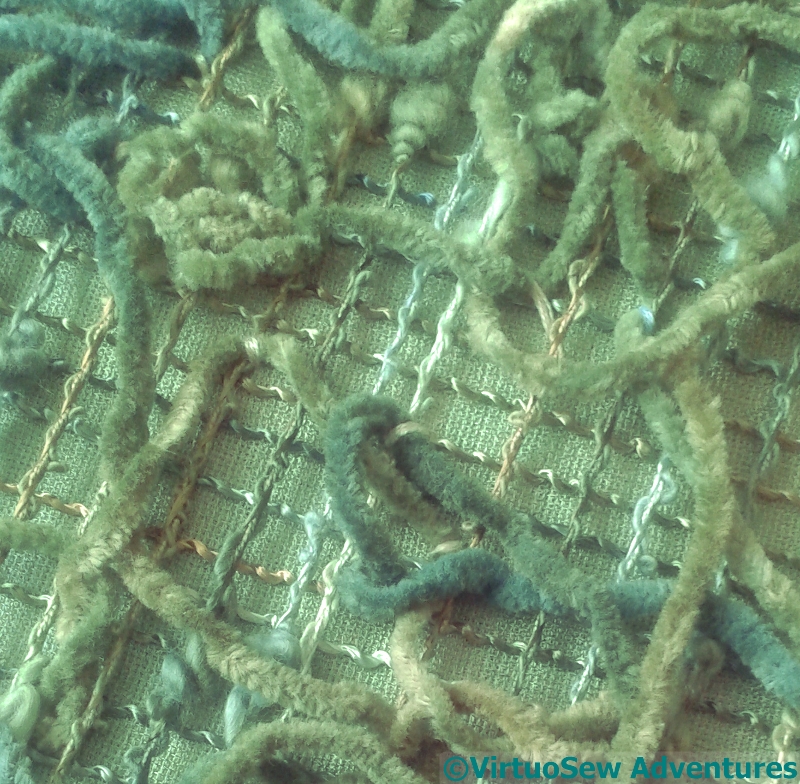
Texture
Once I’d finished the little needlebook, using the little pack from Rowandean, I thought I might have a bit more of a play, and make a scissors case and a pincushion.
So I fished out a piece of dyed silk left over from a book box my mother made for her fine binding of The Wind In The Willows, and a whole hank of fantastical, textured threads, and spent an afternoon tacking them in place and then playing with my embellisher, in order to create a mossy, textural piece of fabric to line the scissor case and back the pincushion.

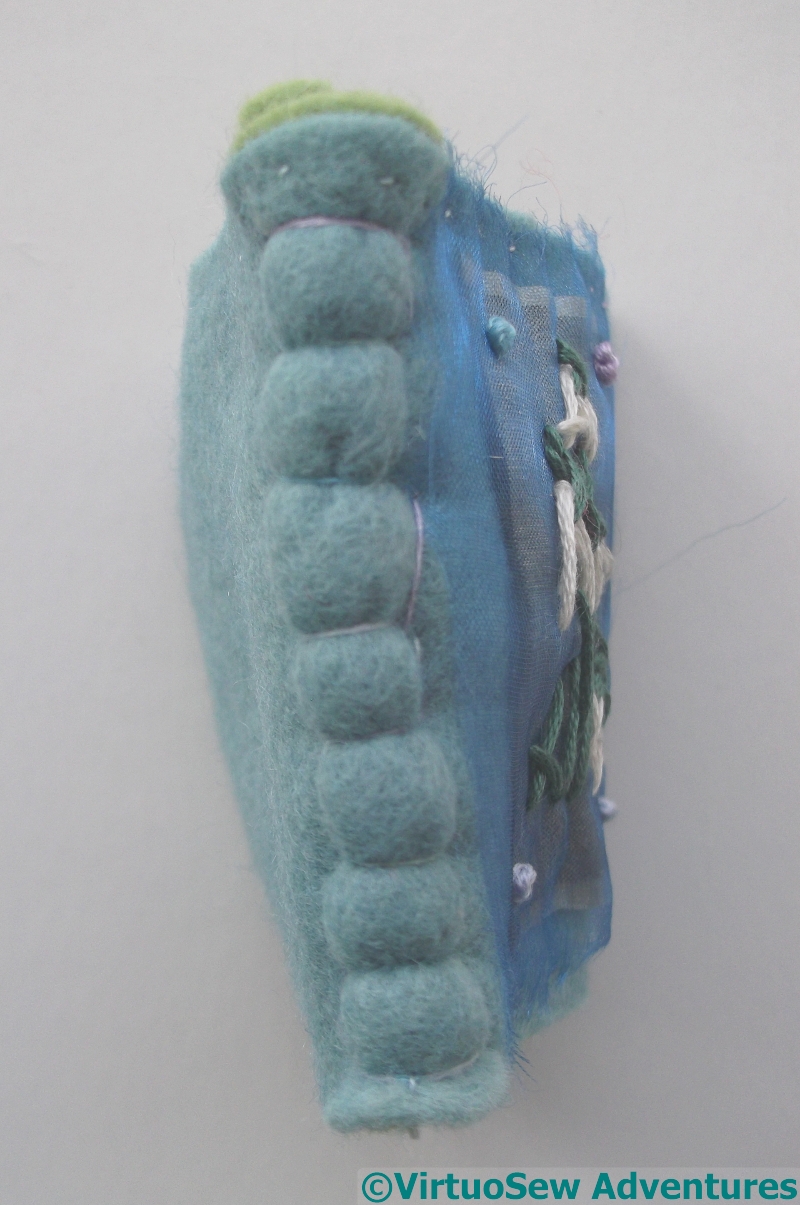
Inside Scissors Case
Bear with me, I know the textures would snag the scissor blades! I used some of the pieces of gauze from the kit – also run gently through the embellisher – to smooth down the lining. The texture is still there, but it has been muted and slightly smoothed over. And now the scissors will be beautifully padded and protected!
The edges are simply whipstitched – a considerable effort, through two layers of felt and two layers of the embellished fabric, but I’m glad to say I didn’t break any needles doing it!
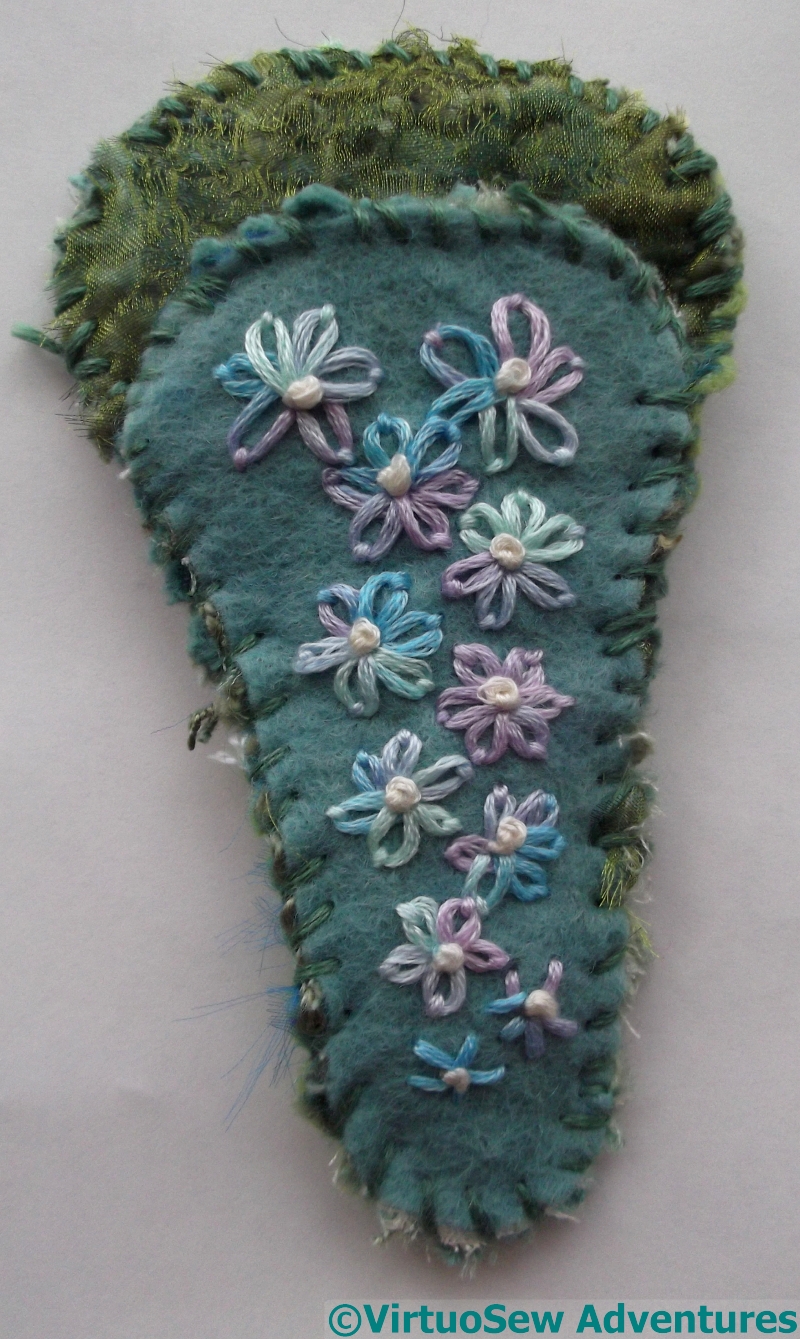
Scissor Case – Front

Scissor Case – Back
For the front and back, again I used simple stitchery, in undivided stranded cotton. A vaguely wisteria-like (not really Spring any more…!) fall of lazy daisy flowers with French Knot centres enliven the front.
And three wheatear stitch stems (seedheads left over from winter, perhaps…?) decorate the back.
The variegated thread makes all the colour changes happen by magic, and since my other main project at the moment is the 40-count tent stitch of Eve In the Garden Of Eden, six strands of stranded cotton is a blessed relief..!
Inspired by Spring flowers..
Cover Layers
You may recall that last year – or was it the year before? – I joined in a “Make & Take” at the Rowandean stand in Harrogate. Last time, I bought a little kit and one of Katrina’s pages of ideas and brought them home to play with.
Of course, as we all know, the Bringing Home is the easy part… !
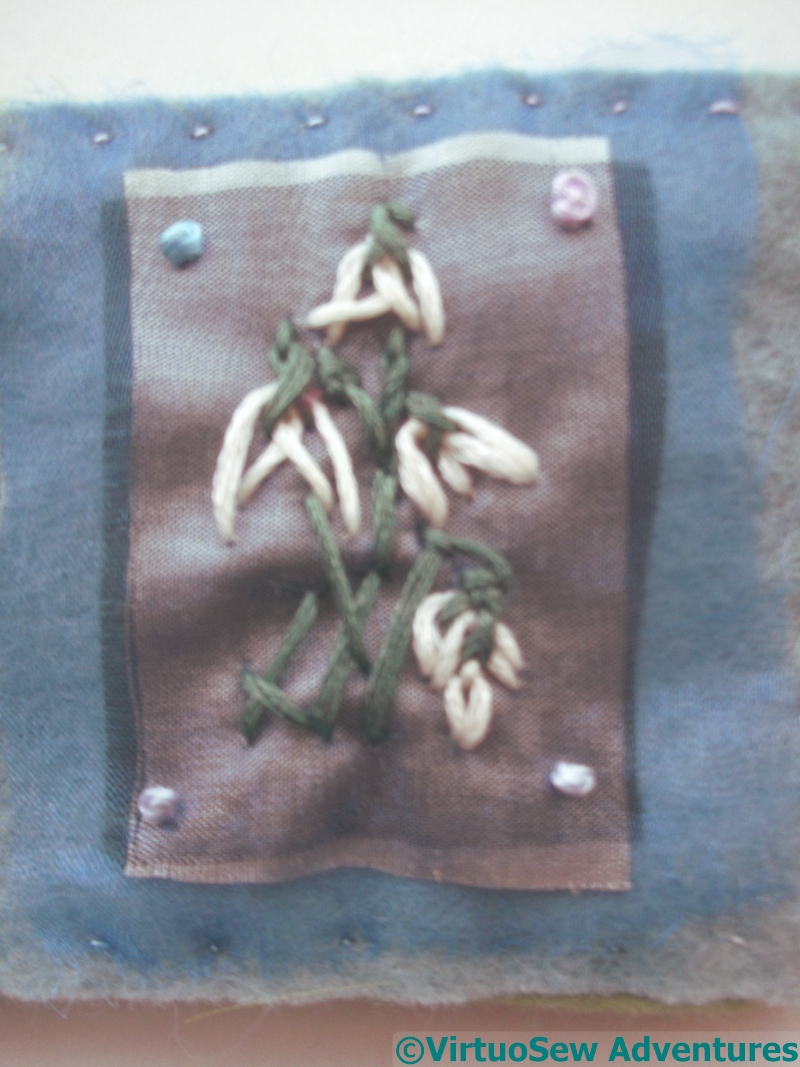
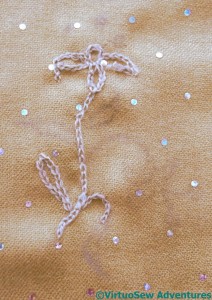
The colours are soft and fresh, springlike, so I thought I would start by playing with forms vaguely inspired by spring flowers. The ultimate inspiration here was from snowdrops, made by stitching a fly stitch and a twisted fly stitch on top of one another. It has almost worked, certainly close enough for my purposes. Maybe an embroidering botanist would like to play a bit more.
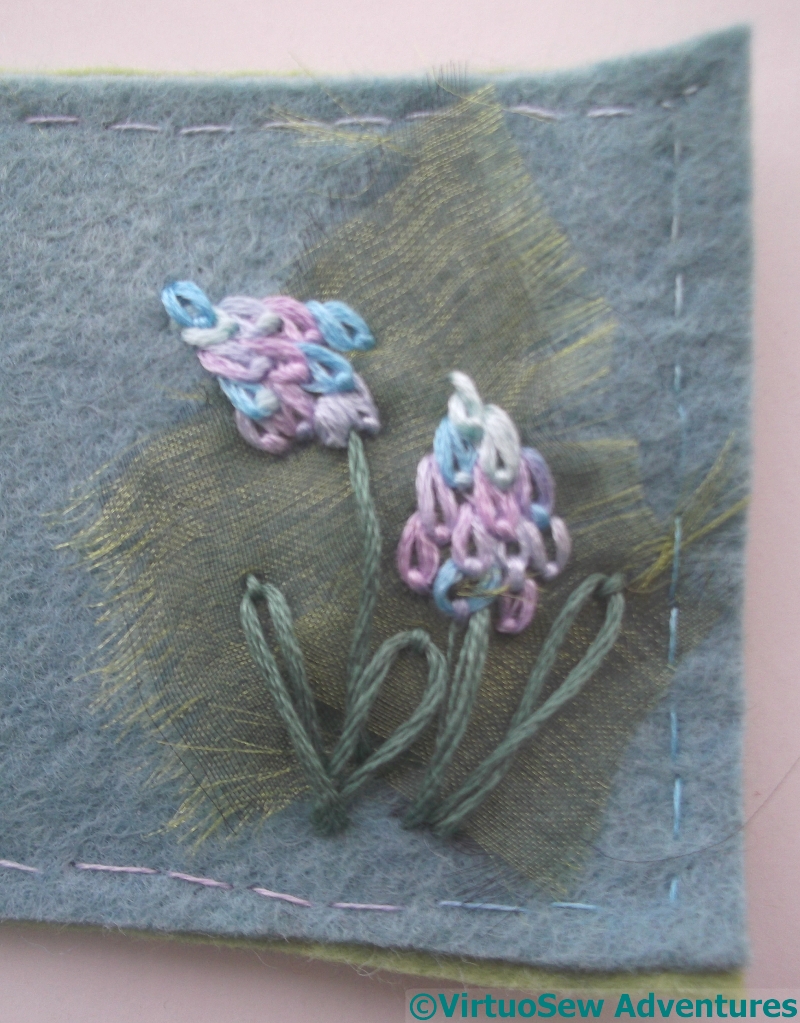
Grape Hyacinth
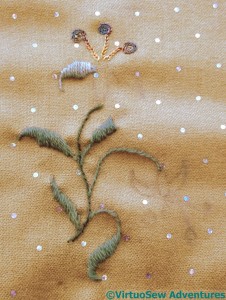
The flowers are stitched on a piece of gauze which is layered over a piece of silk, which in turn lies over apiece of felt. The french knots in the corners held everything together while I tackled the flowers.
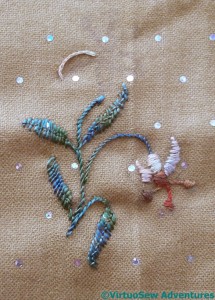
The next fragment was vaguely inspired by grape hyacinths, which are among my favourite spring flowers. Overlapping detached chain stitches worked well, and layering gauze over the felt helped to bring the flowers out from the background.
I may choose to fray the gauze further, but I was struggling with light at this point and decided to see what I thought under different atmospheric conditions!
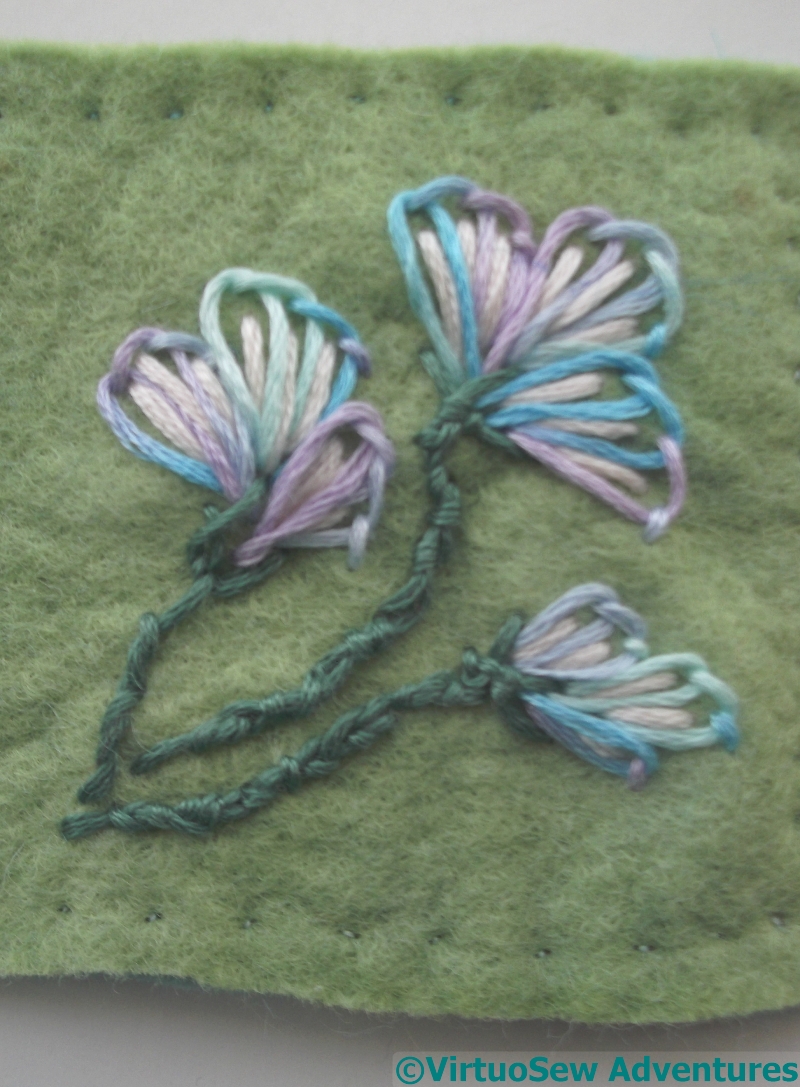
Crocus of a sort
I did mention that I’m no botanist! The ultimate inspiration here were the stripy crocus I see a lot near where I live. They are getting a little old and blowsy, not the trim, upright bolts of colour that first appeared, but nevertheless the ones I’ve stitched look more like some strange new flora, unknown to either science or art!
I rather enjoyed them, all the same…
Stitched Spine
I’ve turned the resulting pile of felt into a needlebook, rather more illustrated that is usual, and with a dramatic stitched spine. This was a distinct piece of experimentation – I could have done with a milliner’s needle, but not having one I improvised with a beading needle, which was very flimsy and flexible, but did the job in the end.
Now I’ve put it under a heap of books to flatten it gradually without the squashing effect of an iron. And I still have some felt, some thread, and some gauze left over for further experimentation!
Worked on a whim
Pincushion
Just before Christmas I was struggling with the “Dreams of Amarna” designs, but I still had itchy fingers from longing to stitch, and sore eyes from staring at “Eve In The Garden of Eden“, so I wanted something a bit less precise..
My Dad’s shaving cream comes in a rather nice wooden pot. There are refills, but sometimes the shop doesn’t have them, and consequently – since they’re much too nice to throw away – my parents have ended up with something of a stockpile. I’ve taken one of them off their hands, and turned it into a pincushion.
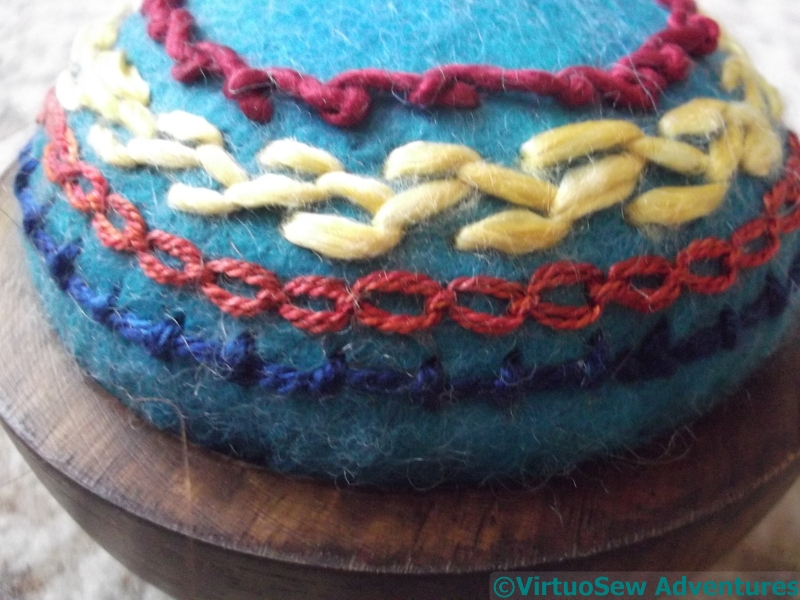
Coral Stitch
At the moment the lid is being used as a coaster, but I am open to suggestions for it!
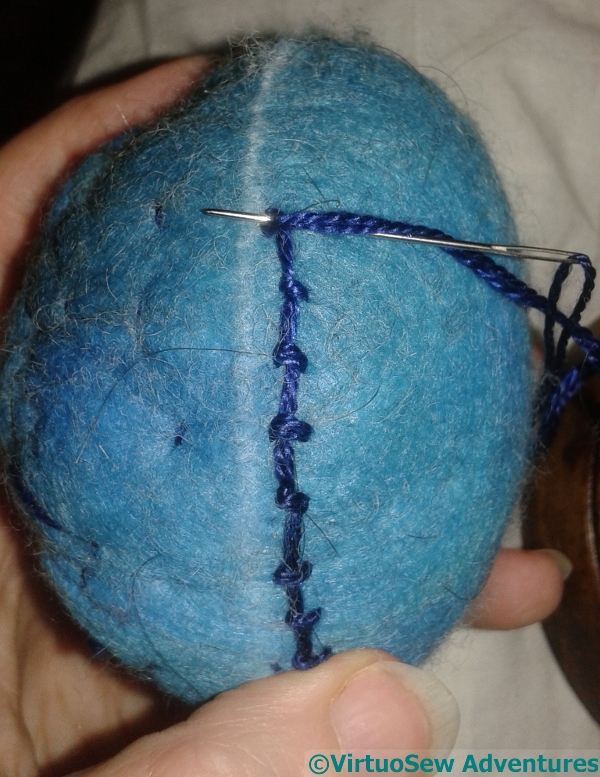
The threads are silks, bought at the Knitting and Stitching Show, worked on felt acquired at the same time. I created the shape of the pincushion itself with shaping stitches, stitching around and around the padding and the felt top layer, rather as doll and puppet makers do, and once I’d settled it into the bowl, I drew a chalk line around the waist, took the pincushion out, and started stitching.
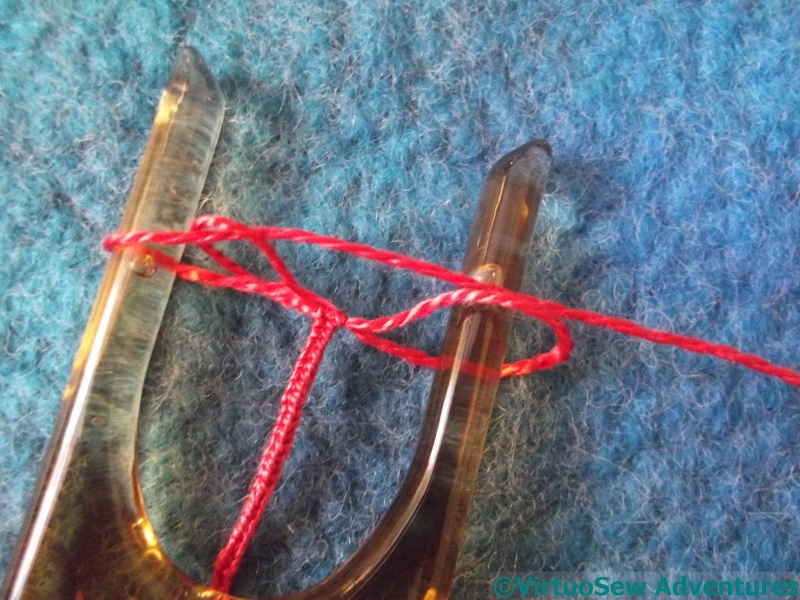
Lucet
Coral Stitch, Cable Chain (do I ever do anything that Cable Chain doesn’t sneak into somehow?), Semi-Closed Feather Stitch, and Scroll Stitch, all stitched into the felt, catching as little of the stuffing as I could.
Then I decided to do make a scissors-keeper for my lovely Ernest Wright and Son Ltd scissors, so I started by using one of the threads, and my lucet, to make a cord for it. I’d forgotten some of the knack of lucetting, but it came back gradually, and it’s ever so satisfying!
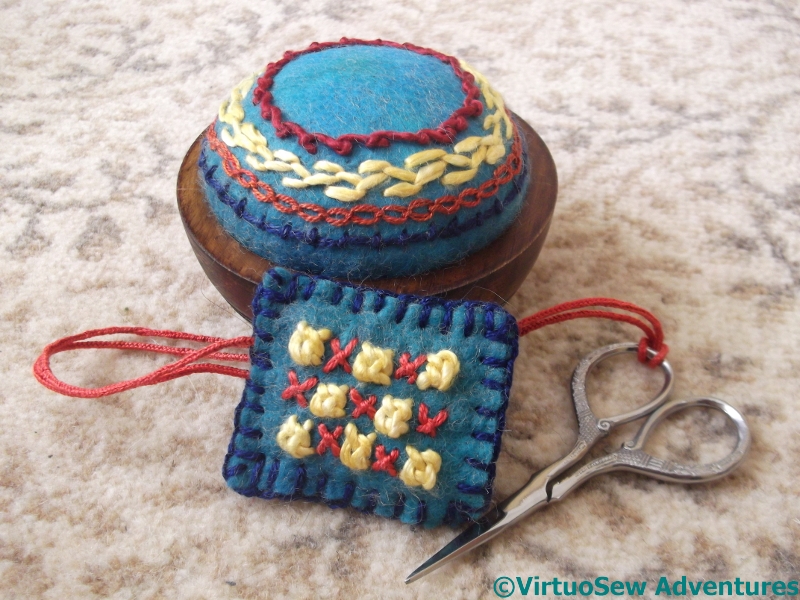
Finished Pair
The stitches on the scissors keeper are Sorbello Stitches (another favourite of mine) and Tied Cross Stitches, and the the pieces of felt are stitched together with ordinary blanket stitch. In silk!
Don’t they look good…!
Great Lady’s Magazine Stitch-Off – 2
Medici Yarn
Gumnut And Filament Silk
Sigh.
The pashmina, when it arrived, was a lovely caramel colour, with rather unanticipated silver spots on it, and it was a good deal flimsier than I was expecting. The others I have are all in fairly sturdy twill weaves. In truth, I’m not sure that would be easier, and if I ever finish this one, I may choose to find out..
Regular and long term readers of my blog will be aware that I have a thing about scale – scale of thread, scale of stitch, scale of weave. I’ve even discovered – much to my surprise – that the dreaded Plaited Braid Stitch isn’t always easier when it’s stitched wider and longer. So it will be no surprise that I spent a bit of time playing with various different threads to see what I thought of them, before settling on a final choice.
Silk – Filament And Stranded
Gumnut And Appletons
Scale isn’t the only concern, either. The right texture and sheen matter as well.
In the end I have settled on silks. The Medici yarn might have worked if I had had more of it, but I don’t think it is even made any more. The Appletons crewel wool was too heavy, and the Gumnut yarns (although I love them) somehow didn’t settle in comfortably.
Now I have to unpick my experiments and get started. I already have a newfound respect for any lady of the period who embroidered her muslin dresses, or her silk gauzes. There’s a story that Jane Austen embroidered a muslin dress with satin stitch spots, and the mere idea gives me cold shivers!
Although I doubt they had to contend with stuck-on paillettes!
The Great Lady’s Magazine Stitch Off
Rummaging around on Twitter, I found a most intriguing idea. A research team at the University of Kent, headed by Dr Jennie Batchelor (@jenniebatchelor on Twitter), is investigating the content and development of an eighteenth century periodical, The Lady’s Magazine. The magazine was sold with pull-out song sheets – and pull-out designs for embroidery. Generally speaking, they don’t survive, having been pulled out and used as they were intended to be.
But recently, a bound volume of a half-year (1796) came to light, with some patterns included. A little more discussion, the idea arose of scanning those designs for modern stitchers to play with, and The Great Lady’s Magazine Stitch-Off was born. For more on that, visit the project’s blog post on the subject.
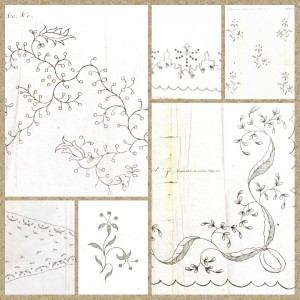
StitchOff Patterns
I couldn’t resist the idea. I’ve downloaded the first five designs, and started to stare at them thoughtfully. The project suggests that stitchers might like to work modern versions as well as in some cases working versions which are as historically accurate as possible, so there is going to be quite a variety to look at.
I’ve decided that I’m going to work the designs on a pashmina shawl, and while I am waiting for it to arrive, I’m contemplating what I might choose to do, from highly modern needle-felted versions, to more or less classical embroidery.
I wanted to share it with you before I started stitching, because the vagaries of the post may substantially delay my first stitch, and a few of you may want to join in. Do let the project know if you do, they’re really enjoying what they’ve been seeing!
Update: They have recently posted their first round-up of Stitch Off contributions and planned contributions.
Thinking about The Conversion Of Placidus
I still believe there is a lot to do for the Dreams of Amarna, but at the same time, when I have moments when I know what I am doing and have brain power to spare, I am thinking about the Conversion of Placidus panel that I’d like to do, inspired by Elizabeth Goudge, Pisanello, and La dame a la licorne.
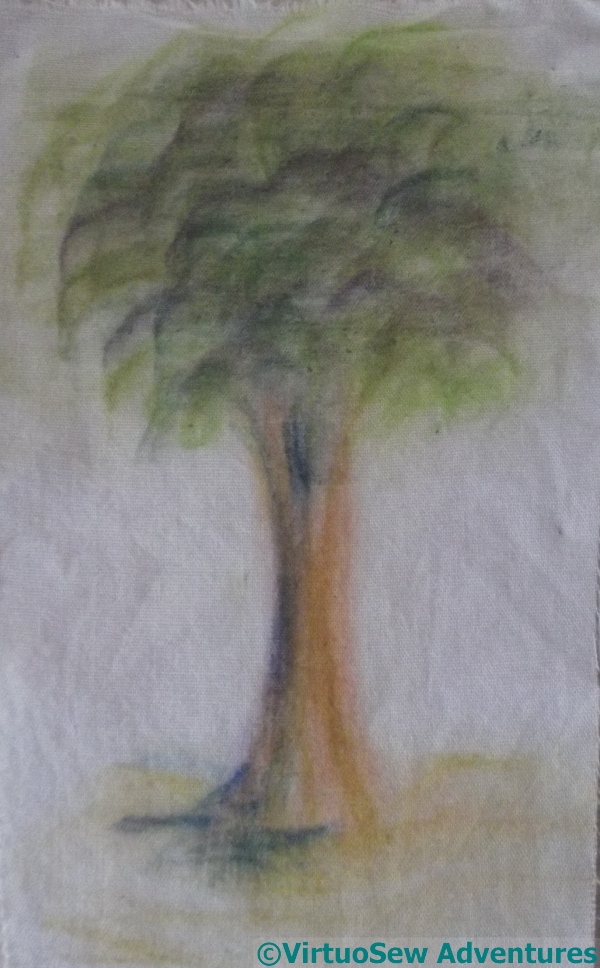
Testing the Inktense blocks – Before Washing
In fact I’ve already bought some calico for the base layer and I’m wondering how to get the design onto it in a reasonably stable but not intrusive fashion. Inktense blocks have been suggested, and when I bought some I was told that once the pigment has been washed over with water, it becomes permanent.
So I found a scrap of cotton and sketched a rather cotton-wool-ball-on-a-stick sort of tree on it, using all of the colours in my selection.
Then I painted over it with water, allowed it to dry, and ironed half of the picture.
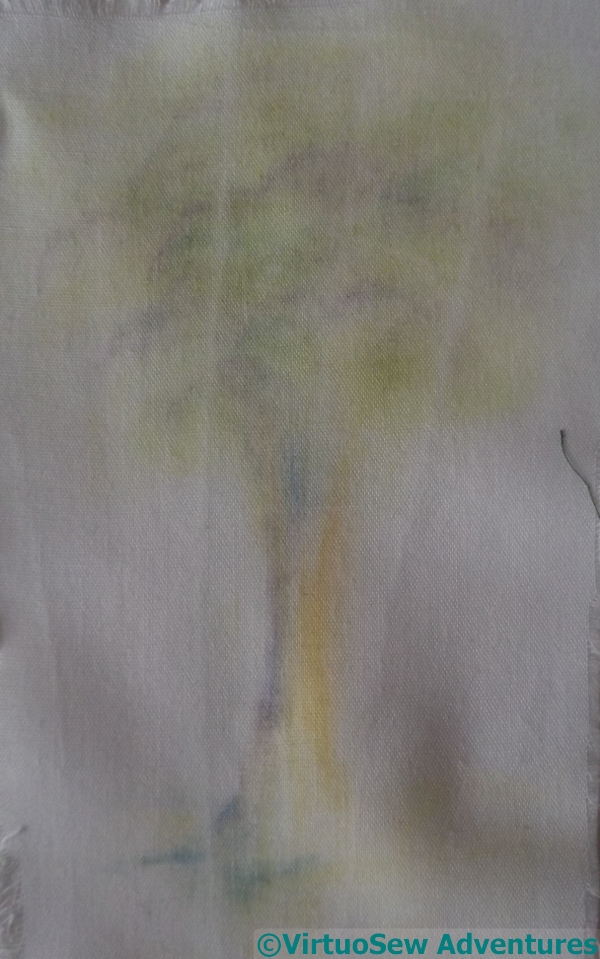
Testing the Inktense blocks – After Washing
Then the scrap went into the washing machine. I’m not expecting to do this to Placidus, by the way. It’s just that I assumed that the abrasion would be a good challenge even if the detergent wasn’t, and it will certainly be subject to abrasion when I’m making it!
As you can see, the ironing made no difference at all!
A lot of the colour has gone, but I think this is in fact enough for my purposes. Most of the panel will be applied to the calico, one way or another, so however I get the design onto the calico, it will only be a sketch map to keep me on the right track.
I do know about textile medium, by the way, but my supplier of the Inktense didn’t have any!
The opening salvo
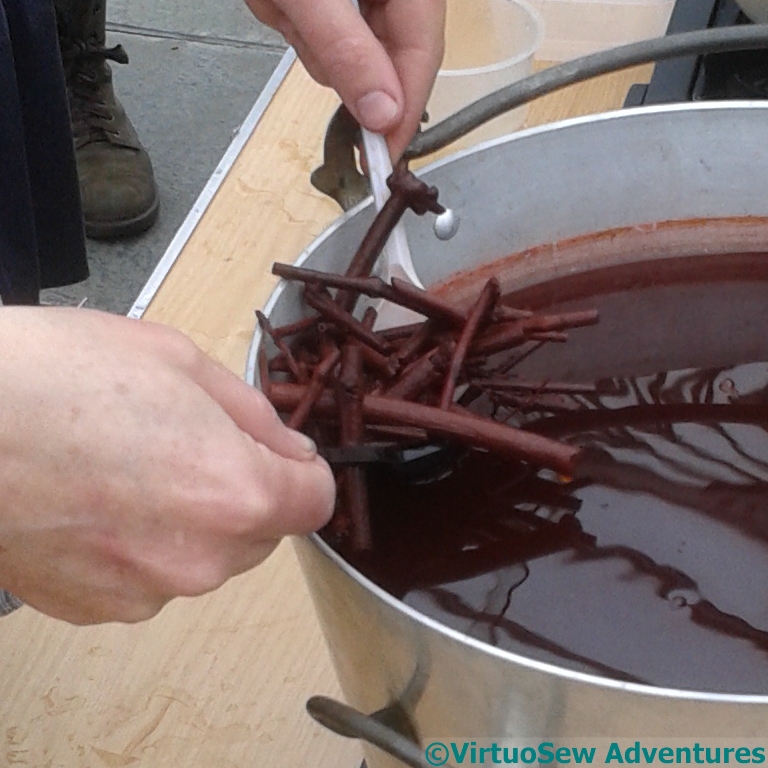
Madder Root
Out Of The Bath
I did study the techniques of dyeing and printing during my degree course, but that was industrial printing and dyeing, on a vast scale and using chemical dyes. Using natural dyes and working on a smaller scale will be a whole new adventure. It isn’t as consistent, but then that is the charm of it.

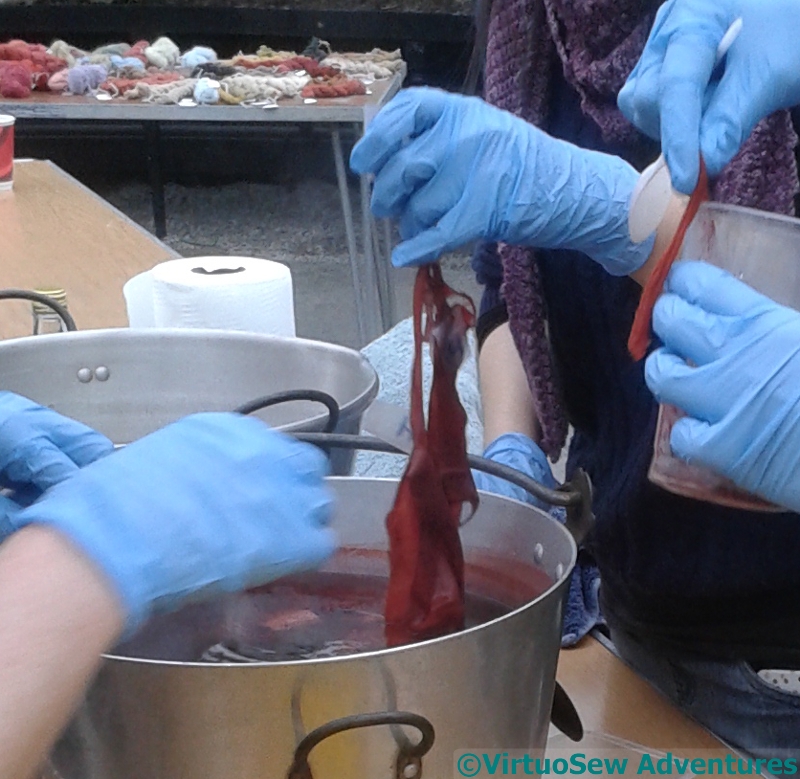
25 Shades of Madder On Silk
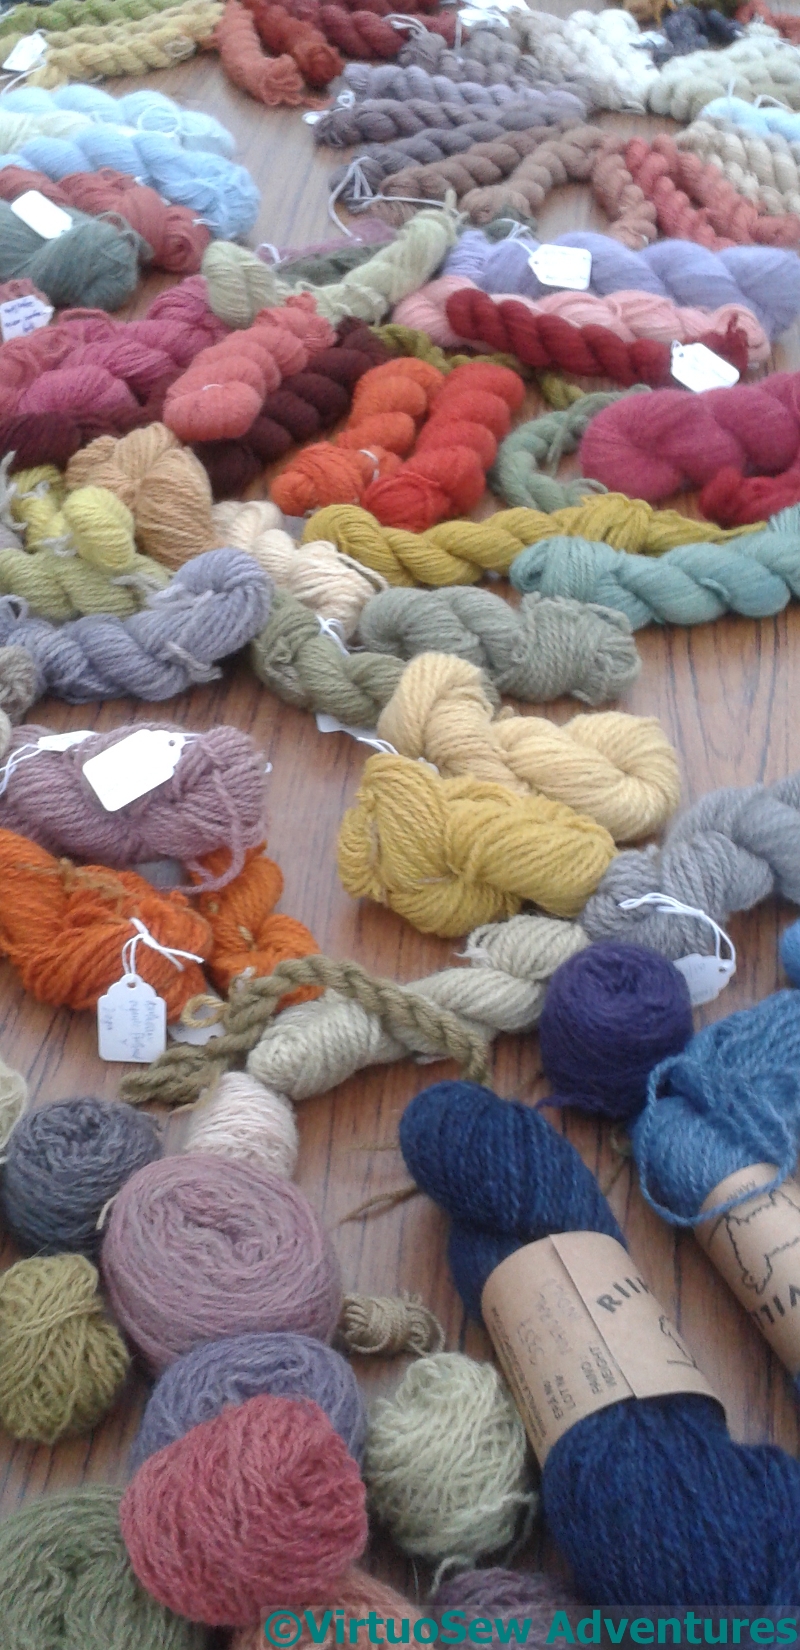
A Welter of Wonderful Wool
So off I went, rummaging through the interwebs for an introduction to natural dyeing and finally found it via Twitter, in a workshop entitled “Twenty Five Shades Of Madder” in the Glasgow Botanic Gardens given by Julia Billings of Woollenflower. It was fascinating, and gave me much to think about.
Mind you, I might have given Julia and all the other lovely ladies on the course something to think about as well, because I had my quotation from Pliny in my notebook to explain what an embroiderer was doing at a workshop, run by a knitter and attended largely by knitters.

25 Shades of Madder On Wool
It did more than explain – everyone’s imagination went into overdrive! The idea of multicoloured fabric coming out of a single dyebath clearly enchants everyone, not just me!
We even had a walk through the Gardens looking for plants that yield dyes. There are a lot of them – more than you might think!, and mordants (pre-dyebath treatments) and modifiers (post-dyebath treatments) make a lot of difference as well.
So now, I have a list of books and DVDs to look at, and suggestions of other people to get in contact with or research – and someone to ask for help if it all gets too much (thanks, Jules!)
Planning Adventures in Dyeing…

Egyptian Patterns
When I was working on my Master’s Degree, I came across this reference to dyeing in Egypt, as described by Pliny the Elder in his “Natural History”:
In Egypt, too, they employ a very remarkable process for the colouring of tissues. After pressing the material, which is white at first, they saturate it, not with colours, but with mordants that are calculated to absorb colour. This done, the tissues, still unchanged in appearance, are plunged into a cauldron of boiling dye, and are removed the next moment fully coloured.
It is a singular fact, too, that although the dye in the pan is of one uniform colour, the material when taken out of it is of various colours, according to the nature of the mordants that have been respectively applied to it: these colours, too, will never wash out.
Thus the dye-pan, which under ordinary circumstances, no doubt, would have made but one colour of several, if coloured tissues had been put into it, is here made to yield several colours from a single dye. At the same moment that it dyes the tissues, it boils in the colour; and it is the fact, that material which has been thus submitted to the action of fire becomes stouter and more serviceable for wear, than it would have been if it had not been subjected to the process.
Now, Pliny the Elder was writing long after Akhenaten’s time, indeed after Egypt became part of the Roman Empire, but plant dyes were already known in 18th Dynasty Egypt, so I am going to assume that mordanting was also known.
I simply have to try this!
I’m not going to try to use Egyptian plant dyes – I think it will be quite challenging enough as it is – but I need to do some research to discover what colours can be obtained by different mordants from a single dyestuff, then work out how to apply the mordant in patterns in such a way as to ensure that it works.
And then do it. It would make a fabulous video, wouldn’t it, dipping a white cloth into a vat and getting multicoloured cloth out again!
Long Time No See
I’ve been hit by a fit of the tidy-ups and spent a couple of days rifling through some shelves to try to make more sense of them, and I’ve found a couple of things I’ve not seen in years…
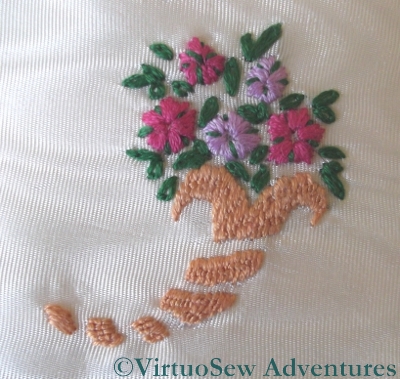
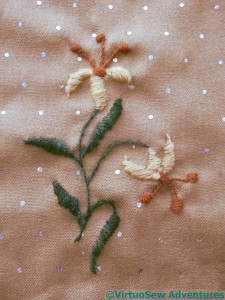
Cornucopia Of Flowers
This little cornucopia of flowers is rather cute. I found it in a nineteen seventies book about needlecrafts, which is rather a surprise because I don’t think it is a very nineteen-seventies sort of design – and some of the others really were! I’ll try to find the book to tell you what it was called. It’s the same book that I found the girl and her doll described in this post about another forgotten project.
In a fit of masochism (I can’t think of any other reason!) I worked it on watered silk, which is very closely woven and was a severe trial. I had to use sharps rather than my usual embroidery needles! The flowers are satin stitch (I was gradually getting over my aversion!), the leaves lazy daisy, and the sections of the cornucopia itself are in Roumanian stitch, which creates just enough roughness of texture to be interesting.
I think that now I have found it again I shall mount it on a round or oval card (like the Glittering Snail) and add it to the winter decoration corner.
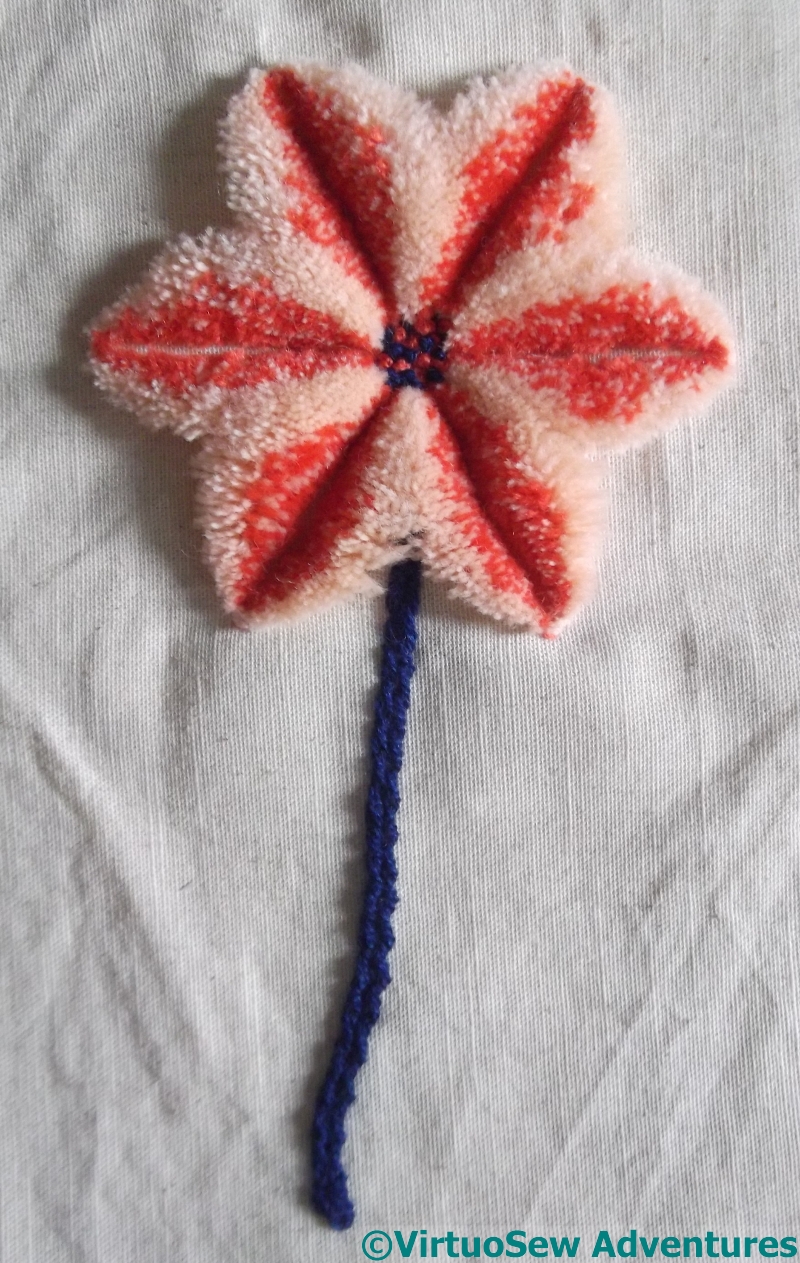
Finished Woolwork
I wrote about this woolwork experiment in 2011, and the last time you saw it, the metal template was still in place. I found it in a box of fabrics that might make good backgrounds, but clearly all I had done was to fill in the centre, add a desultory stem, and sit back and stare at it. Unfortunately, I’m none the wiser as to what to do with the completed piece, or what I might do with the technique…
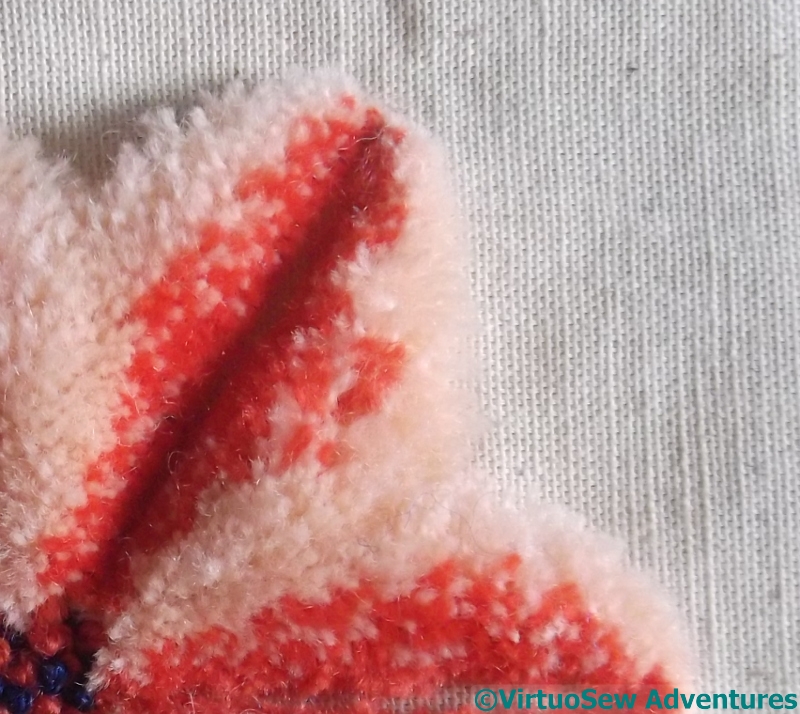
Close Up Of Woolwork
Doesn’t it look wonderfully woolly, though!