Tag: Goldwork
Akhenaten – the next stage
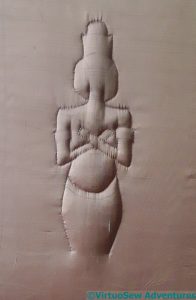
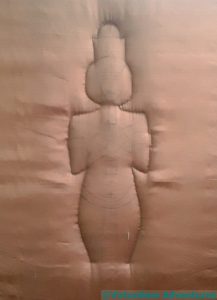
Once I had stuffed the figure from the back, I began to add to the backstitch outline with, for want of a better term, internal outlines.
I realise that the detail of the crossed arms has given him a hollow chest, but as the embroidered details are added I will be able to adjust the padding, if necessary removing some of it. Adding the stitching is going to be interesting. Some of it will need to balance over the curve of the padding, and some of it I will need to tighten a little through the padding – for example, his carefully-carved belly button.
At this point, I had to pause for thought. When the idea first came to me, it was the pleated loincloth that I could visualise, but the rest of the piece had yet to come into focus. I went rummaging on the web for polychrome representations of Akhenaten, and rummaging in my stash of threads for inspiration. And then suddenly, that inspiration duly arrived….
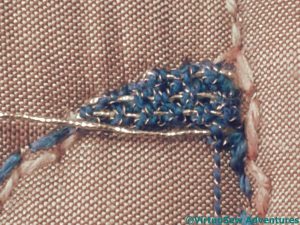
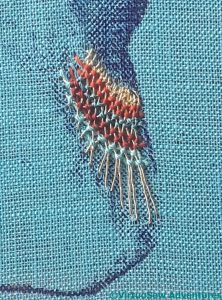
I remembered the ornamental stitches of the Tudor Rose Project, and fished out the Gold Special Tambour and Gilt Sylke Twist. Akhenaten’s wig is sometimes represented as black, and sometimes as blue. Black can be a somewhat problematic colour, often too dominating or simply “killing” other colours, so I decided I would go for blue, and the Indico Blewe Gilt Sylke Twist looked like it would produce just the right effect. Using the Gold Special Tambour as the thread for the return of the Detached Up And Down Buttonhole Stitch With Return helps to give a little more emphasis to the glint of the gold in the Gilt Sylke Twist.
But it’s not a quick stitch. This is going to take a while….
Akhenaten – the scary bit!
I did say the next bit was scary!
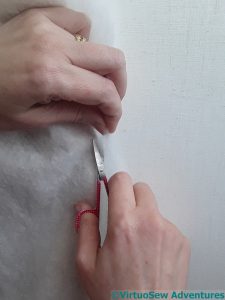
I undid the stitches holding the silk and top layer of wadding to the calico backing, and cut away the polyester wadding close to the back stitches outlining the figure. Quite apart from the fact that I had to tie myself in knots to follow the edge around, particularly around the neck and shoulders, and beneath the arms, I was terrified of cutting through the backing, or the padding I didn’t want to cut, or, worst of all, cutting through the silk.
If you are of a nervous disposition, do not attempt this technique. Try something soothing instead. Like base-jumping.
The next bit was hardly less scary.
Having been terrified of the prospect of cutting any of the layers, I then had to cut slits in the calico at the back, in order to stuff the figure more firmly.
I’ve had occasion in the past to express my conviction that holes into items to be stuffed actually open into the Fourth Dimension or something. The capacity of the item to be stuffed always seems to be higher than is suggested by the measurements.
And guess what, it happened again. I’ve done my best to stuff evenly, using small pieces of stuffing, but I won’t be at all surprised to find that after the next stage (whatever that turns out to be!) I will be doing more of it.
Starting On Akhenaten
Naturally, once I’d done the Head of Nefertiti, I wanted to do something of Akhenaten. The question was, what?
But I needn’t have worried. Almost before I have posed myself the question, an idea had sprung, fully formed, into my mind, rather as Nefertiti had done. It’s going to be a sort of unholy, but with any luck, truly gorgeous, combination of trapunto and goldwork.
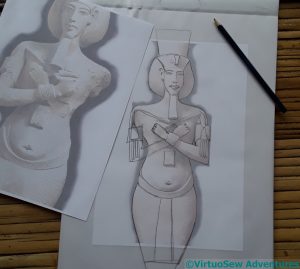
I’m basing the design on the four colossi of Akhenaten, all of which are damaged in different ways, allowing me to put together something that should resemble an undamaged one. Then I started to forage among my silk fabrics to find something suitable, finally choosing a sort of pinkish orangey-brown which reminds me a bit of pink granite. The colossi aren’t made of pink granite, but the Egyptians did use it, and besides, this is a work of artistic interpretation!
Since the idea is such a mash-up of techniques, I’m not at all sure whether it will work, or what order to do what in (if you follow me!). I’ve started by stretching the calico backing fabric in the frame, overlaying it with two layers of a fairly lofty synthetic wadding and a denser layer of cotton, and then stretching the silk over the top.
Then I stitched the outline, using close back stitches. It doesn’t look very good at this point, because there is extra wadding where I don’t want it.
But the next stage is a bit scary, so I had to clutch my courage in both hands…
Finishing the Head of Nefertiti
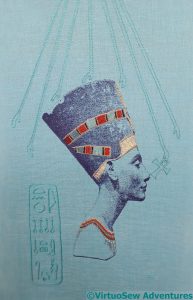
Unless I decide otherwise, the head of Nefertiti is now finished.
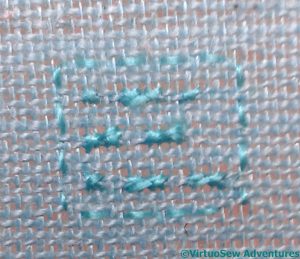
I’ve worked my Morse Code cartouche slightly differently this time, using cross stitch for the dots, long armed cross stitch for the dashes, and counted running stitch for the frame. This works rather well, so it’s a possibility for any eventual canvaswork projects in the future.
However, in this instance it is almost completely invisible, so I may yet unpick it and rework it twice the size, with four threads in each direction instead of two.
In the end, if you recall, I decided to work Nefertiti’s cartouche, both the hieroglyphs and the frame, in reverse chain stitch using untwisted silk.
The rays of the Aten are worked in reverse chain stitch, but using hand twisted silk.
I am a little concerned about balance and the strength of the design, but when I was playing with my photos of of the finished panel, I noticed that when I cropped the picture closely, rather than including all of the length I have stitched of the rays of the Aten, it was much improved.
That happened with the Camberwell Panel, and with Loading the Felucca, as well, so I shouldn’t be surprised.
And I really should remember to play with that sort of detail when I am mounting and finishing my embroideries!
The Cartouche for the Head of Nefertiti
There were many false starts when I came to work on the cartouche. The fabric is under such tension, in order to work the metal and silk stitches, that it’s hard not to create something that looks very fragile and wispy.
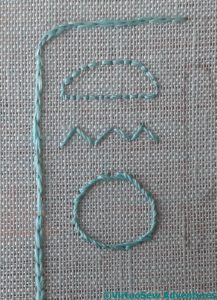
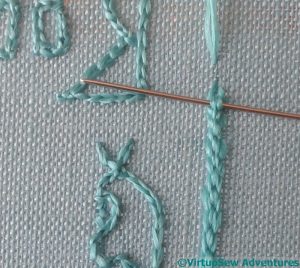
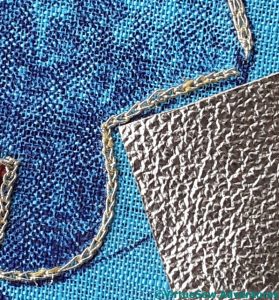
Here you see stem stitches, back stitches, straight stitches, chain stitches of different lengths, some worked using the same twisted thread I used for the rays of the Aten, and some in untwisted thread of the same thickness.
And I didn’t like any of them.
In fact, I ended up doubling the thickness of the thread, but not actually twisting it. This creates a more definite line, and using reverse chain stitch throughout maintains the sense of continuity with the rays of the Aten.
Once I had finished the hieroglyphs, I had to work the frame of the cartouche, and guess what – false starts here as well.
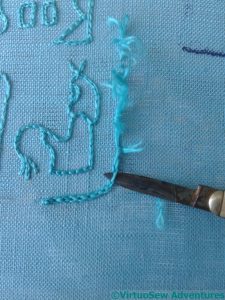
I was rather saddened that among the stitches tried was one of my favourites, Hungarian Braided Chain Stitch, and that, like several others, ended up being sliced out with a penknife. A rather nice penknife with a mother of pearl handle, from a vintage sewing set, but it’s frustrating to dismiss a favourite stitch, even when it’s because you don’t think it works in the context.
After much to-ing and fro-ing, and a good few “ouches” from my recalcitrant sub-scapularis muscle, I finally got the cartouche finished.
I’m not entirely sure I like the finished result, so it is sitting in the living room, being stared at.
More Progress – at long last
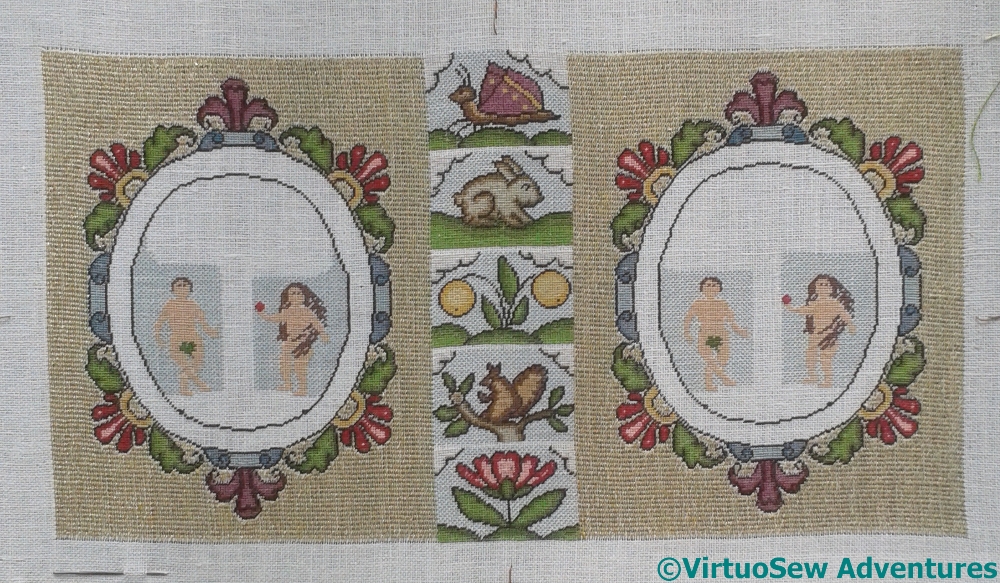
Those of you who follow me on Twitter or Instagram will have seen some rejoicings over the weekend. I have been working on the gold stitched background for the polychrome tent stitch for what seems like forever, but in fact it is less than a year – I began the Elizabethan Ground Stitch in October of last year. A serious shoulder problem interfered with my work at my floor frame at one stage, and then I was all taken with with my ideas for the Head of Nefertiti, so it was only recently that I got back to it. And now I have finished that laborious stage, and I can move on to the more complex and intriguing techniques which were the whole reason for taking the course.
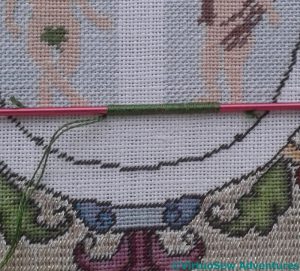
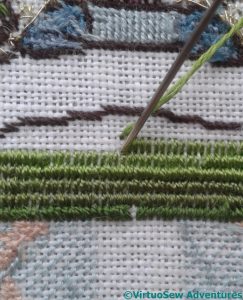
For instance, this one. Tricia describes this as a variation on Velvet Stitch, worked in silk thread over what I presume is a fine double ended knitting needle. It makes a perfect spacer for the pile of the stitch, anyway, and arrived with all the other bits and pieces.
Tricia tells us to come up through the already occupied hole, to avoid pulling the thread through to the back and reducing the pile. I went a step further and worked it from the back, ensuring that I kept the stitch neat and the stitching going up through the right holes!
I must admit I enjoyed this, simple, and straightforward, but with just enough challenge to keep me awake and alert.
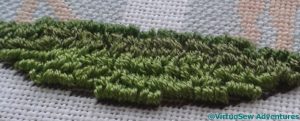
And here is the first hillock, finished and fluffy. It looks as though it would be beautifully soft underfoot, doesn’t it!
The Head of Nefertiti – further details
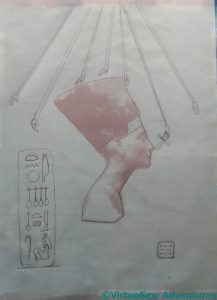
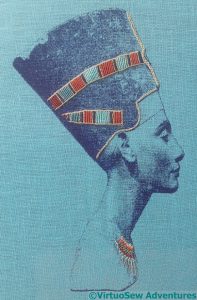
I suddenly realised that I haven’t got any representations of the Aten in the panels. Considering that Akhenaten’s new, monotheistic devotion to the Aten actually created Amarna (Aketaten in his day), that is more than a little remiss of me. So the extra details I am planning for Nefertiti – shown here, drafted on tracing paper laid over the the print I didn’t use for stitching – begin to right that wrong.
I’ve drawn the rays of the Aten ending in little hands outstretched in blessing, as seen in many wall-carvings and paintings at Amarna. For some reason (research to be done…!) the hands nearest the noses of Nefertiti and Akhenaten often hold an ankh, so that is also included.
I’ve added in Nefertiti’s cartouche, although I think I may have drawn it too large for the design as a whole, and my own, which will include my initials in Morse Code, as this is a standalone companion piece.
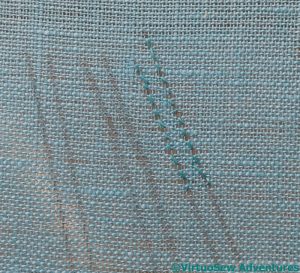
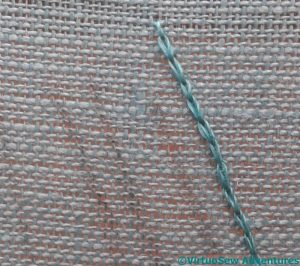
I want the lines to be there, and yet not there, so I found some filament silk that I bought at Texere Yarns before they closed their store, and had a go with it, using reverse herringbone stitch, as I did for the contours of The Map of Amarna.
And it completely disappeared.
Oh dear!
So this is the next version, reverse chain stitch using a 2-into-1 twist. I’m much happier with that, although twisting the thread before I stitch with it does rather slow down the stitching part of it!
But still, here I am, stitching with hand-twisted thread, twisted by me. Never would fifteen-year-old me have believed I would be doing that!
If my Grandmama could see me now….
The Head of Nefertiti – continuing progress
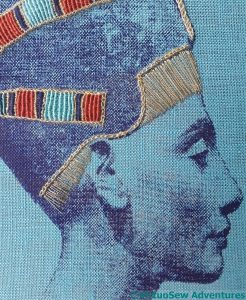
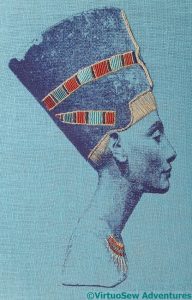
So this is where we left the Head of Nefertiti. the polychrome bands and the gold edges of the headdress are done, and I have worked a section of necklace.
I keep flip-flopping between feeling that that section of necklace is just right, and feeling that it really isn’t enough at all. I like the sense of a delicate flash of colour barely surviving the years, but at the same time, there’s an inner glitter-girl that wants to see a bit more than that..
So, while I think a little more about the necklace question, I thought I’d make another attempt at the browband. This time it is simply straight stitches, in a slightly finer thread than the rest of the gold stitching. It’s not perfectly regular, but, again, the slight unevenness evokes the damage of the years.
And besides, by now, you must know that regularity of stitching is not my forte!
So, again, I find myself at a pause.
I’m happy with the browband, I think, definitely happy with the polychrome bands, and the gold trim.
However, I’m still not sure whether I’m happy with the necklace.
Since my thought is to quilt a pattern into the background, I had best be certain that I’m happy before I start attaching padding and picking patterns!
More progress on The Head of Nefertiti
Once I had finished the polychrome bands, I sat back and looked at them. Using the darker shades of the colours in the darker part of the print helps to tie it all together and wrap the bands around the headdress.
I had a moment or two of concern, then decided that I would not, after all, ruin everything if I continued to add the other elements of the design that I had planned. There is always a moment or two of fear, especially when an early section has gone well!
The original bust shows something that looks like a browband of gold, fairly plain and flat. I fished out a piece of gold kid, but although the photograph doesn’t show it very well, the kid is the wrong colour (too pale, and not yellow enough) for the gold thread, so I have to think of something else.
*Thinks hard*.
Meanwhile, I thought I would experiment with the necklace, or collar. My thought was that, rather than do the whole thing, I would do a small section of it, to make sure that I maintain the feeling of an embroidery, and not a portrait of a portrait.
What I have done here is to make radiating stitches of the gold thread, and then use the same whipped filling stitch I used on the polychrome bands, but alternating them so there is a hint of a gold net underlying the collar.
I like this, but maybe I do need to do an entire collar’s worth.
*Thinks hard*. Again.
The Head of Nefertiti – working with Silk
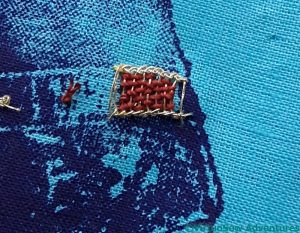
You will recall that I was rather underwhelmed by the effect of my first attempt at weaving the silk into the gold. Leaving the threads loosely packed to allow the gold to show through allows them to look untidy, and the colour is somehow a little flattened, not the rich, strong colour I wanted.
So I decided to work the whipped style of filling stitch instead. It creates a strong colour, something like a grosgrain ribbon, in fact.
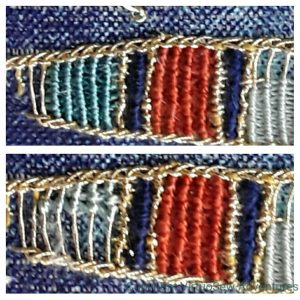
I’m using primarily colours from the Mulberry Silks “Nefertiti” colour range (appropriate, don’t you think!), and I’m happy with the rusty red. The navy is actually a heavy perle type and I’m not sure where it came from. That works too.
The lightest colour, however, on the far right, is too fine. It produces too retiring an effect, and weakens the whole effect. So I tried one of the stranded silks from Thistle Threads (lower example, left), and wasn’t convinced by that, either.
This looks better. In fact the two light blue-greens are different, although that isn’t as clear in this photo as I might have liked. They aren’t as green as I would have liked, but I’m reasonably happy. If I decide to redo them, I may have to redo the whole thing, as the unpicking earlier on has left the Ladder Stitch a bit floppy.

