Tag: needlefelting
Another Attempt at the Dig House
I’m continuing to experiment with my embellisher, trying to learn new tricks.
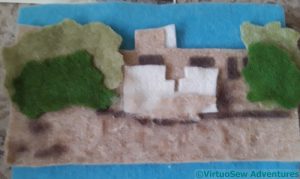
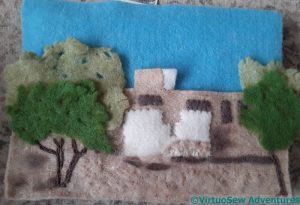
I’ve found a photo of the Dig House from a different view to the previous one I tried, and cut out some pieces of felt to represent the trees and the various pieces of building. It’s not going to be a very accurate representation, because, firstly, my cutting wasn’t as accurate as it could have been, and second, I’ve found that needlefelting doesn’t always go to plan.
That said, a bit of stitchery helps to keep the pieces at least approximately in place.
I felt the felt of the trees looked a bit too solid, and snipped holes in it, snipped the edges, and then tugged and tweaked at it to open up the fabric.
Then I started to use my embellisher. And oh joy, a needle broke! I changed the needle plate and slowed down a bit after that. It turns out that three layers of even this fairly light felt are a bit much for the machine.
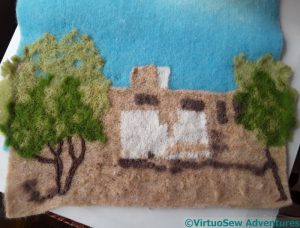
However, after much slow and careful embellishing, I have this.
The trees look much better now, with the edges and the holes satisfactorily destroyed and battered around the edges. The various layers of felt are melting into one another and flattening together.
This should at least provide me with an interesting basis for further stitched details!
A Pause In The Modern Stitch Off
I’ve reached a sort of sticking point with the Modern StitchOff project, so I’ve decided to pause and think about it.
I took the blanket outside (all four and three-quarter pounds of it!) and hung it on the washing line to stare at, and photograph for you.
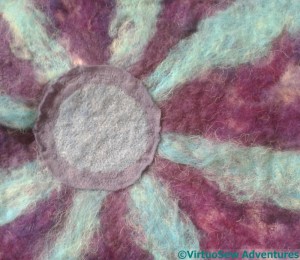
This is the reverse side – that is, the side you don’t see when sitting at the embellisher, trying not to break needles.
This is the front. It can be quite fluffy – the hexagonal net keeps fibre in place while embellishing, but at the cost of sometimes failing to realise it hasn’t been firmly enough attached. I’m learning that I need to make a first pass with the net, trying to be thorough, but then take off the net and go over the same area again.
I’m also noticing that although I used two different types of felt for the leaf shapes, and they behave differently under the needles, the effect on front and back is sufficiently similar that in future I will pick the felt which felts easily (if you follow me!).
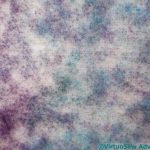
- Detail – Back
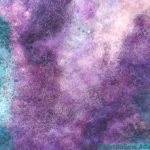
- Detail – Front
The reverse has a rather intriguing spotty effect. When there’s only one layer of embellishing it is easy to see that it is one tiny dot of colour for every needle (which makes sense!). The front varies rather more, sometimes flat and densely textured by the needles, sometimes fluffy and fly away.
My challenge now is to work out how to extend the colour and texture to the rest of the blanket, and then to decide, do I add some lines of roving, and if so, how. Although if anyone suggests using a hand-embellisher, my howls of outrage will be heard by NASA’s “Juno”!
Amarna Geese – stage 2
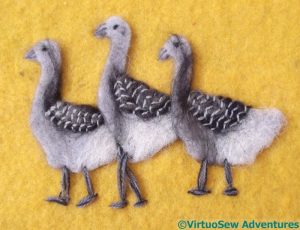
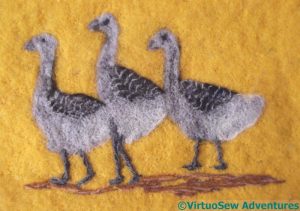
I’ve started adding more detail with needle and thread. The chevron pattern, the eyes, and the detail on the beak are all made using straight stitches in single strands of Appletons wool. I can’t think where I got a whole series of greys, unless it’s from hand-me-downs. I’m glad I have them now, but it isn’t a colour I much like and I can’t imagine going out and buying them!
For the legs, I have used three different colours of wool in the needle. I can see that for all my staring at photographs and trying to sketch, I’ve not really got a clear or accurate idea of the details of goose anatomy! And somehow, for all my care in placing the cut out felt geese, they’ve ended up attached in not-quite-the-right place.
Still, let’s not despair.
I’ve also added some ground below the the geese. Three strands of different colours of wool, again. I did a sort of loopy knot stitch crossed with a split stitch, which I couldn’t reproduce if I tried. But it produces a very good broken-ground effect, so as long as I don’t decide I need more ground, we’ll be fine.
Then I sat down at the embellisher and tried to blend the fabrics together. This meant quite heavy embellishing, but fortunately the fabrics are none of them dense, so there was room for the fibres to mingle.
When I noticed that the legs weren’t getting caught in, I twisted some more threads around them. That’s better.
Then another pause. Do I add leaves, to match my vague memory, or shall I leave well alone?
Modern Stitch-Off Adventure – 4
I’ve been gradually accumulating the skills needed to wrangle my embellisher successfully. It was worth buying the extension table that fits around the arm of the machine – that began to make the whole thing seem possible.
Using the net to hold down the fibres made a huge difference, and so did piling up props to keep the weight of the blanket from pulling on the needles. The props then worked better again when I covered them, and the table, with a slippery plastic tablecloth to stop them getting caught up.
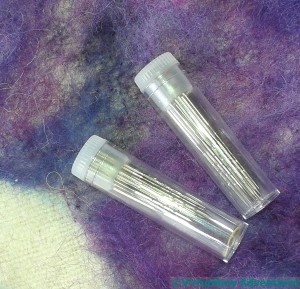
I’ve also found that on my wooden sewing table, the embellisher “walks” with the vibration of its movement. Two layers of heavy batting on the table seem to have fixed that particular alarming problem, and then I bought some spare needles (20 of them!) and relaxed a little, which made it easier not to jerk at the fabric and break needles.
So what with one thing and another, I’m beginning to feel as though I might be getting to grips with the embellisher!
I’m also beginning to learn which fabrics work. Obviously, the hexagonal net gets shredded and doesn’t get pulled into the fabric. Dense commercial wool felt doesn’t felt in well, in fact it seems to pull itself back out again; but real wool tweed and the lofty “pre-felt” pieces felt in like a dream, and end up looking almost as though they were part of the fabric.
The fibres seem to remain quite lofty and furry, even after being fairly thoroughly felted in, although the merino becomes flatter than some of the other fibres. The more I work with the embellisher, the more I realise that there is rather more to it than meets the eye!
A lot more….
At the moment, the colours aren’t quite working, but my next stage is to start to add details, and tweak the colours a bit. I need to add the teals and greens that are part of the fabric pattern that gave me the colour-scheme, and also help some of the edges and lines of the pattern to come to life..
But I might also choose to use the back… The spotty, “dithered” effect is very like the overall effect of the fabric I’ve mentioned, so I need to consider whether to continue adding to what is at present the “front”, or to start adding tweaks to the “back”.
If it is still the back…!
Needlefelted Amarna Geese
I have a picture in my mind of a gaggle of geese, fresco’d on an Amarna wall. Unfortunately, all my rummagings haven’t turned up a reference or any idea where I saw it. So I am going to make it up!
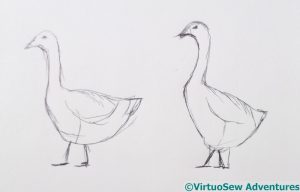
I spent some time online, looking for pictures of geese, and made some sketches. I’ve decided to use my embellisher – this is a sort of “bonus” project, as it won’t go on the main panels.
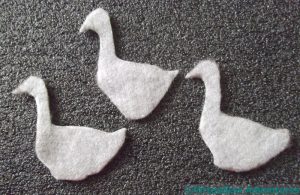
So the next stage was to cut out some geese from some light grey pre-felt. One of them is to be slightly more upright than the other two, but since needlefelting – like wet felting – reduces the dimensions of the piece, it’s anyone’s guess how clear that will be when I’ve finished!
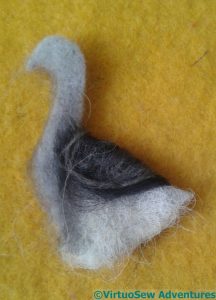
I’ve tried to create the basic appearance of the goose using fragments of wool – several shades of grey merino, and some of the very wiry white wool from Heligan. It’s all needlefelted into place by hand. Not enough hands – I’m sure I could have done with another pair, or some other way to control the bits I hadn’t managed to deal with yet!
At this point there was a pause for thought… I have neither the inclination nor the patience to add the details with needlefelting, but equally, how much detail will I really need?
Modern Stitch Off Adventure – 3
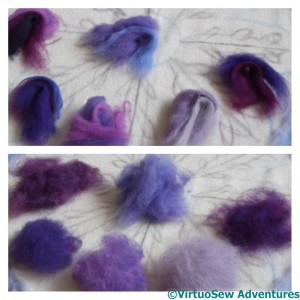
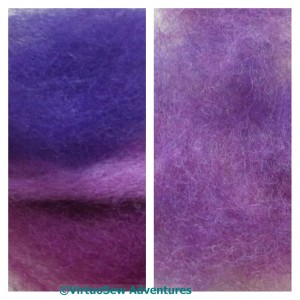
I mentioned in the first post about this project that I was planning to use what are technically referred to as “intimate blends” of fibres to create a more subtle colour range. If you click on the picture you will get a better sense of the varieties I am putting together.
If I were planning to spin these blends, I wouldn’t start from here. Some of the colours are lovely silky-smooth, long staple, Falklands merino, and others, labelled “Nepal Wool” in my local shop, are short staple, and very curly and springy. I’ve even got some very wiry undyed Devon and Cornwall Longwool, bought last Autumn at the Lost Gardens of Heligan (go, if you get a chance: we had a wonderful day out there!). So the characteristics are very different, and that matters quite a lot with yarn, although there is a way to do almost anything if you have the time to make it work. It matters less with felting, so some of my blends would make my spinning master splutter something like “Didn’t I teach you anything?”.
Fortunately, what I am attempting is based entirely on the colours.
The blanket became very unwieldy at this point. I’ve since found the label and discovered it weighed four and a quarter pounds before I even began!
However, that wasn’t really the problem. I didn’t want to have pins within the area I was working, because they’d be certain to get caught up and cause more breakages (by the action of what my father refers to as the Law of Maximum Cussedness). The central section is about two foot in diameter, so a lot of as-yet-unattached fibre was rather more free to move under the netting than I would have wished. Furthermore, because of this I was finding myself tensing up and pressing harder on the foot pedal, and that was when I would get out of sync and break a needle or two.
Modern StitchOff Adventure – 2
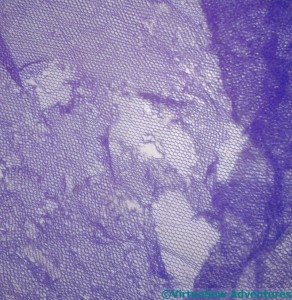
Hexagonal net laid over the fibres helps to keep them from around the “foot” for want of a better word, of the embellisher. I’ve pinned it down, inside and outside the ring, and spent a lot of time struggling with a piece of blanket which seems to get larger every time I go back to it.
The challenge with an embellisher is to move the fabric when the needle unit is up, because if the needle unit is down when the fabric moves, needles get broken.
And I can assure you, they break. Eight, I think, by the end of my first serious day of using my embellisher.
The blanket got heavier and more unwieldy, but by the end of the day I was beginning to feel I might be getting the hang of it.
This might be in part because my sewing table was gradually accreting some props. I covered it with plastic tablecloth, to help the material slide, and stretched the plastic tablecloth over a clothes horse.
That in turn helped to raise the main weight of the blanket – the bit I wasn’t working on – so that it was no longer dragging down on the section I was working on.
I even piled up some of the blanket on the windowsill, and I do rather wonder what anyone passing by might have thought of the net curtains swishing tempestuously with no person in sight!
What was definitely not feeling better by the end of the day was that hardworking and hapless net. It doesn’t get felted in – that’s why it’s such a useful addition to the armoury of the user of an embellisher – but it does get pretty thoroughly shredded. This may be in part because I’m not yet experienced enough to know when I can dispense with it, or it may be because I’m working on small parts of the piece at once because it is so big and heavy.
Fortunately I bought a couple of yards of it, for precisely this purpose!
Lady’s Magazine Stitch-Off – A Modern Adventure
I have a matchless talent for complicating my life. In my defence, I can say that this will be practice for future projects, but oh, my…
I have always had in mind to try a full-on-modern, Jane-would-never-have-done-this, take on one of the Stitch-Off designs. This is going to be that project.
I’ve been intending to do something with this blanket for quite some time, and I’ve also been intending to have a serious play (as it were) with my embellisher. Not the least of the challenges will be in managing a full size, pure wool blanket – nearly six foot square, and heavy.
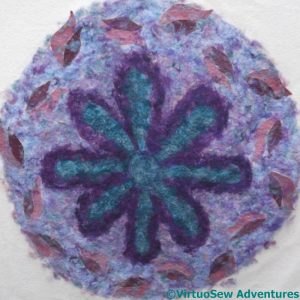
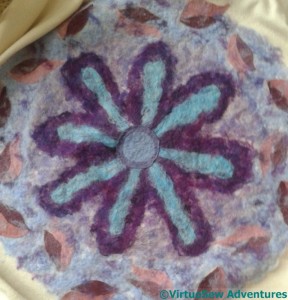
I’ve sketched out the central medallion from the design for the child’s cap by eye. From now on, it’s a venture into the unknown…
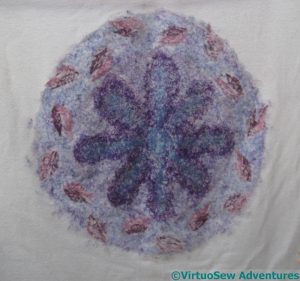
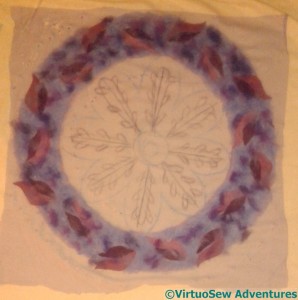
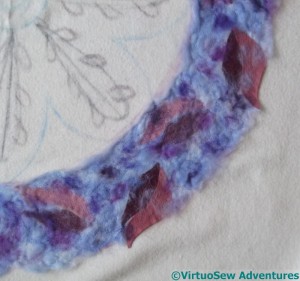
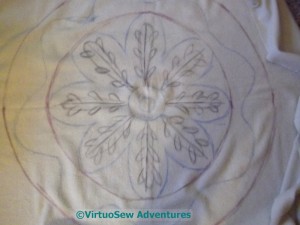
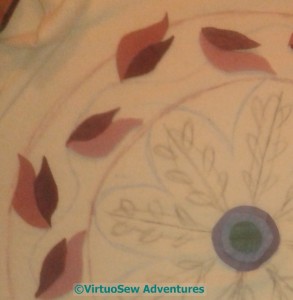
I began by cutting leaf shapes in two colours out of two different types of felt, and alternating them around the circle. My wavy stem line wasn’t quite even, so I’ve tried to even up the spacing by eye, and attached the leaves roughly.
I’m expecting to build up this pattern in layers, and fine-tune the felting as I go, so the first stage here is just to make sure nothing moves too much..
Originally needle-felting was an industrial process for making a non-woven fabric. It dates back to about the 1860s, and these days is used for things like geotextiles and insulation. A quick rummage online told me that among the applications are tiles on the Space Shuttle and tennis court surfaces. The application to craft and art is much more recent, but it uses exactly the same needles – just not as many of them!
However, because of this background, an embellisher is a great way to use wool fibre as well as fabric in a project, and that in turn means an opportunity to play with colours. One of the strongest memories I have of my childhood introduction to the textile industry is visiting a woollen mill in Totnes in Devon, which made upholstery fabrics. The manufacturing process began with bales of alarmingly bright colours of wook fibre being thrown into a carding machine, and ended with wonderfully subtle, lively colours of fabric coming off the looms. I’m going to see what I can do to emulate this intimate blending of colour using my little hand cards.
The Circle Skirt Finished – Maybe!
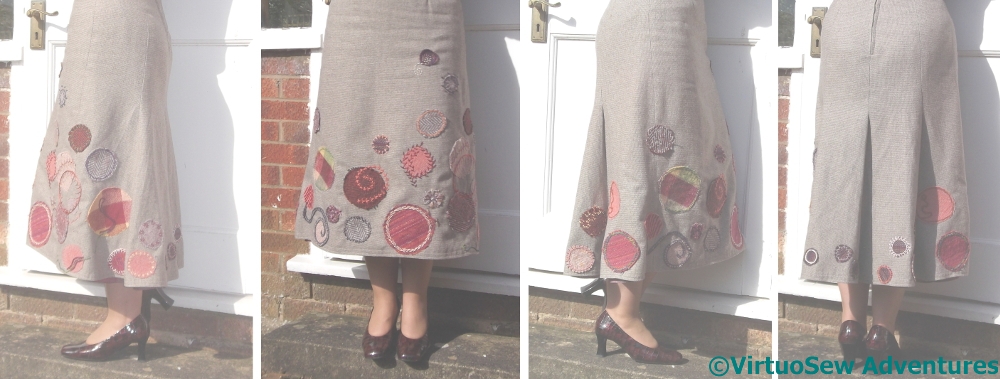
This seems a good enough point at which to say the Circle Skirt is finished, although I may tweak and titivate further next winter.
Click on the picture to zoom in..
Some of the circles have been needlefelted, to greater and lesser extents, to help them to stay in place. Now I have my embellisher, I think that the next time I try this sort of thing, I will needlefelt very thoroughly, to try to help blend in the edges a little more. Once I have tried both ways I will feel that I am beginning to gain an understanding of how the embellisher affects the handle of the the fabric. I already know that it does, of course, but now I need to learn how to predict the effect and allow for it.
The skirt is now much more useful and wearable than it was. Unembellished, it was a strange light greyish colour that seemed just slightly “off” with everything I owned. Now, however, the burgundies, reds and greens tie in nicely with an assortment of tops, and the way the embellishment shrinks around the sides to the back helps to emphasize the kick-flare at the back.
In the right company, it’s a fabulous conversation starter, and it’s a wearable sampler as well. I’m rather looking forward to wearing it at the Knitting and Stitching Show in Harrogate in November!
Embellishing the Circles Skirt – Part Six
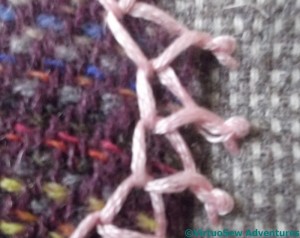
I managed some really close close-ups here! This is the Crested Chain Stitch on one of the small circles on the back of the skirt, on the flaring panels.
The thread is a very ordinary stranded cotton, used straight off the skein – although as you can see, a couple of strands are making a bid for freedom, even so!
This picture also gives you a sight of the rainbow of colours involved in the tweed fabric I used for this particular circle – isn’t it lovely to see!
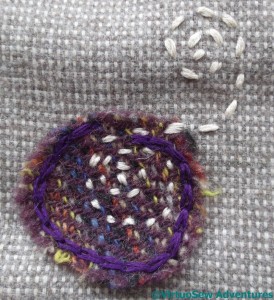
The trailing spiral is high up on the front of the skirt, off to one side, and it was – in spite of the order of its appearance – one of the earliest elements which trailed off the circle and onto the fabric. I thought this would turn out to be quite important, to help link the various materials and create a cohesive whole. I had to work the spiral twice because the first time it barely showed at all. I’m all for the painter’s technique of “lost and found edges”, but there has to be something to find!
The purple chain stitch is there purely to make sure of the edges. If I had already bought the embellisher, I might have simply used that, very heavily, first.
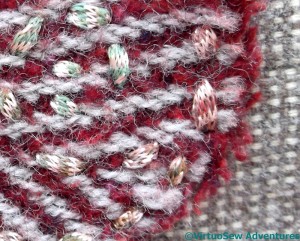
I love using rayon chainettes in this sort of experimental embellishment. As a one-time specialist in the industrial production of “novelty” yarns, I have a sentimental attachment to chainettes, chenilles, and eyelash yarns.
This particular chainette was striped, which echoed the twill weave of the tweed very nicely. It was also a real trial to stitch with – hence the simple running stitch. I simply didn’t have the energy for anything else..

