Tag: stitches
The Wood Mouse
Since I want oak trees in both Placidus and The Golden Fleece, we took the opportunity over the summer to take a friend on an excursion to Sherwood Forest. Our friend likes going for walks, and I wanted to sketch oaks, it seemed a reasonable blending of interests.
And I did do a couple of sketches, and a watercolour sketch as well, but what I hadn’t expected was to see some rather bold and busy mice, scuttling about their lawful occasions with only the occasional wary eye on the big clumpy humans wandering around. So, definitely, there will be a wood mouse of some description in Placidus.

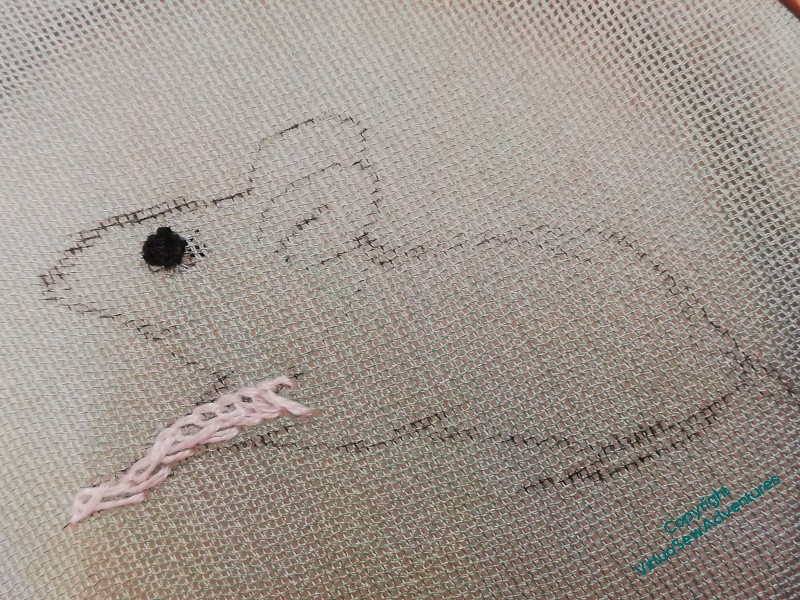
My photos all show a brown furry blob, so I went rummaging online for some suitable mice, and finally settled on a nice profile view that will make more sense when all you see is a nose and an ear. I started with single strands of stranded cotton, and then realised that, oddly, it wasn’t giving me the right sense of the fur, so I moved on to variegated silk perle. This is a bundle of thread I’ve had for years, and don’t use as much as I expected to. But when it’s the right thing to use, it’s very right!

The big beady eye went in first, as you see in the first picture, and then I just worked backwards and forwards, staring at my source photo, stitching a little, starting again, trying to paint with my needle. It’s not needlepainting in the classic sense, being neither as planned nor as careful, but it is very much bringing the way I paint into the way I stitch.
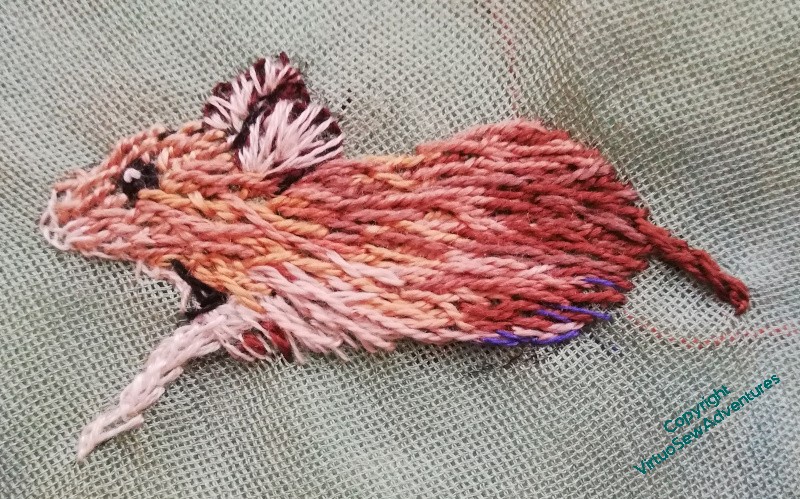
And there’s a thing I would never have said, thought, or attempted, before the “Dreams of Amarna”!
Ears, shadows, highlight on the eye, slightly blue shadow underneath. I’ve left the tail as a stub until I know where my little mousey will end up and whether the tail will need to show!
Pooh-Bah Makes Progress
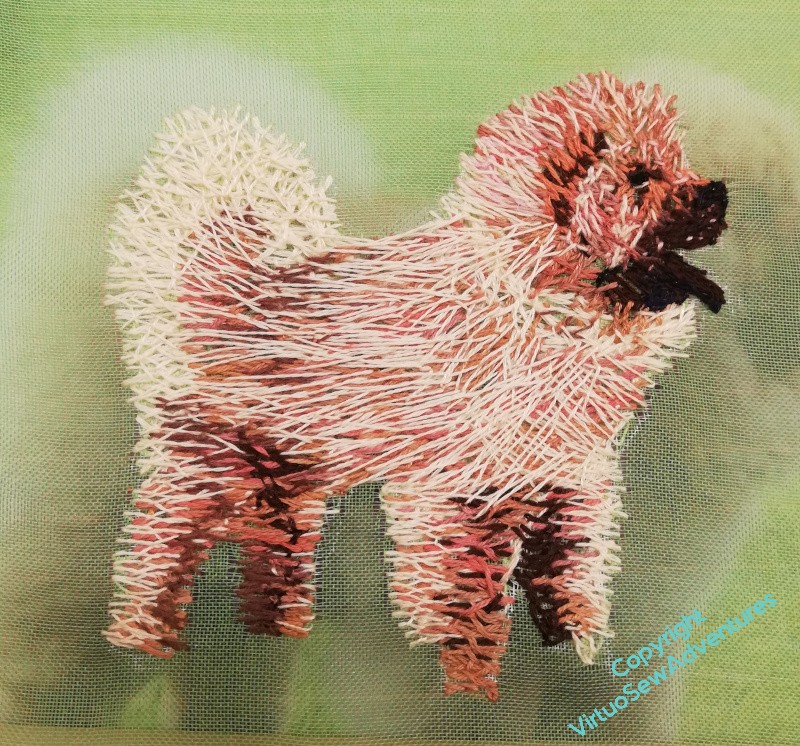
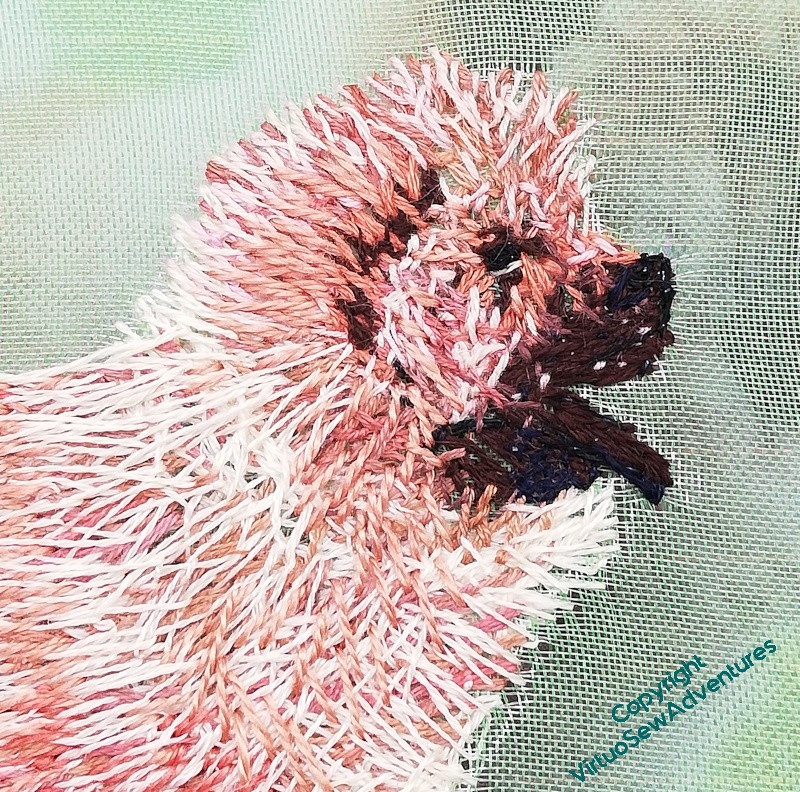
I’m still struggling to make sense of the deep, fluffy furball that is a Chow. You can see me trying very hard here to make the layers tangle and intertwine, breaking up the colour of each stitch so as to create the overall effect I’m looking for. He must be getting quite dizzy as I turn the frame this way and that, around and about.
The stitches around his head are much shorter, and maybe still too parallel. The eye isn’t quite beady enough, and I want a slight hint of blue on nose and tongue. The tail needs more “loft”, and isn’t quite the right shape.
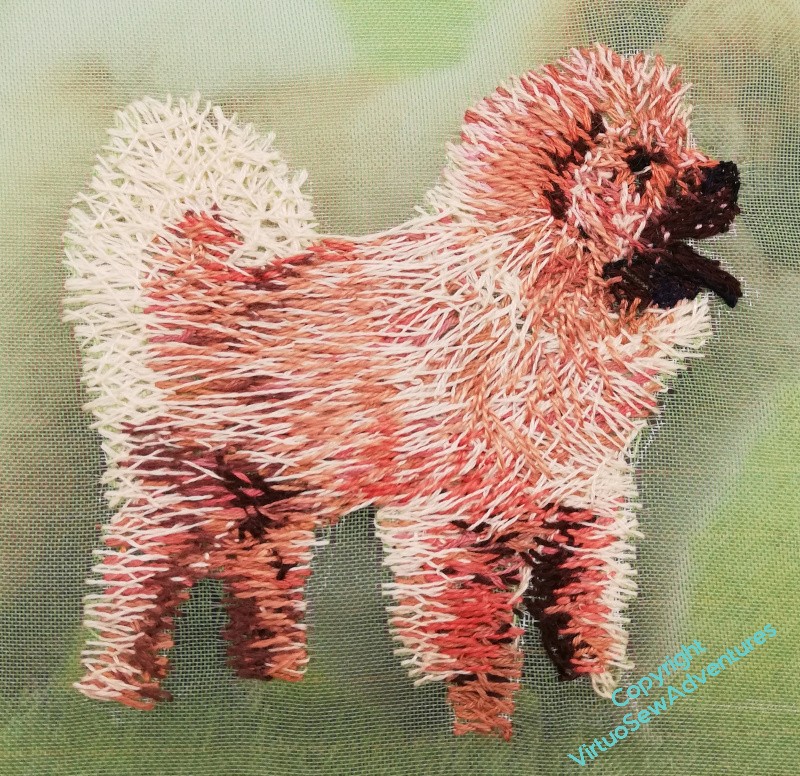
The layer of cream is helping, I think, to create the sense of changing tone and colour, “lifting” it in places, offering contrast in others. I’m not concerned about him floating in mid-air, because when I finally come to assemble the piece, he may be peering out from behind a bush, with only head and tail on show!
There are more stitches to add…
Not entirely convinced…
So now, I’m looking for a phrase..
Let’s do a bathtub review here (that means, start with something good, enumerate everything that’s wrong, then end with something good again).
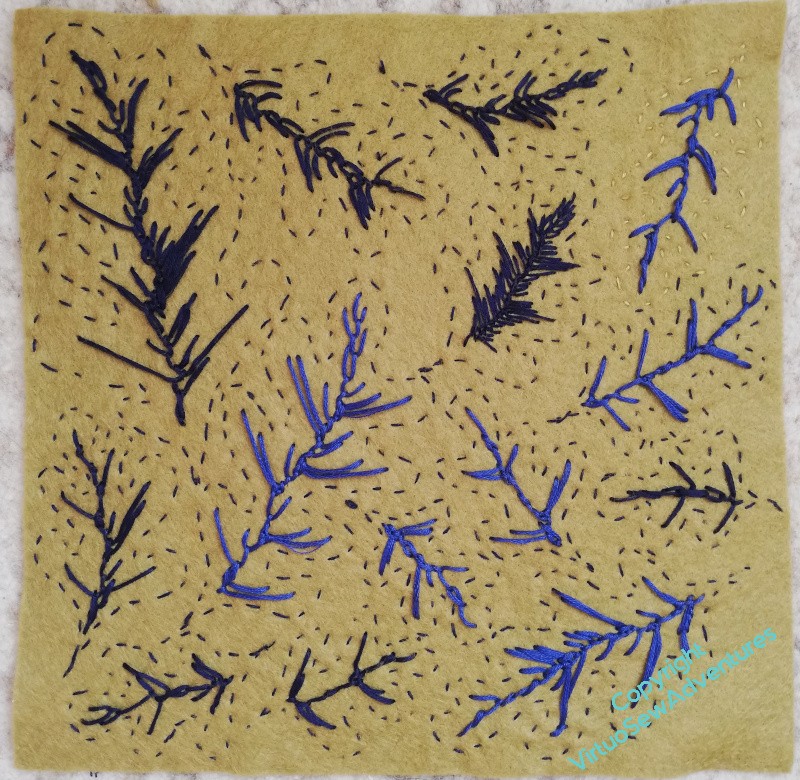
I have done a small sheet of felt, covered in oak leaves, and, taking the idea from the way old tapestries fade, worked centres of two different blues. I’ve used slightly random feather stitch, changing the lengths to reference the lobes on the the oak leaves.
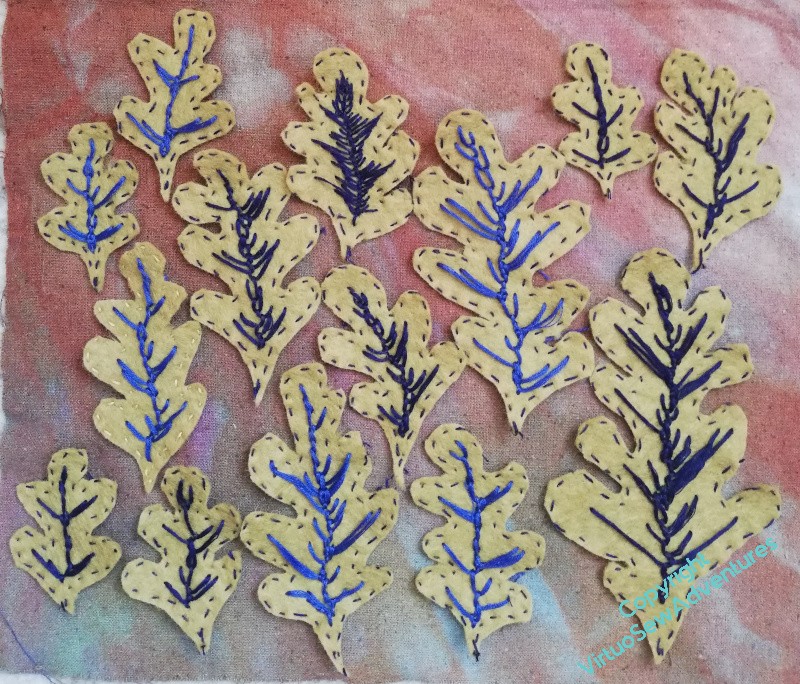
Then I cut them all out…
The running stitch outlines were enough to help me with the stitching, but I grant you, they make the felt sheet a bit confusing. Laying out the cut out leaves makes them a bit easier to see.
I know that oaks don’t really go into bushes, but what I’m trying to see with these layouts is what I think of the effect of this technique for rendering the leaves.
So, I hear you ask, what do you think of the effect, Rachel?
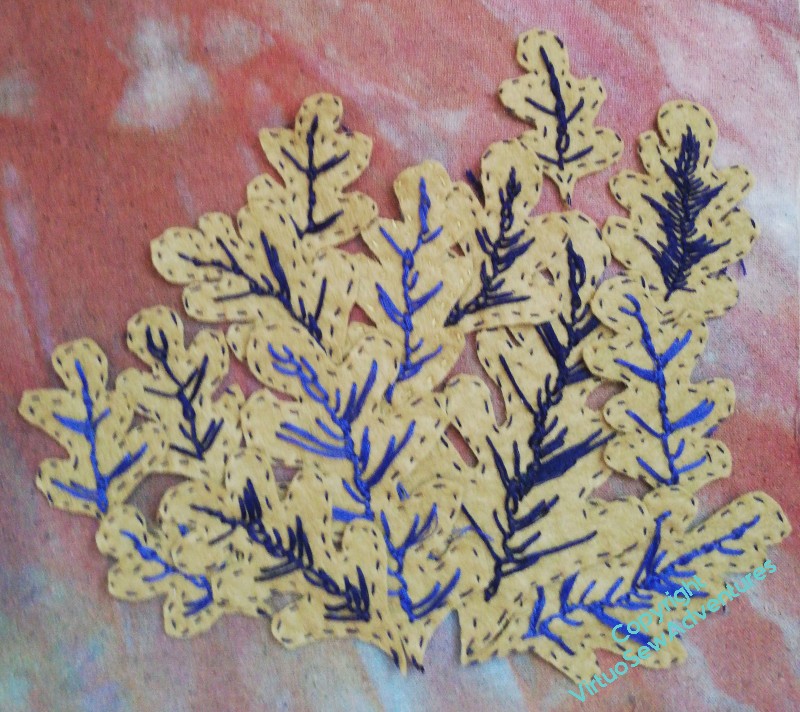
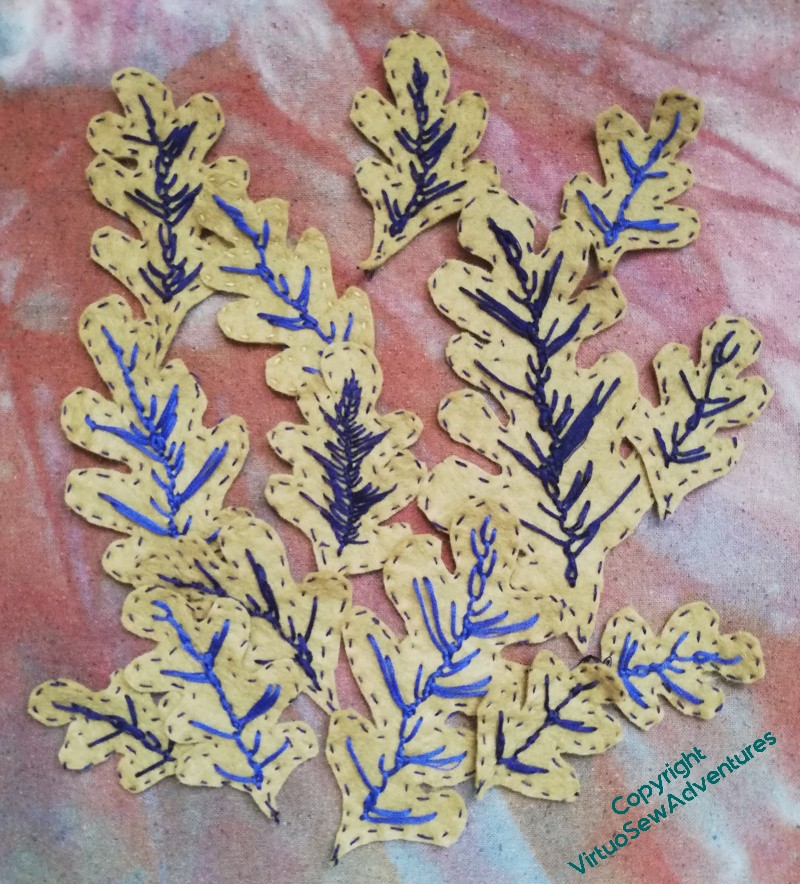
Well, I still like the concept. I think the idea may well find its way into the final piece.
I found them a bit tricky and frustrating to stitch, and moderately tricky to cut out. I don’t think that the stitching works. Too spindly?
So, maybe worth another iteration?
So, it turns out, the phrase I was looking for is “Not There Yet!”
Pooh-Bah – a closer look
I thought it might be interesting to have a closer look at the way I am trying to bring Pooh-Bah and his ridiculously deep and fluffy fur to life (honestly, I think if I tried to find the body of the dog through the fur I’d lose my arm to the elbow!). It’s very much being invented on the spot, and although the approximate idea is the same, each animal is taking it differently.
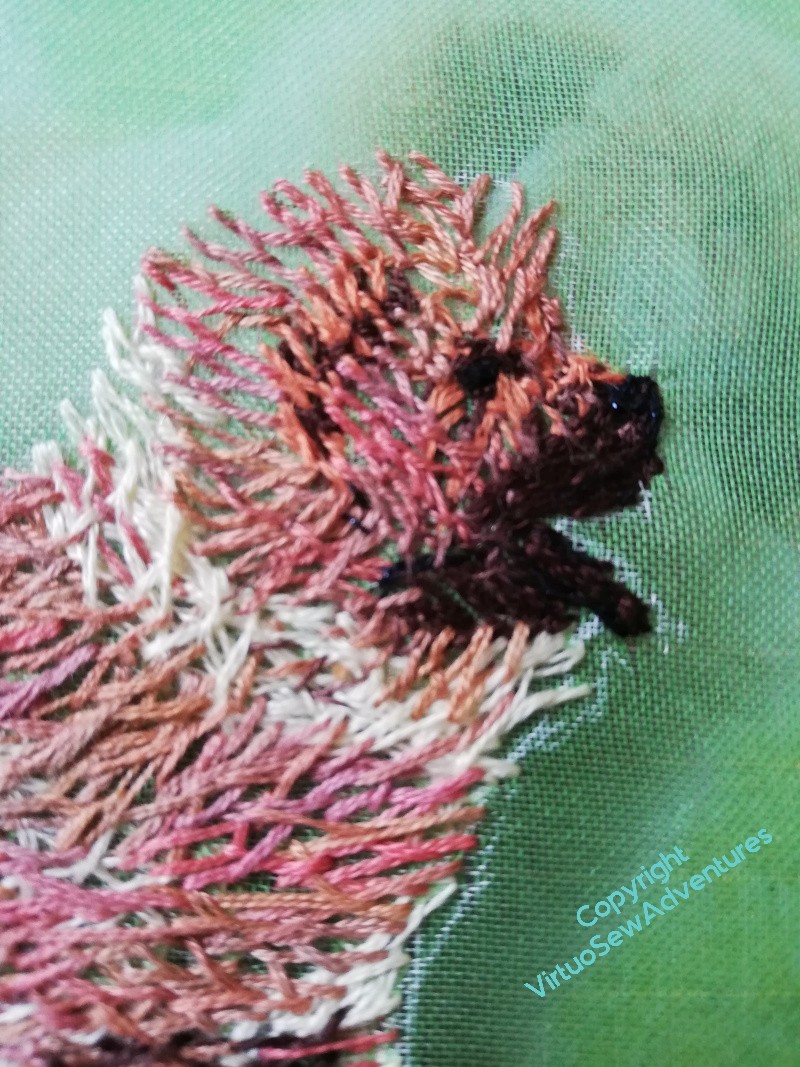
So here you see, probably, stage three or four.
I’ve done the eye and the muzzle and lower jaw, quite densely. I tried to find some of the shadows of the ear and under the chin, and the highlights around his ruff.
And from that point it was really a case of “scribbling” my first layer of stitches in very sloppily worked Cretan Stitch. No, that’s unfair. At this stage I’m not trying to be very precise in my stitch placement, so “scribbling” is a reasonable approximation. But I’m trying to balance that sense of a layer of colour with leaving enough space for the next layers and the sense of the depth of fur. I’m not being precise, but “sloppy” isn’t quite right either!
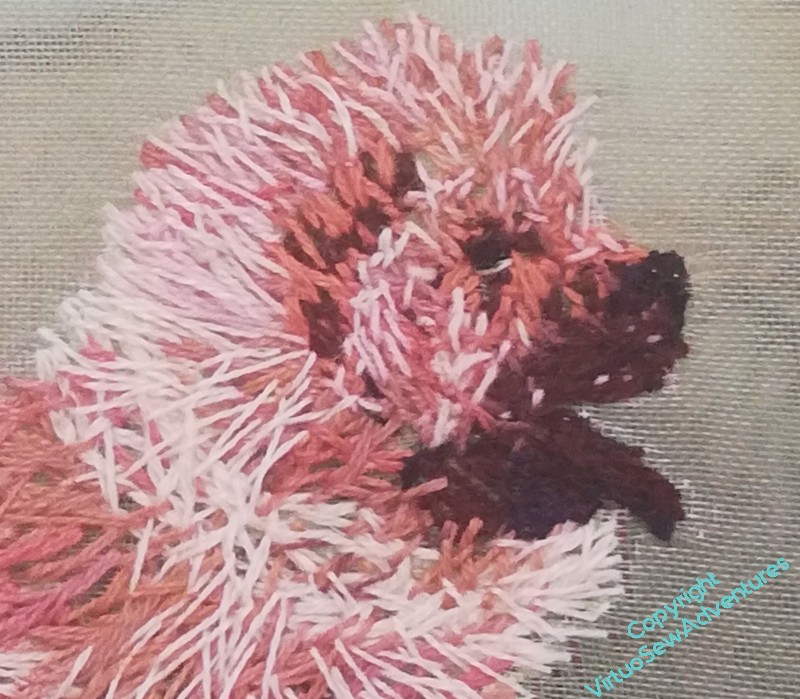
Now look at Pooh-Bah at a somewhat later stage.
The next layer of stitches is in a lighter thread (Pooh-Bah is a creamier colour than the photo I have), and I’ve used much shorter stitches around his muzzle and his face, to suggest the shorter fur. As I move outwards, I’m trying to stitch into the layers below, tangling my stitches to help build the fluffiness.
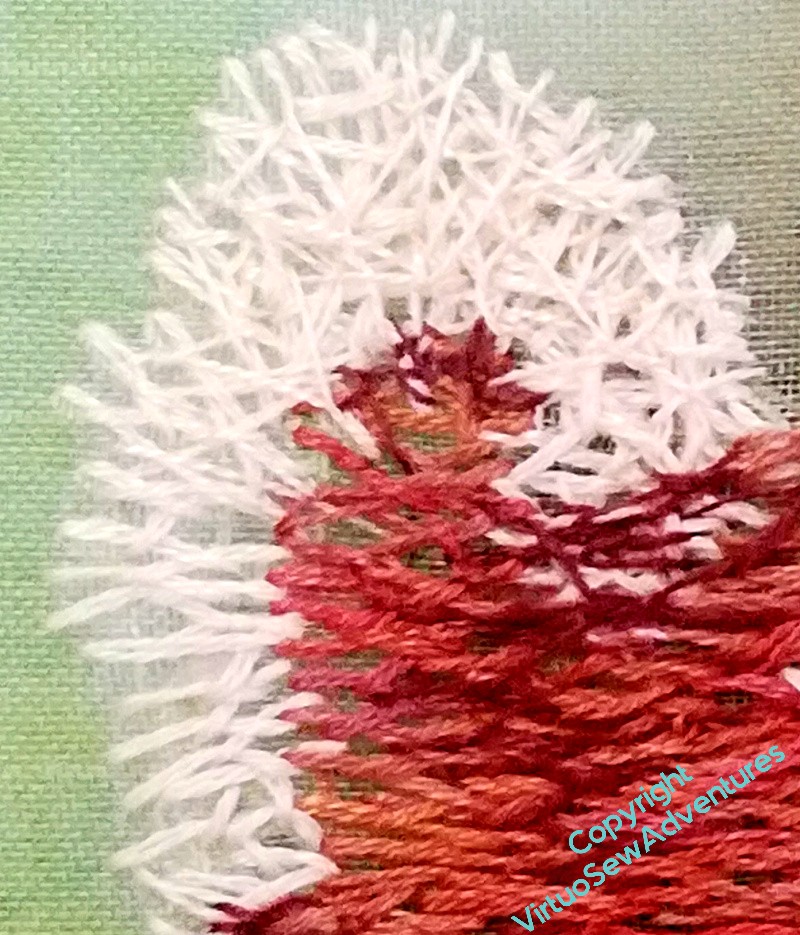
You can see the same thing happening with the tail, here. There’s a sort of basic “scribble” layer, in this case in something more like Herringbone Stitch – although, if you think about it, it’s not hard to mutate Herringbone into Cretan! I used two strands of stranded cotton for the scribble layer, but I’m beginning to go over it in single strands. I’m hoping that when I come to the final layer, I will be able to tangle it into previous layers enough to camouflage the order of work.
Experimenting with leaves for Placidus
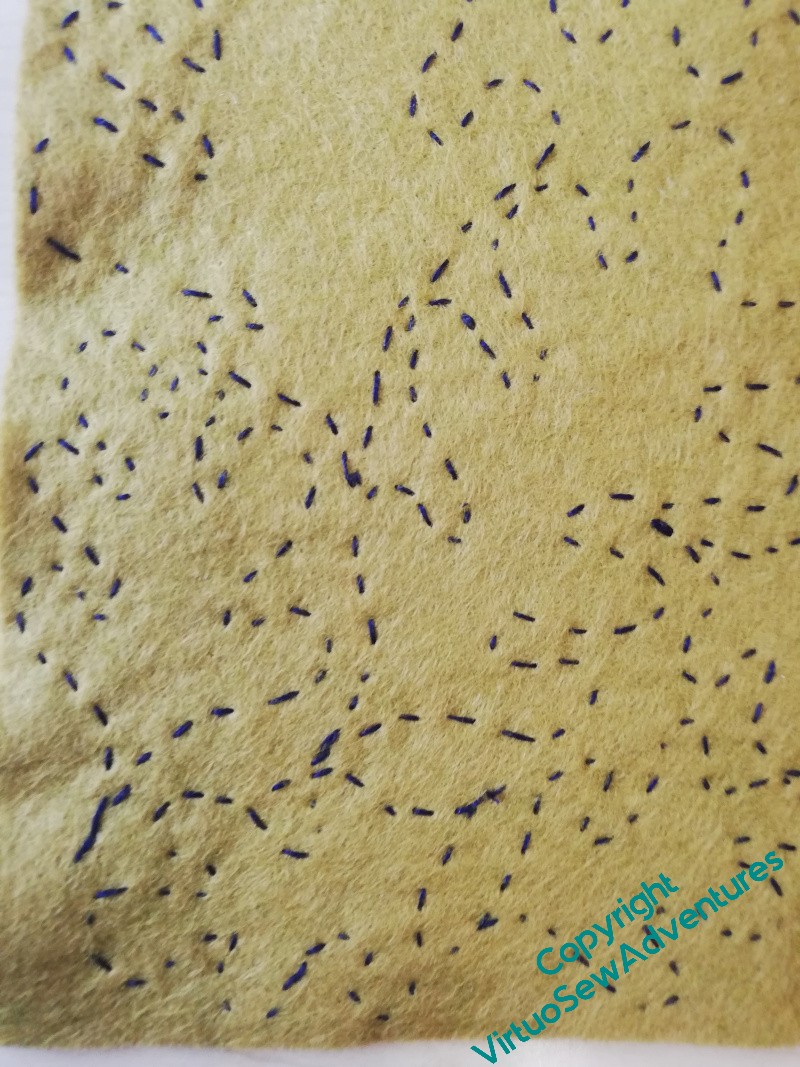
The Vision of Placidus is going to be a large panel – I think about five feet by four – and the story is set in a forest. So I’m going to need some trees, trunks and foliage, as well as some sort of distant scene and a rock for the stag to stand on.
I’m not at all sure how I’m going to render the forest, but after all, improvisation and exploration have become very important parts of what I do and how I do it. So, here I am, Exploring!
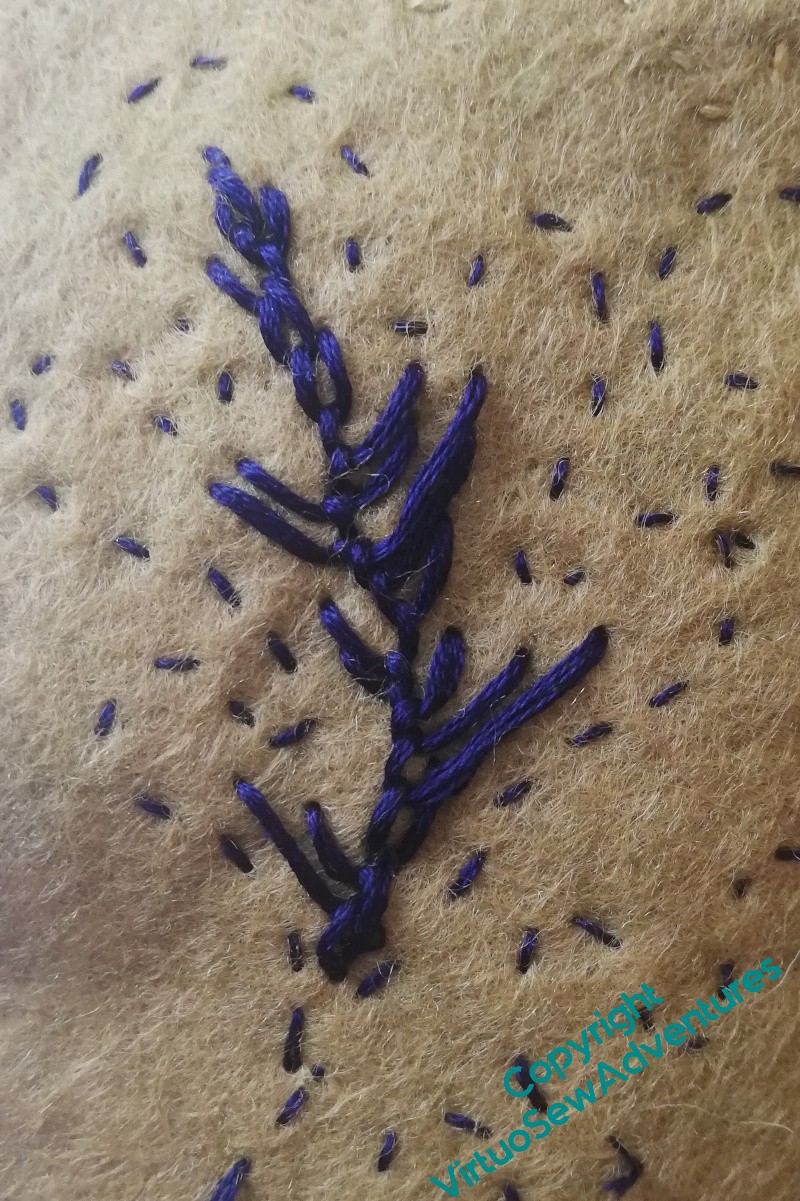
I was wandering in the Lady Lever Art Gallery recently, and strolling through the dimly lit rooms that house the Mortlake tapestries gave me my first idea. The differential fading of the natural dyes used often leaves darker greens much more blue than green, so I have thought, for my first experiment, to take a sheet of green felt, draw oak leaves on it – freehand – and work across in blue, making all the central elements of the leaves stronger.
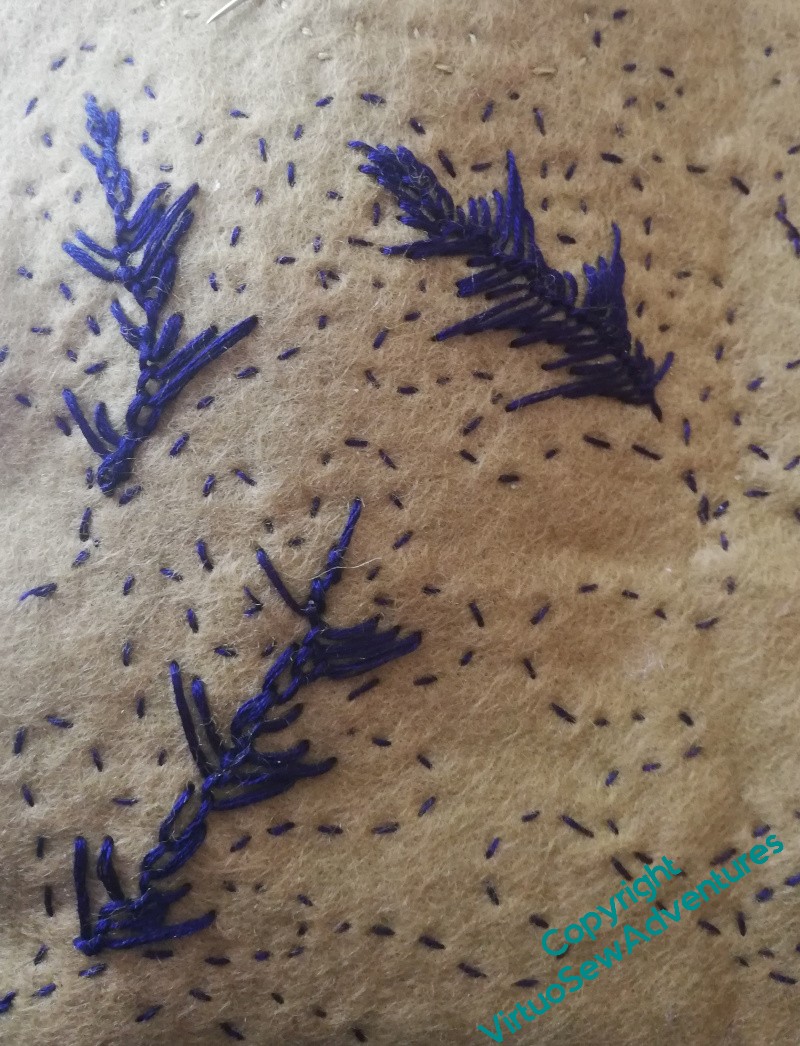
I think if I like the effect I will need to rework it in wool, perhaps with some overworking from the embellisher, to blend the colours and layers together.
I’ve made a start, and at the moment I am unconvinced. We’ve heard that before, of course. I’ll keep going, see what I think with a whole sheet of these leaves done and cut out and laid over one another.
I still like the idea of referencing the tapestries. I maybe have to find another couple of ways of doing it.
Lotus Flower left front
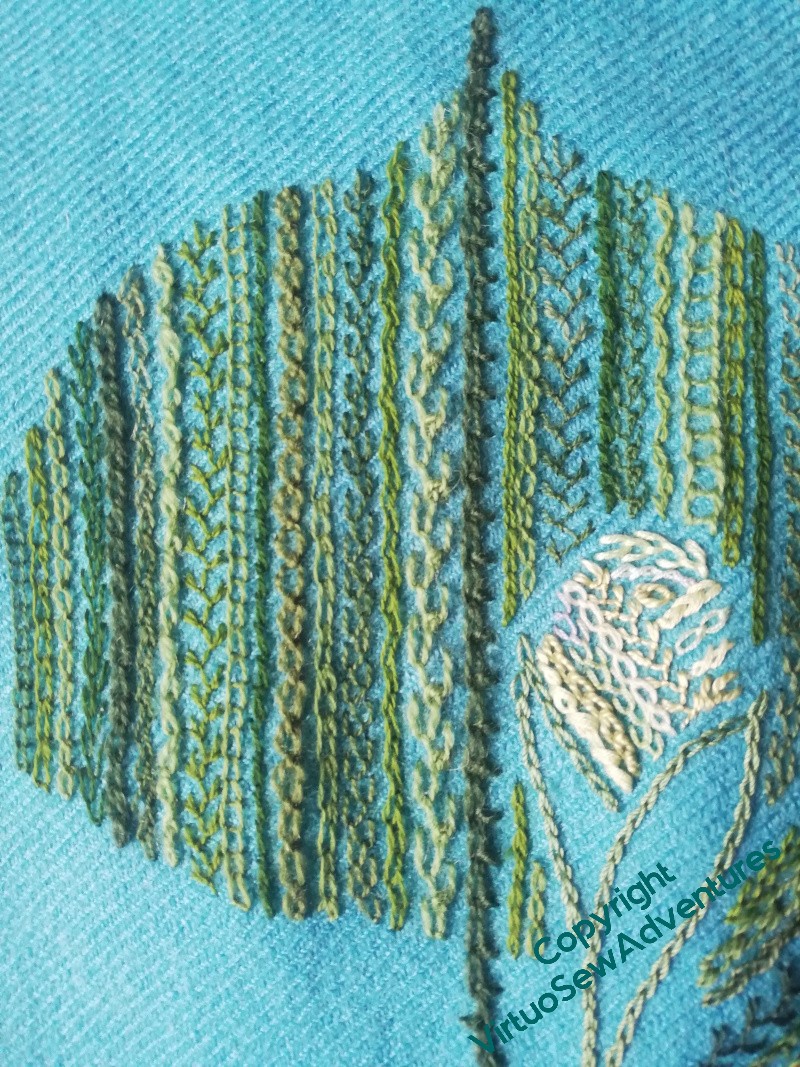
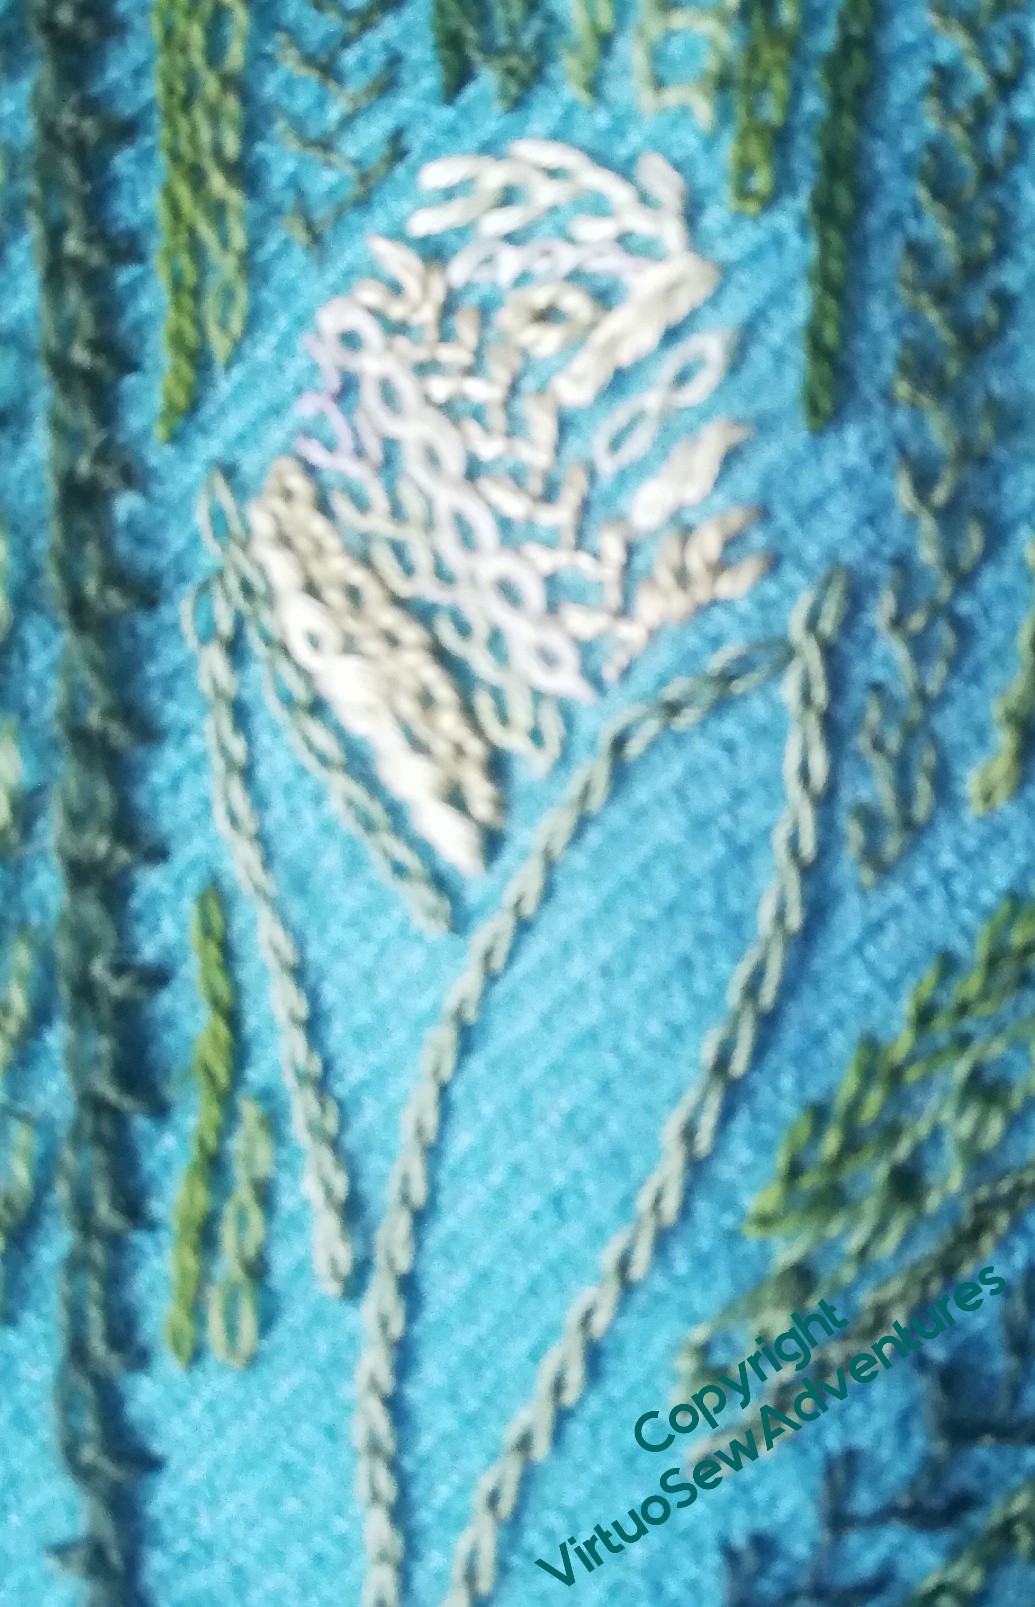
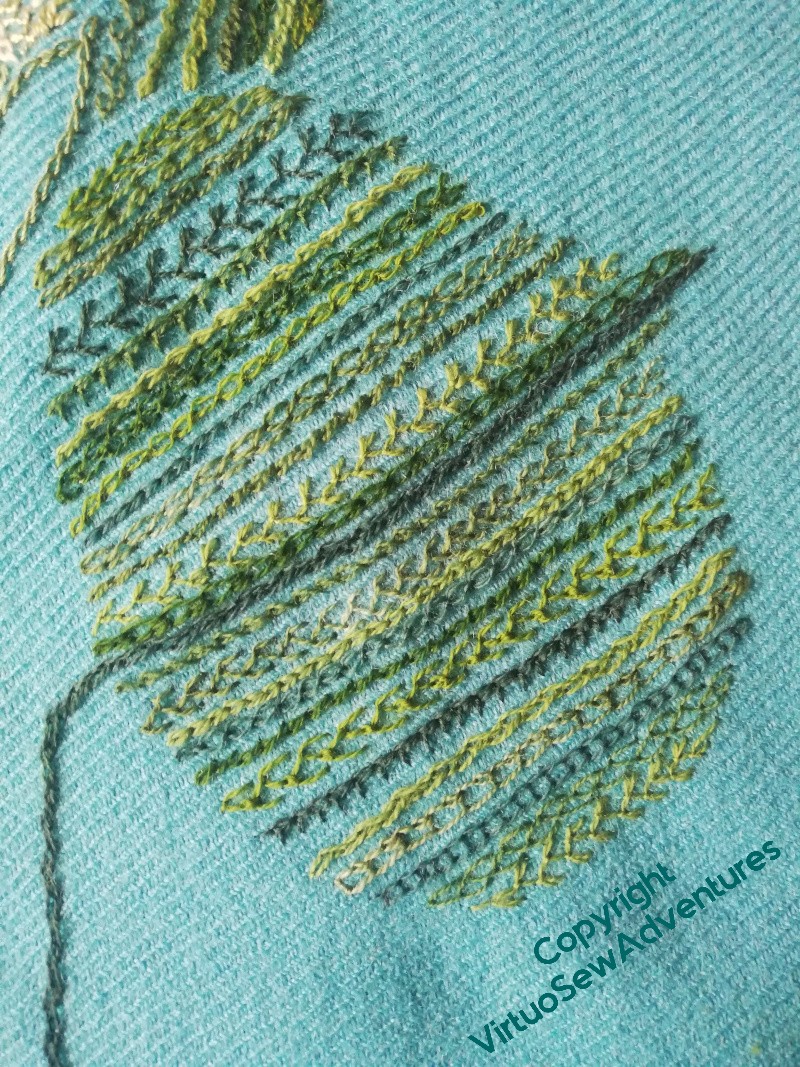
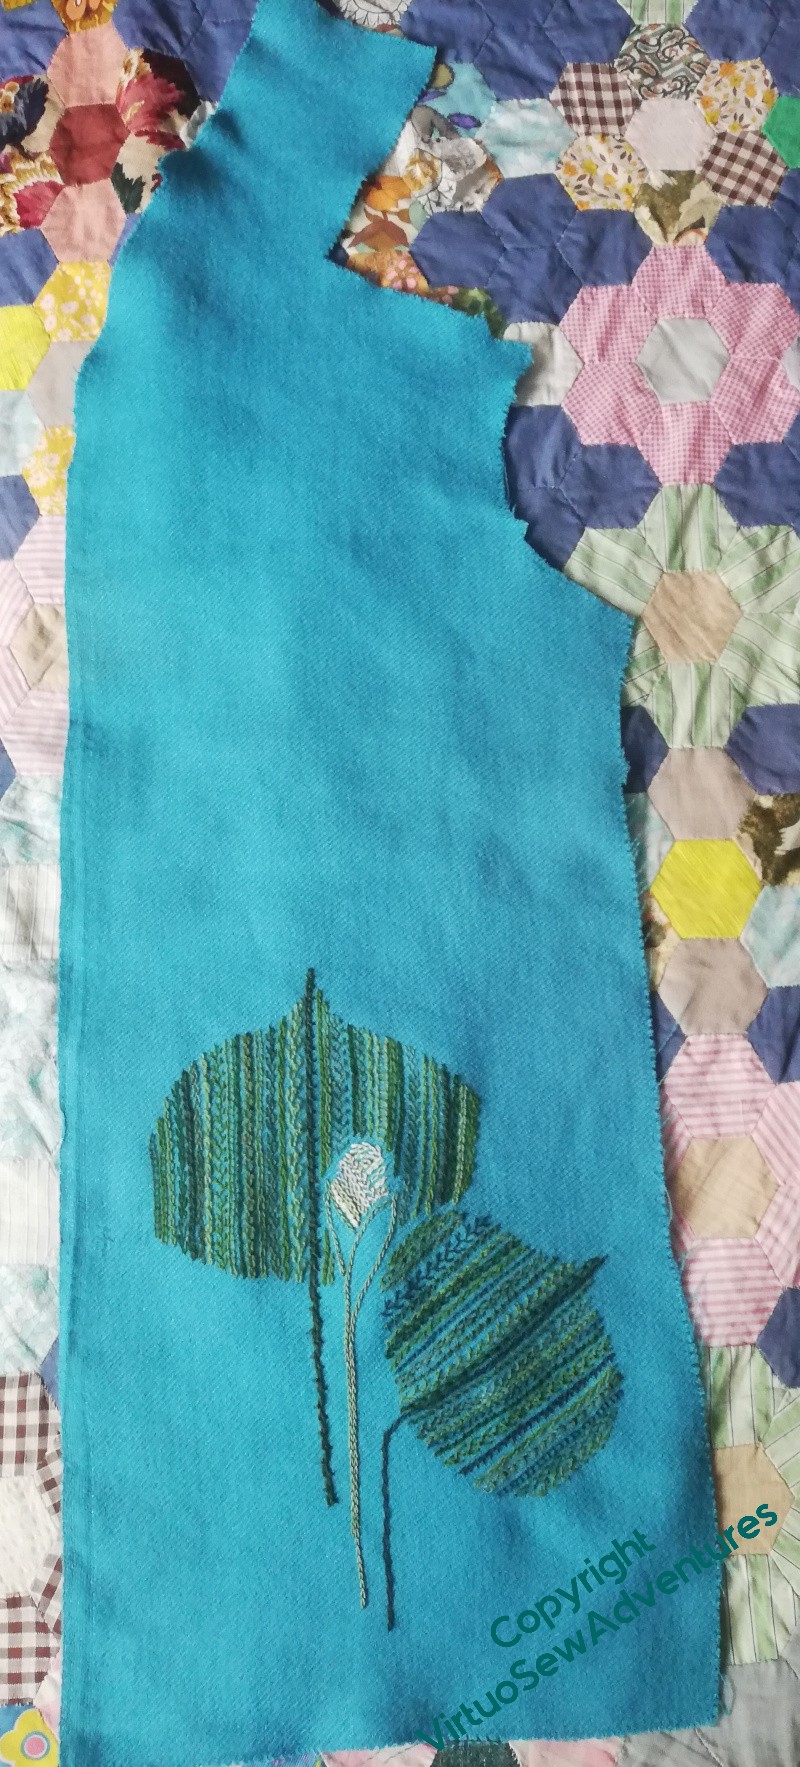
I’ve continued exactly the same style for the Left Front of the jacket as I did for the back – lines and lines of stitches in close(ish) tones. I’ve used some broader stitches – floral feather stitch, feather stitch, Mountmellick Thorn stitch – and some narrower – cable chain, closed feather, shell chain. And I’ve differentiated the two leaves, partly by putting the bud between them, partly by leaving a channel of fabric between them, and partly by including a few darker blue-greens in the lower one.
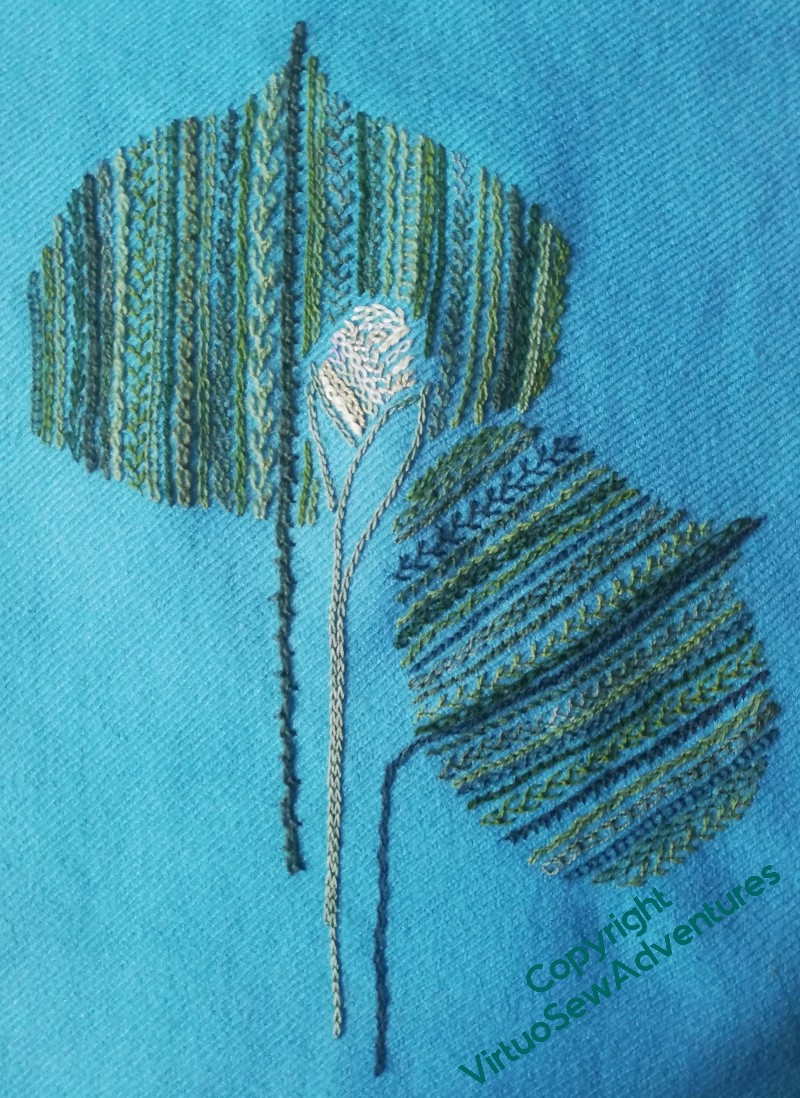
I think I’m fairly pleased so far – although I may add an extra line at the extreme left of the upper leaf as we look at it, to round it out a little more.
First, however, I think I’ll need to get around to assembling the jacket. I’m almost certain I don’t want any embroidery on the right front. Almost.
That, however, is a judgement I can’t make until I’m looking at the garment in at least semi-complete form – which means that if I change my mind, the embroidery will be accompanied by much muttering and the closest approaches to profanity that I ever allow myself. It’s an index of my confidence in my decision that I’m risking it!
First mend, then start stitching..
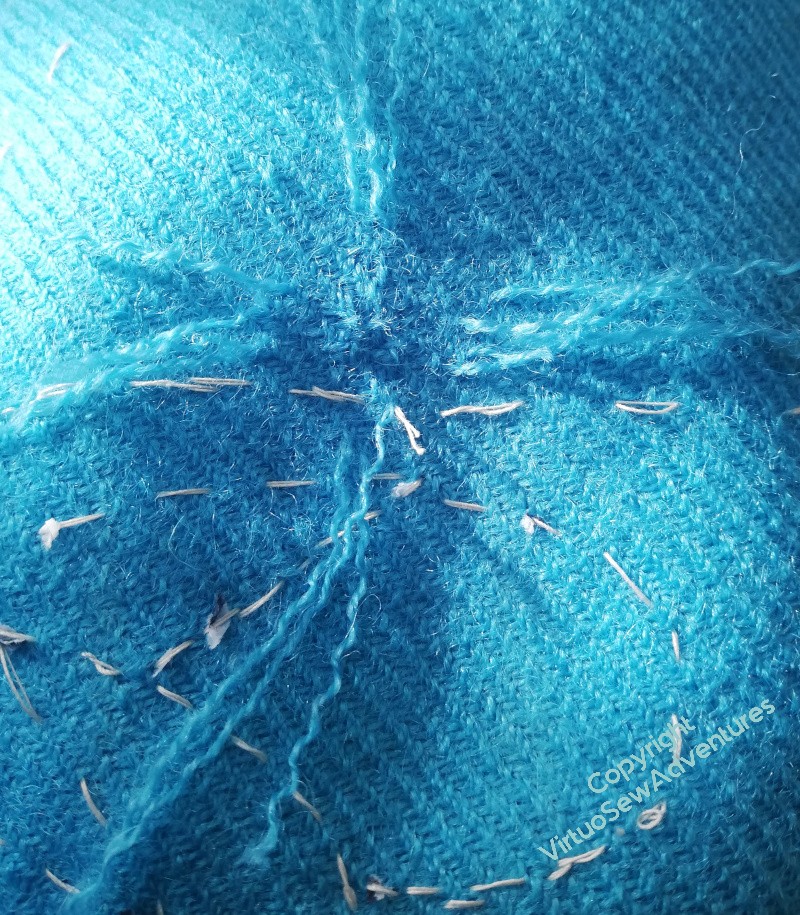
The first thing to do was to darn the holes. This isn’t something I’ve ever done, and it was a bit of a wild adventure. I didn’t manage to replicate the woven structure, which is I think a 2-over-1 twill. I pulled lengths of the thread out of offcuts of the fabric piece, so at least the darning uses exactly what was used in the fabric. But even with my magnifiers, reproducing the structure was a bridge too far!
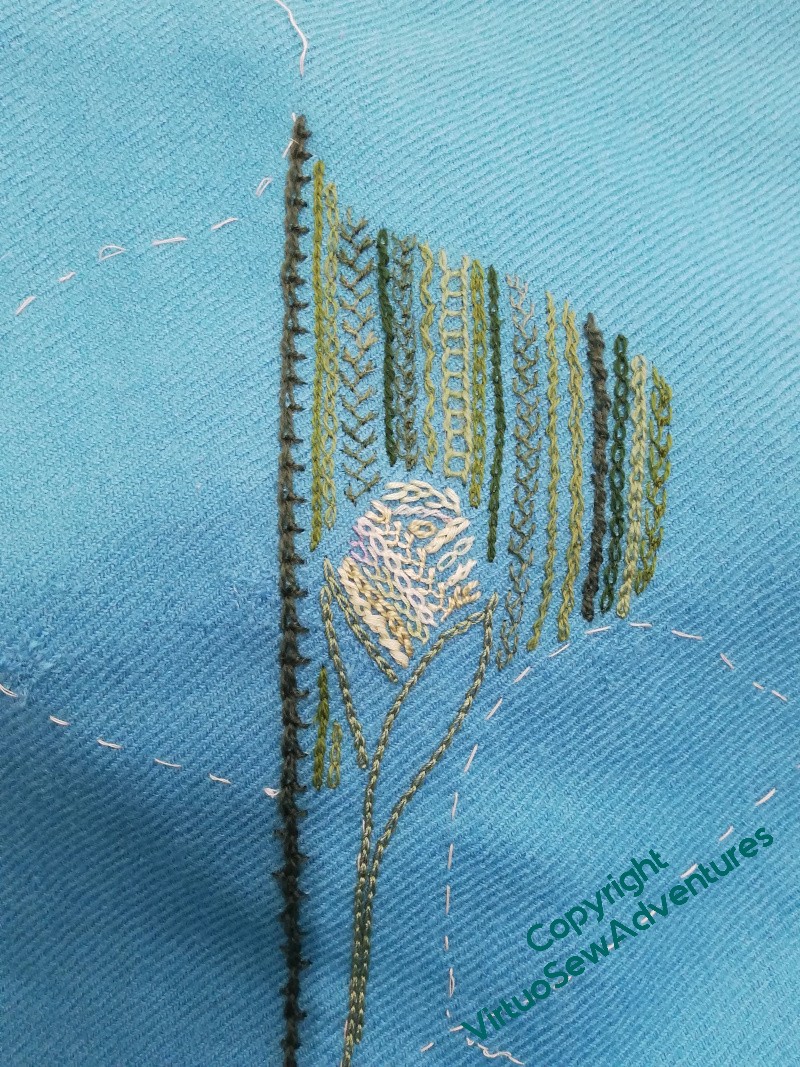
Once that was done, I could get started on the embroidery. We are back to rows upon rows here, to give the front some of the impact of the back.
I decided that the bud would be very pale creamy greens, and slightly more silky threads than everywhere else, and I’ve left the enclosing calyx open. The thread for that actually is silk, one I think I bought for the Nefertiti Shawl, all those years ago.
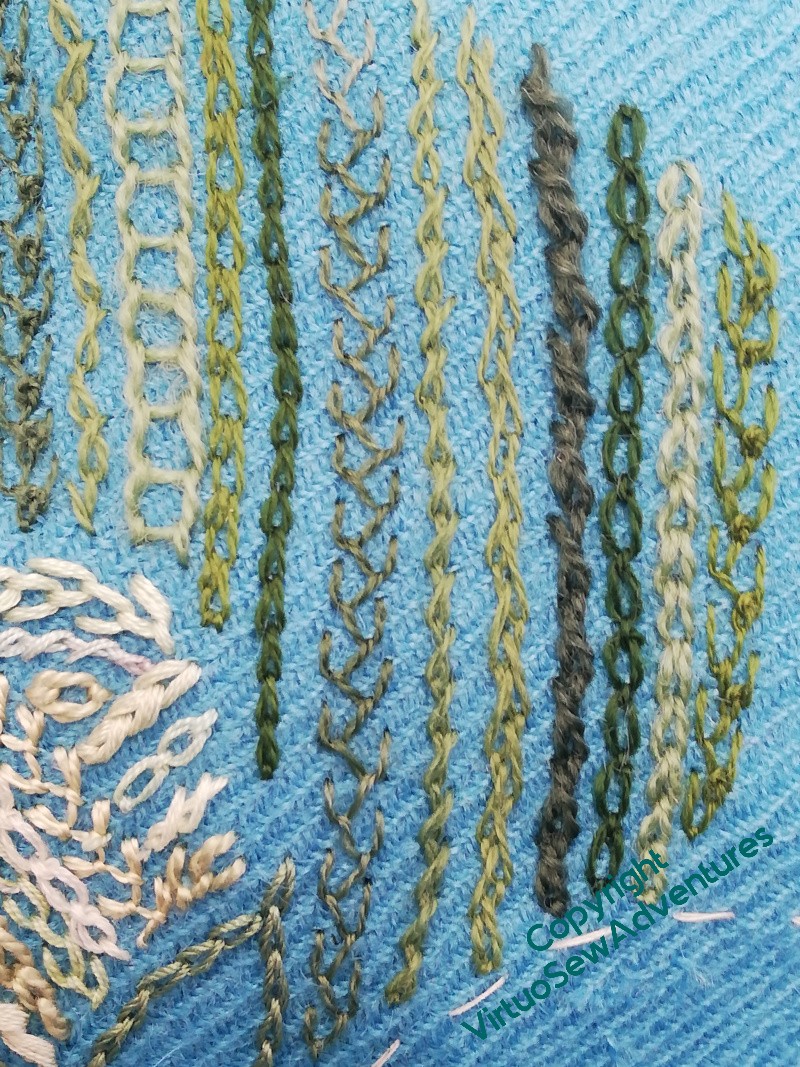
Everywhere else, as you can see in the close up here, is the same variety of wool threads I’ve used on the back. A couple are slightly variegated, a couple of them heavy enough that I need to use them with caution. And as I looked them over, I noticed two with a much more blue tinge than the others. I’m going to introduce them to the front leaf to change the “ambience” of its colour, because otherwise I’m afraid that the edge between the two leaves might not work cleanly. A different colour effect might be just enough.
Planning the front..
I started to plan the design for the embroidery on the rest of the coat with a decision: there’ll be nothing on the sleeves. The whole thing will be utterly overpowering if I’m not careful.
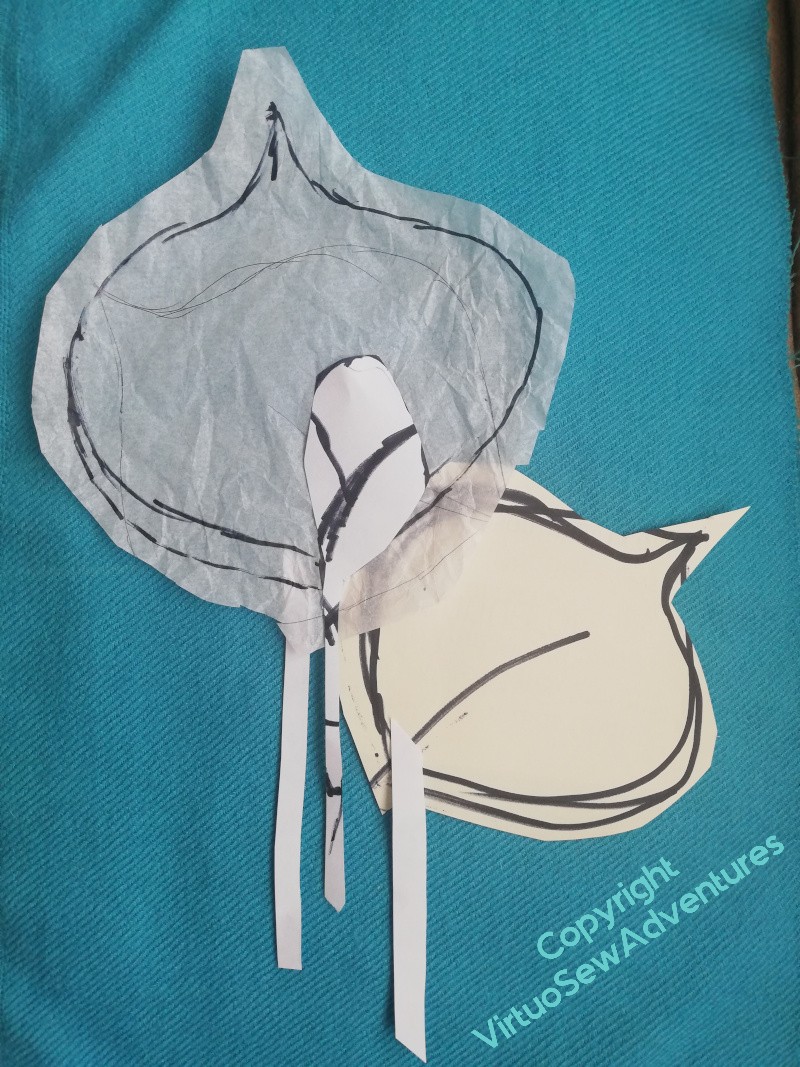
Then, further, the idea of having a group of leaves, almost overlaid, or at the very least touching one another, and adding one small, pale, early bud. The paper cut outs look very scrappy, but I am finding that as I become more experienced, and more taken up with my ideas and how to embody them, I don’t need quite the same level of clarity and simplicity in what I’m looking at to make a decision as I used to. That’s encouraging!
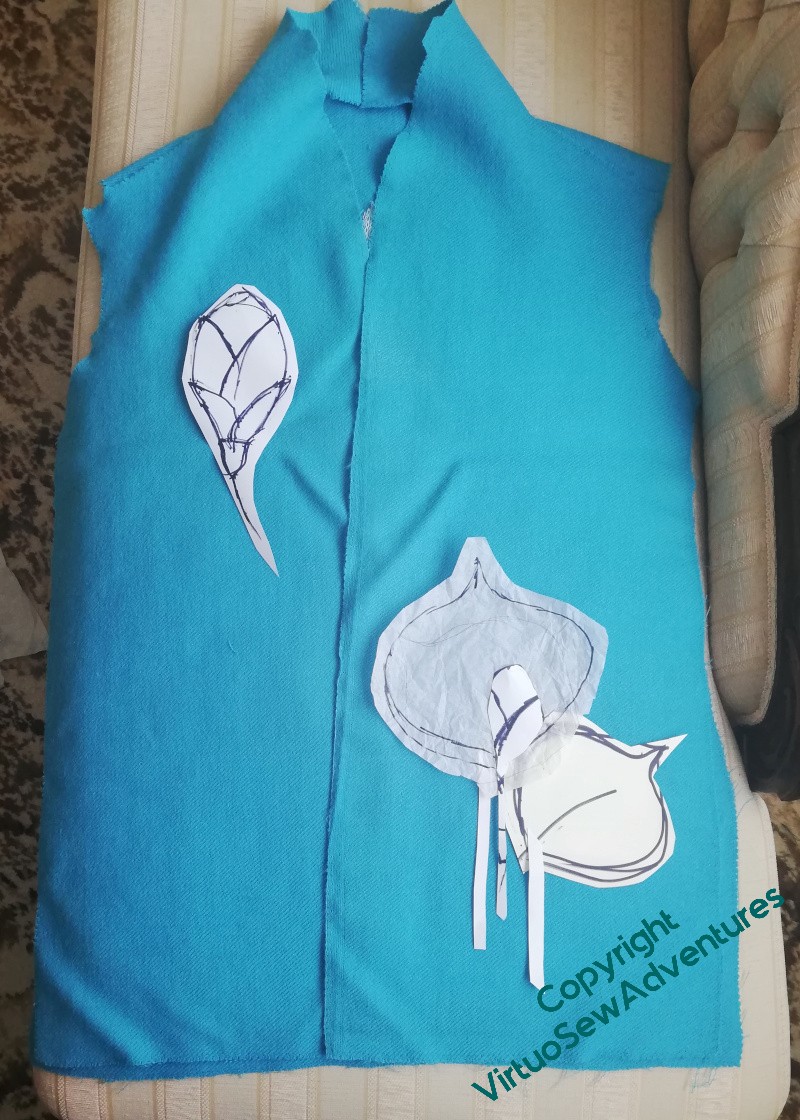
However, that does, occasionally, turn out not to be the case. I was intending to have a bud on the upper front of the jacket.
Looking at this, I’m really not sure that it will work. I think I need to have the bit I am certain of in place, and worry about the rest of it later. I might even end up assembling the jacket and having to do any last embroidery with everything in place except the lining, which would be distinctly trying.
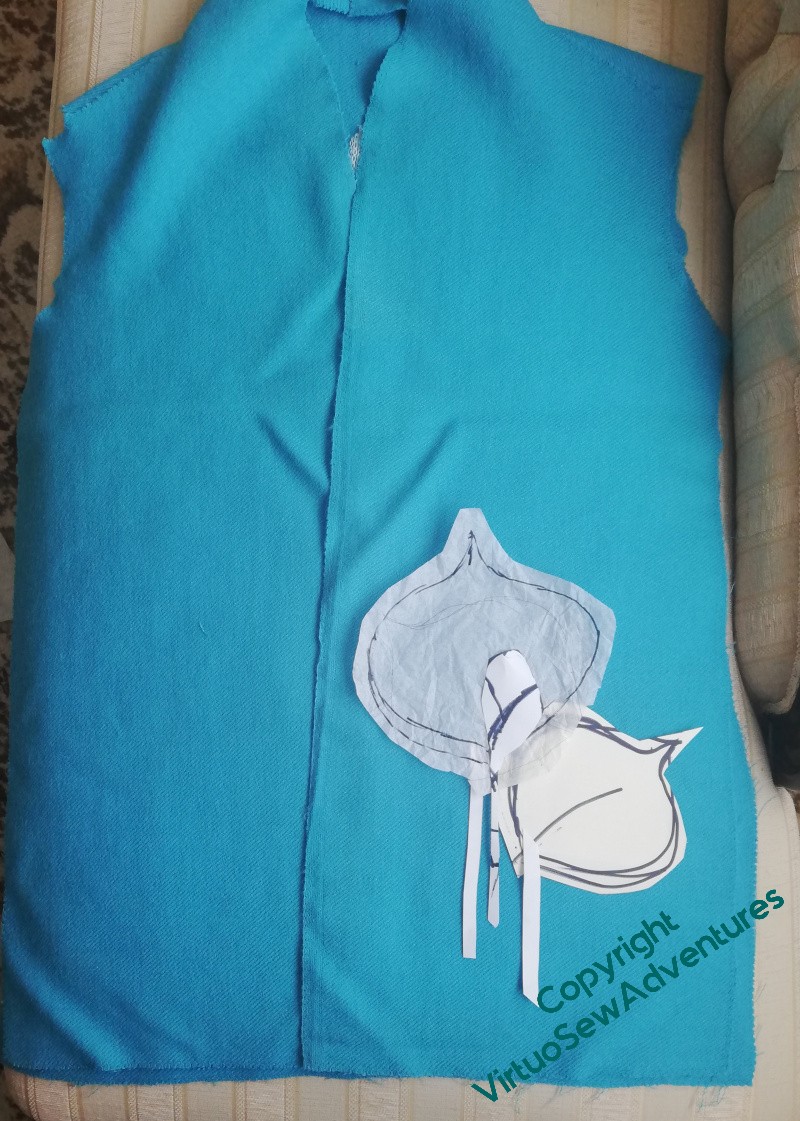
So, back to the simplicity of the leaf arrangement in the lower corner.
I do have a challenge next, in that there are a couple of small holes I need to darn before I get started on the embroidery.
The original pattern, by the way, has patch pockets. They are not going to be involved here. I’m not all that keen on pockets (I’m what Trinny and Susannah used to call a Bag Lady!) and in this case they would interfere with my plans. If I decide the garment does need pockets, they’ll be put in the lining.
Finishing the back of the Lotus Flower Coat
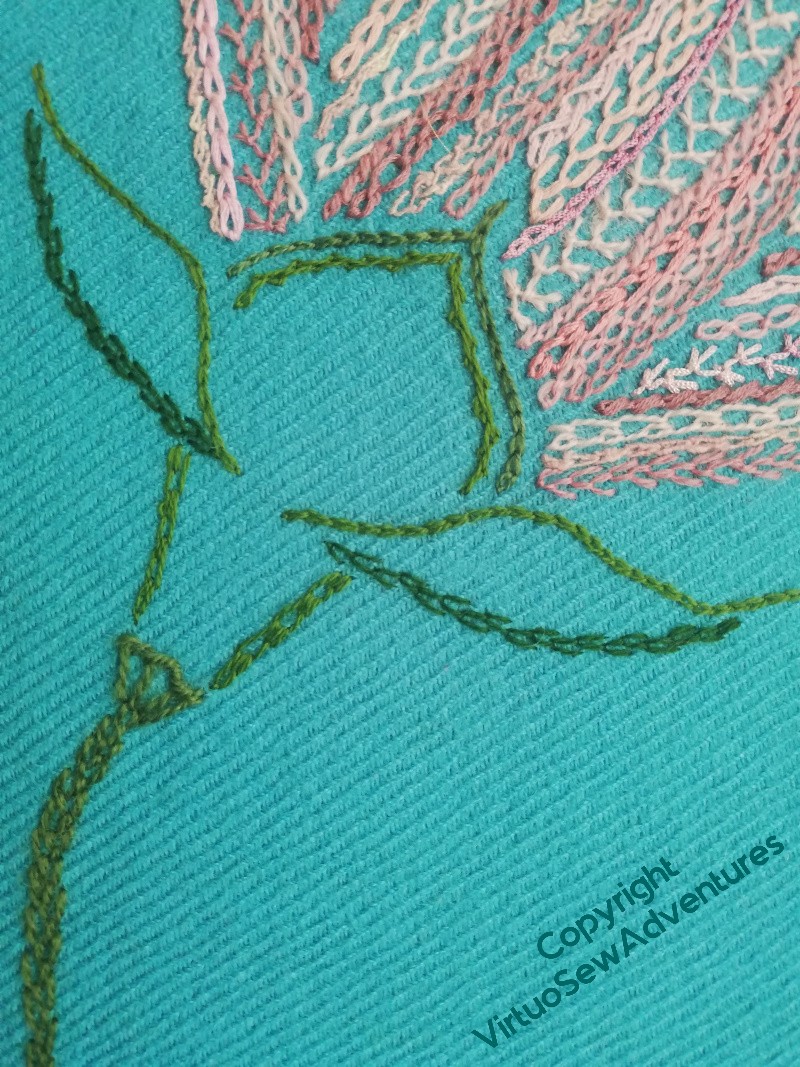
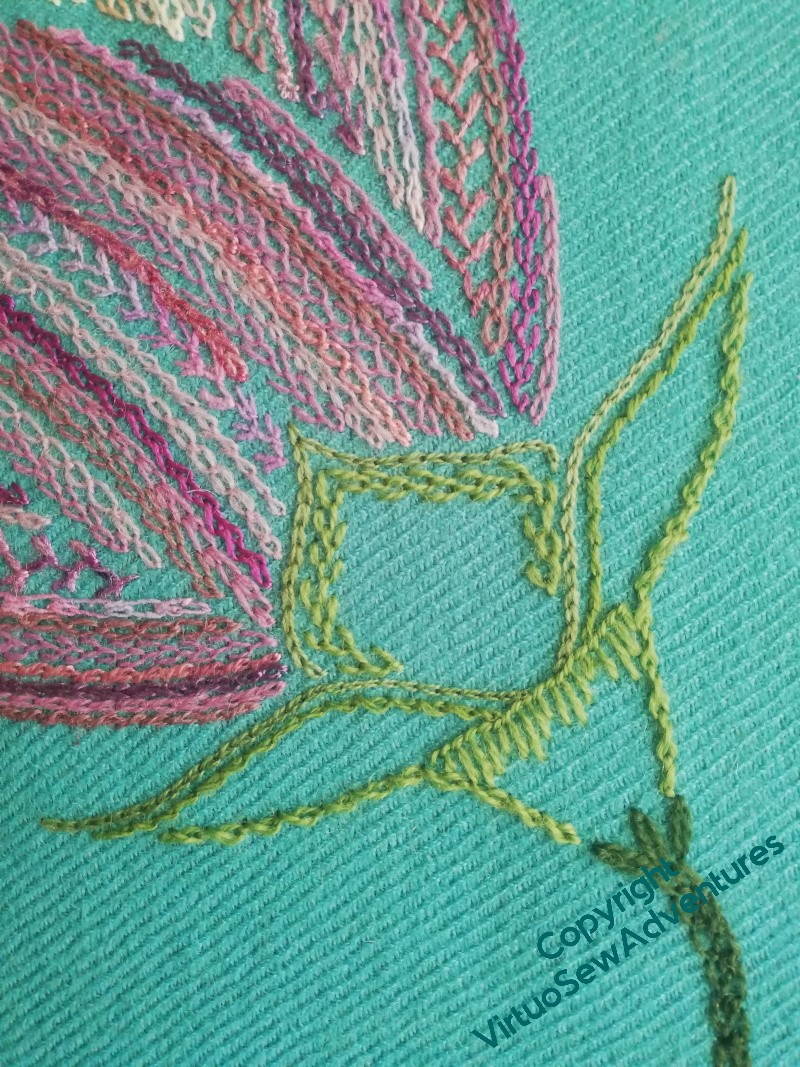
I did rather wonder about how densely to stitch the calyxes for the half-open flowers. I was bothered about stitch direction and stitch choice, and I was full of anxieties about making them work.
And then, lo and behold, I am surprised!
I don’t think I need to do more on these two. You can see that they aren’t by any means identical. The visual weight is in different places, the stems are different, the stitch choices are different. But they have the same “feel”, and when you look at the finished, pressed version, below, I think you’ll agree that it is working nicely.
Of course, now, I have to plan the front….
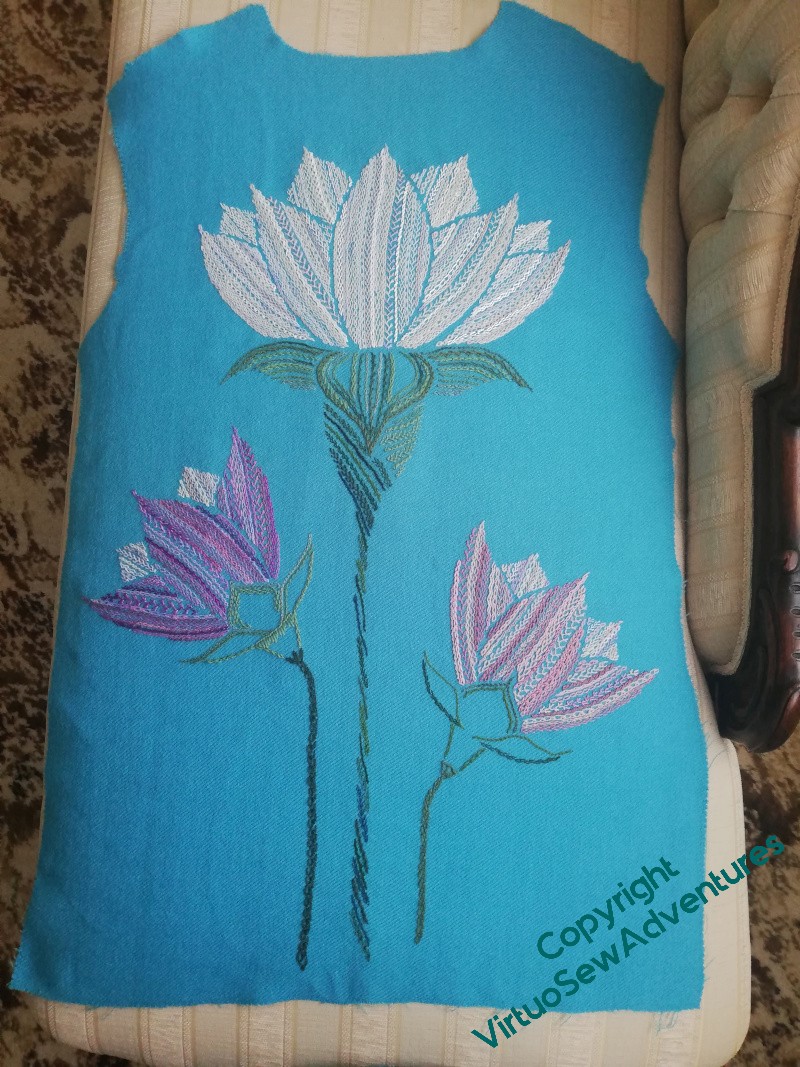
Starting on the Calyxes
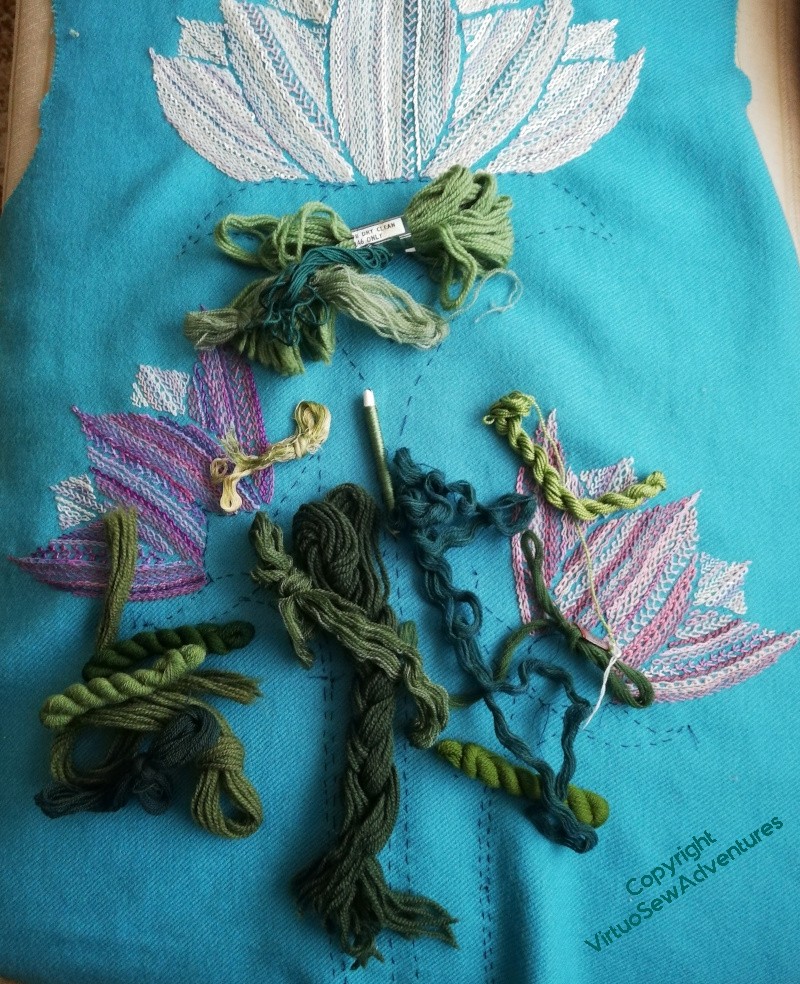
Once I had my flowers in, I scattered every green thread I had over the pattern piece, and performed a triage.
I ended up with this. It’s not terribly informative, now I look at it, if you aren’t me, but it gives you a sense, perhaps, of a variety of tones and types of thread. Some of them are a little heavy and need to be deployed cautiously, some of them I don’t have much of and need to be careful with for other reasons.
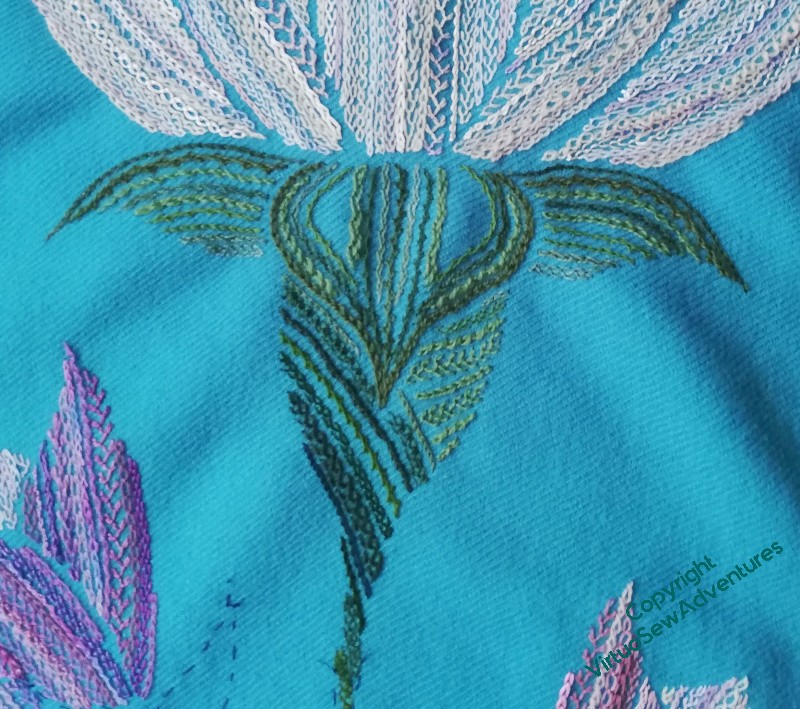
There was much thought needed about the calyxes and stems. Did I want something contrasting, more solid? Did I continue in the same style, maybe tweaking my stitch choice? What about stitch direction? Should I keep to the verticals? Contours? Horizontals?
You can see here what I ended up with.
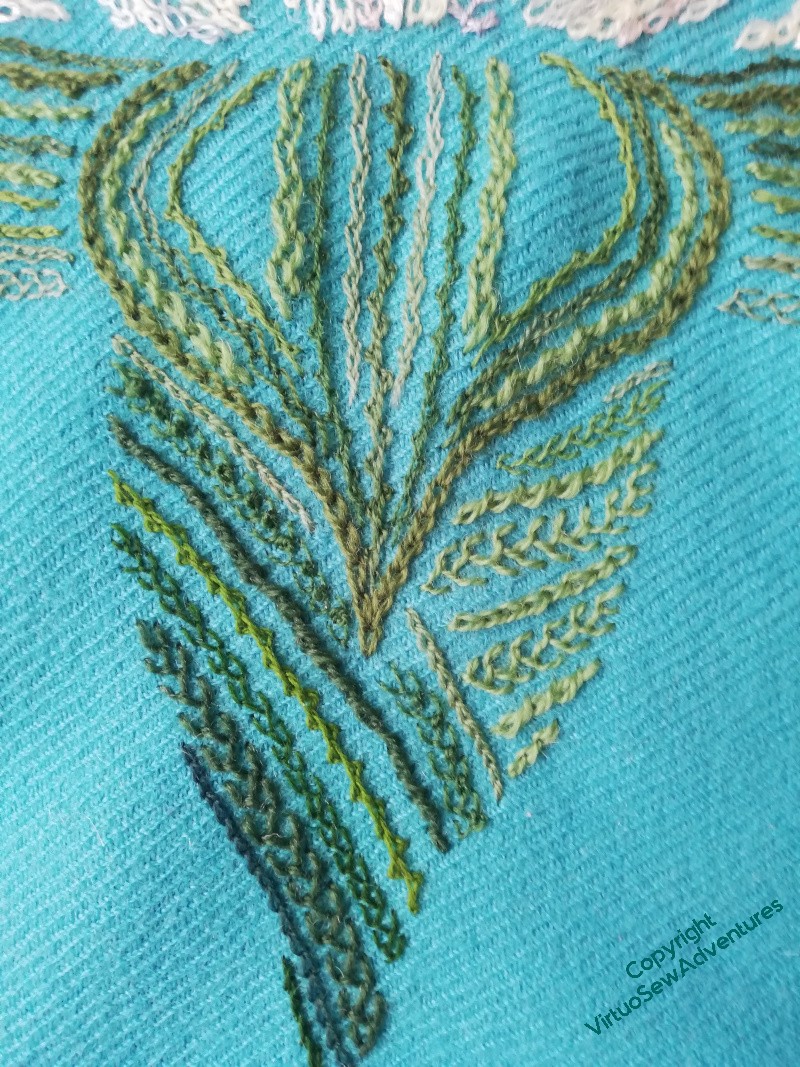
The two outer leaves have the stitch lines running horizontally, but a little echoing the contour.
The leaf that is curling out towards us has lines following the edges and lines following the central vein, and then I left gaps. I hope that creates a little the sense of the highlights on a strongly shaped leaf.
For the calyx itself, I have used colour and stitch direction to create the sense of the leaves wrapping around one another, and the dark colours of the major shape turn further and merge into the stem.
Yes, working so far, I think.